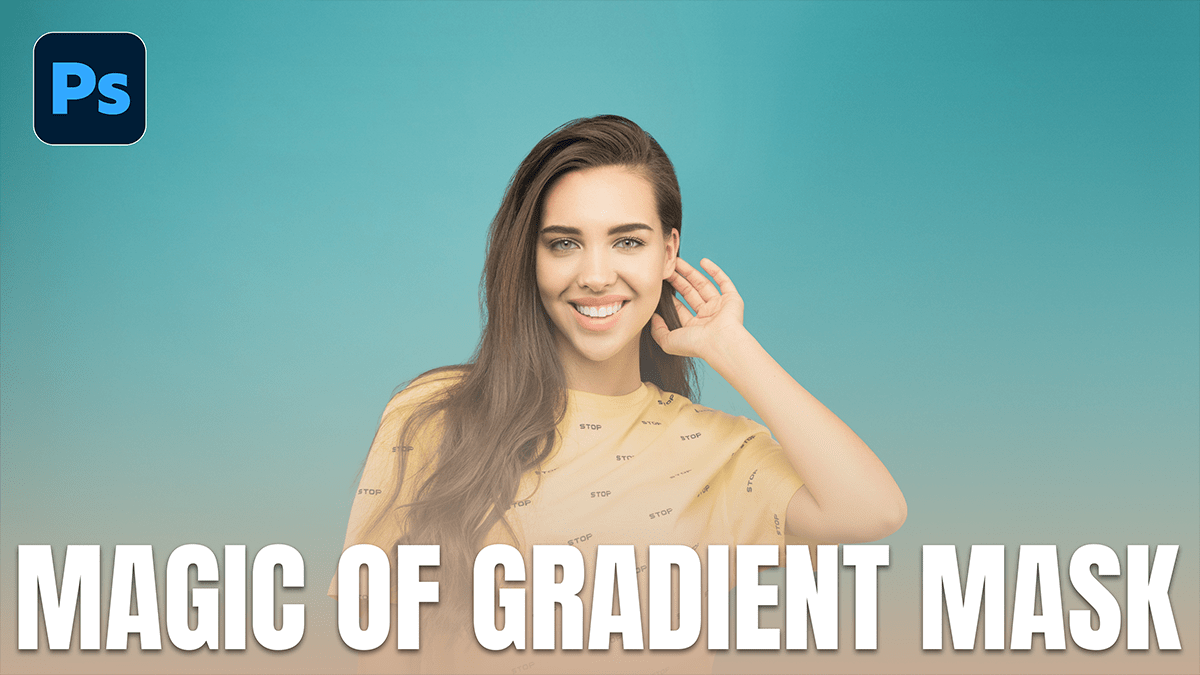
Magic of Gradient Mask in Adobe Photoshop 2026,

Therefore, the “magic” of the gradient mask in Photoshop has evolved significantly by 2026. While it used to be a static, destructive process, it is now one of the most powerful non-destructive tools for compositing, lighting, and retouching.
Magic of Gradient Mask in Adobe Photoshop 2026,
Therefore, think of a gradient mask as a “soft portal.” Instead of a hard cut-out, it allows one layer to melt into another using shades of gray to determine transparency.
How the Magic Works:
Therefore, in Photoshop, masks follow a simple rule: White reveals, Black conceals. A gradient mask applies a transition of gray values between the two.
Pure White: 100% Opacity (The layer is fully visible).
Pure Black: 0% Opacity (The layer is hidden).
The Gray Midtones: Therefore, this is where the magic happens. It creates a seamless, translucent fade that the human eye perceives as a natural transition.
Top Creative Uses in 2026:
1. Seamless Sky Replacements:
In other words, even with AI-powered sky replacement, a manual gradient mask gives you the most control. By applying a Linear Gradient to a mask, you can blend a dramatic sunset into a dull horizon without those “halo” edges around buildings or trees.
2. The “Double Exposure” Effect:
In other words, Photographers use gradient masks to blend two portraits. By using a Radial Gradient, you can keep the subject’s face clear in the center while the edges fade out into a secondary texture or landscape.
Magic of Gradient Mask in Adobe Photoshop 2026,
3. Realistic Artificial Lighting:
However, Want to fake a light leak or a glow from a window?
Above all, create a Solid Color fill layer (e.g., warm orange).
However, Invert the mask to black (hiding the color).
Above all, use a Radial Gradient tool (white to transparent) to “draw” the light back in. Because it’s a gradient, the light falls off naturally, just like a real bulb would.
Pro-Tips for 2026:
Live Gradients: Photoshop now uses “Live Gradients” by default. This means you can move the start and end points of your fade after you’ve drawn it. No more hitting Ctrl+Z a hundred times to get the angle right.
The “Shift” Key: Above all, hold Shift while dragging to lock your gradient to a perfect 90° or 45° angle—essential for keeping horizons level.
Feathering vs. Masking: While you can feather a selection, a gradient mask is superior because you can see exactly where the transparency begins and ends on the “Properties” panel.
Magic of Gradient Mask in Adobe Photoshop 2026,
Comparison: Gradient Types:
| Type | Best Used For |
| Linear | Horizons, floor reflections, and split-screen layouts. |
| Radial | Spotlights, vignettes, and iris/eye enhancements. |
| Reflected | Metallic surfaces or creating a “stripe” of visibility. |
Quick Tip: If your gradient looks “choppy,” make sure Dither is checked in the top options bar. This adds a tiny amount of noise to smooth out the transition and prevent color banding.
In conclusion, would you like me to walk you through a step-by-step exercise on how to blend two specific images using this technique?