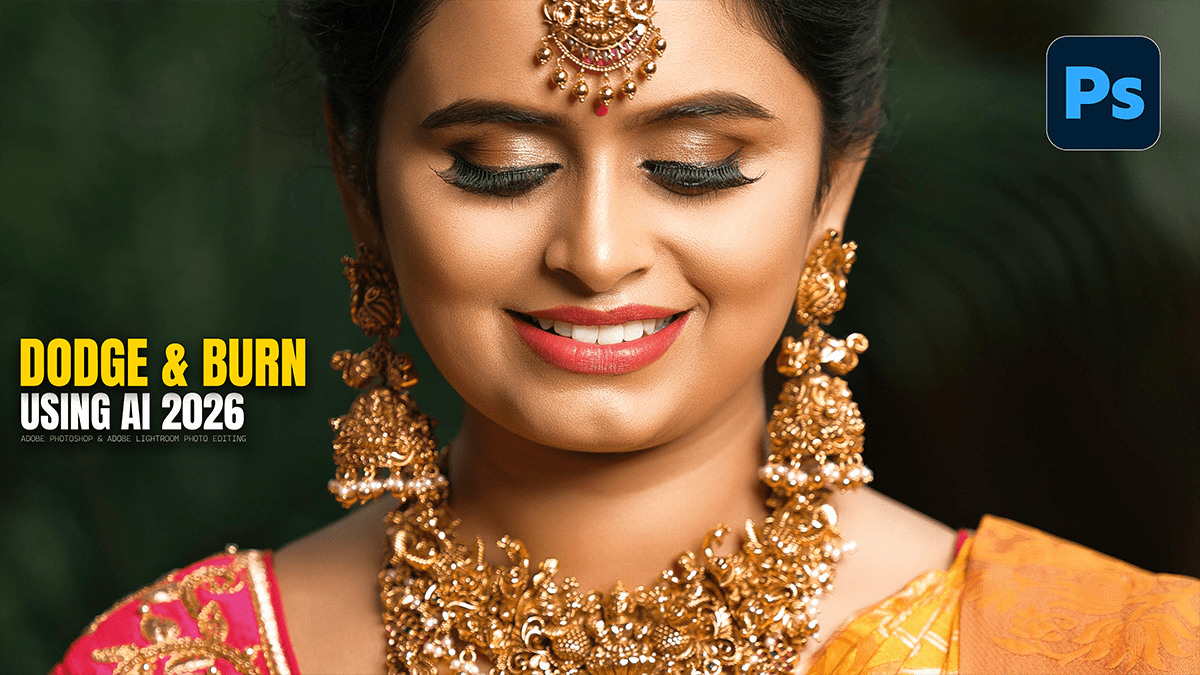
How to use that AI Masking Feature, Dodge and Burn, Photoshop

Therefore, the AI Selection and Masking updates in Photoshop 2026 have turned the tedious manual Dodge and Burn process into a much faster, “semi-automated” workflow. Instead of guessing where the highlights and shadows are, you can let the AI identify the planes of the face for you.
In other words, here is how to use the Object Selection Tool and Luminosity Range to automate your masks.
How to use that AI Masking Feature, Dodge and Burn, Photoshop
1. Let the AI Find the “Skin.”
Therefore, first, we need to tell Photoshop to ignore the background, hair, and clothing so our Dodge and Burn only affects the face.
selecter words, Select the Object Selection Tool (Shortcut: W).
Therefore, in the top options bar, click the “Select Subject“ dropdown arrow and choose “Cloud (Detailed Results)” for the best 2026 AI processing.
In other words, click Select Subject.
Therefore, once the marching ants appear, go to Select > Mask All Objects (a new 2026 feature) or simply use the Properties Panel to click “Select People.” 5. Check the box for “Facial Skin” and “Body Skin.” Click Create Mask.
2. Automating the “Dodge” (Highlights)
However, now we will use the Luminosity Range tool to target only the bright parts of that skin.
Above all, create a Curves Adjustment Layer and pull the center up (to brighten).
Double-click the Black/White mask thumbnail on that layer to open the Properties Panel.
However, click on Color Range (or the new Luminosity Range button if visible in your 2026 workspace).
Above all, use the eyedropper to click on a highlighted area of the forehead or cheek.
However, adjust the Fuzziness slider. You will see the mask change so that only the “high points” of the face are white.
The Secret: Above all, increase the Feather slider in the Mask Properties to about 50–100px. This creates a perfectly smooth, natural glow that follows the bone structure automatically.
How to use that AI Masking Feature, Dodge and Burn, Photoshop
3. Automating the “Burn” (Contours)
Above all, create a second Curves Adjustment Layer and pull the center down (to darken).
In addition, in the Mask Properties, select Luminosity Range again.
After that, this time, click the “Invert” checkbox or select a shadow area under the cheekbone with the eyedropper.
In addition, again, crank up the Feather to blend it.
After that, change the Layer Opacity to about 15–30% so the effect isn’t too aggressive.
4. The 2026 “Generative Expand” for Portraits:
In addition, if your Dodge and Burn makes the face “pop” so much that the background looks flat, you can now use Generative Fill to create a complementary depth of field.
After that, select the background.
Similarly, Type “Soft studio bokeh with rim lighting” into the Generative Task Bar.
Above all, Photoshop will analyze the lighting on your newly “Dodged and Burned” face and generate a background that matches the 3D depth you just created.
Comparison: Manual vs. AI-Assisted D&B:
| Feature | Manual D&B | AI-Masked D&B |
| Time Spent | 20–40 Minutes | 2–5 Minutes |
| Precision | Human-controlled (High) | Mathematical (Perfect) |
| Natural Look | Depends on Brush skill | Smooth due to AI Feathering |
| Best For | Extreme Close-ups | Full Portraits / Fast Turnaround |
How to use that AI Masking Feature, Dodge and Burn, Photoshop
Final Polish:
Similarly, after the AI does the heavy lifting, take a low-flow (1%) white brush and manually hit the Catchlights in the eyes on your “Dodge” layer. The AI is great for bone structure, but the “sparkle” in the eyes still needs a human touch!
Pro Tip: If the AI selection is too “sharp,” use the Select and Mask workspace and hit the “Refine Hair” button. Even if you are working on skin, this ensures the transition between the skin and the hairline is seamless.
In conclusion, would you like to know how to save this entire workflow as an Action so you can apply it to any photo with one click?
