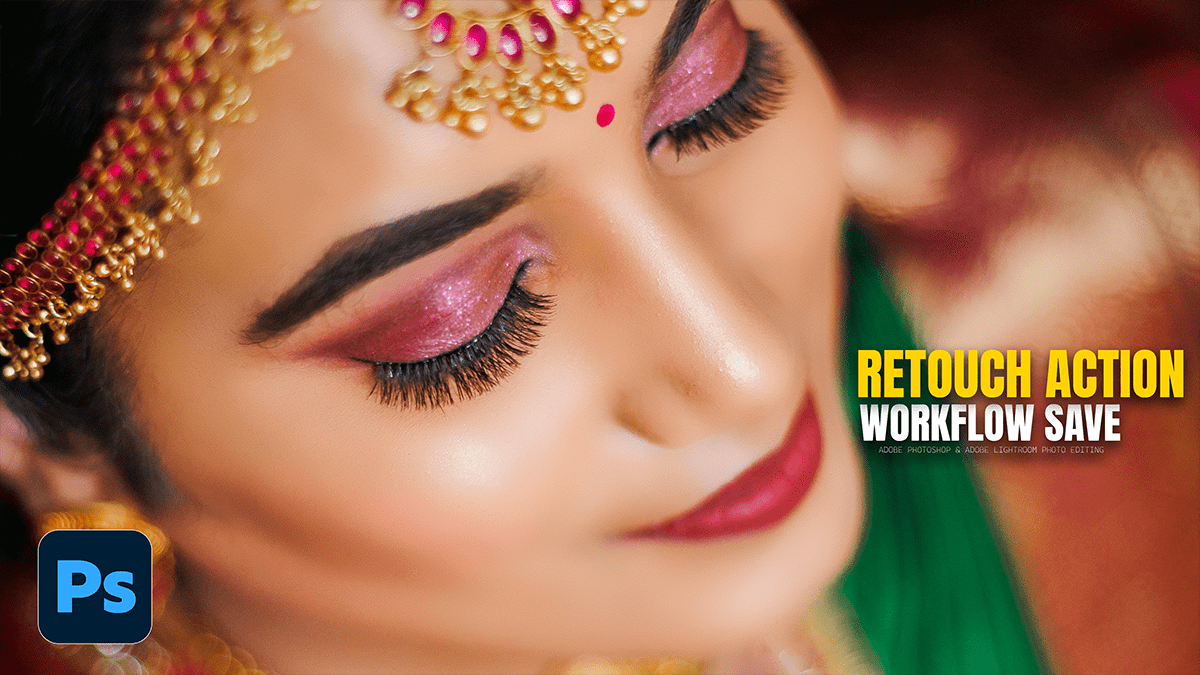
How to Save Retouching Workflow as an Action in Photoshop,

Therefore, saving your workflow as an Action is the ultimate “pro” move. It allows you to automate the tedious setup (creating layers, naming them, and setting the math for Frequency Separation) so you can get straight to the creative retouching.
In other words, here is how to record your 2026 Skin Retouching Master Action.
How to Save Retouching Workflow as an Action in Photoshop,
1. Prepare the Workspace:
Therefore, before you hit record, make sure you have a standard portrait open with only a Background layer.
In other words, open the Actions Panel (Window > Actions).
Therefore, click the Folder Icon at the bottom to create a new set called “My Retouching Tools.”
In other words, click the + (Plus) Icon to create a new Action. Name it “Pro Skin Retouch 2026.”
(Optional) Assign a Function Key (like F2) so you can run it with one keyboard press.
Therefore, Hit Record. (The circle icon will turn red).
2. Record the Steps (Perform these once)
Everything you do now is being “memorized” by Photoshop.
Duplicate Layers: Press Ctrl+J twice. Rename the top one “High Freq” and the middle one “Low Freq.”
Group Them: Therefore, select both and press Ctrl+G. Name the group “Retouching.”
Low Frequency Blur: Select “Low Freq.” Go to Filter > Blur > Gaussian Blur. Set it to 6.0 (a good middle-ground) and click OK.
High Frequency Texture: However, Select “High Freq.” Go to Image > Apply Image. Use the settings we discussed:
Layer: In other words, Low Freq | Blending: Subtract | Scale: 2 | Offset: 128.
Blend Mode: However, change “High Freq” blend mode to Linear Light.
Set up D&B Layers:
In other words, create a Curves layer, pull it up, name it “Dodge,” and invert the mask (Ctrl+I).
creater, Create a Curves layer, pull it down, name it “Burn,” and invert the mask (Ctrl+I).
Select the Tool: Select the Mixer Brush so it’s ready for you when the action finishes.
How to Save Retouching Workflow as an Action in Photoshop,
STOP RECORDING: Click the square icon in the Actions panel.
3. Adding “Stops” for Customization:
However, because every face is different, a blur of 6.0 might not work for every photo. You can tell Photoshop to “pause” and let you choose the settings.
Above all, in the Actions panel, look for the empty square column next to the Gaussian Blur step.
In addition, click it to turn on the Dialog Icon.
Above all, now, when you run the action, Photoshop will automatically set up the layers, but will pop up the Blur window so you can adjust it for that specific skin type before moving on.
How to Save Retouching Workflow as an Action in Photoshop,
4. Running the Action on a New Photo:
Above all, Next time you open a photo:
In addition, select your “Pro Skin Retouch 2026” Action.
Above all, press the Play button.
In addition, adjust the blur when prompted, and in 3 seconds, your entire professional workspace is built.
Workflow Efficiency Checklist:
| Task | Manual Time | Action Time |
| Layer Creation | 2 Minutes | < 1 Second |
| Frequency Separation Math | 1 Minute | < 1 Second |
| Dodge & Burn Setup | 2 Minutes | < 1 Second |
| Total Saved | -5 Minutes | Instant |
In conclusion, would you like me to generate a PDF cheat sheet of the Mixer Brush and Dodge & Burn shortcuts to keep at your desk?
