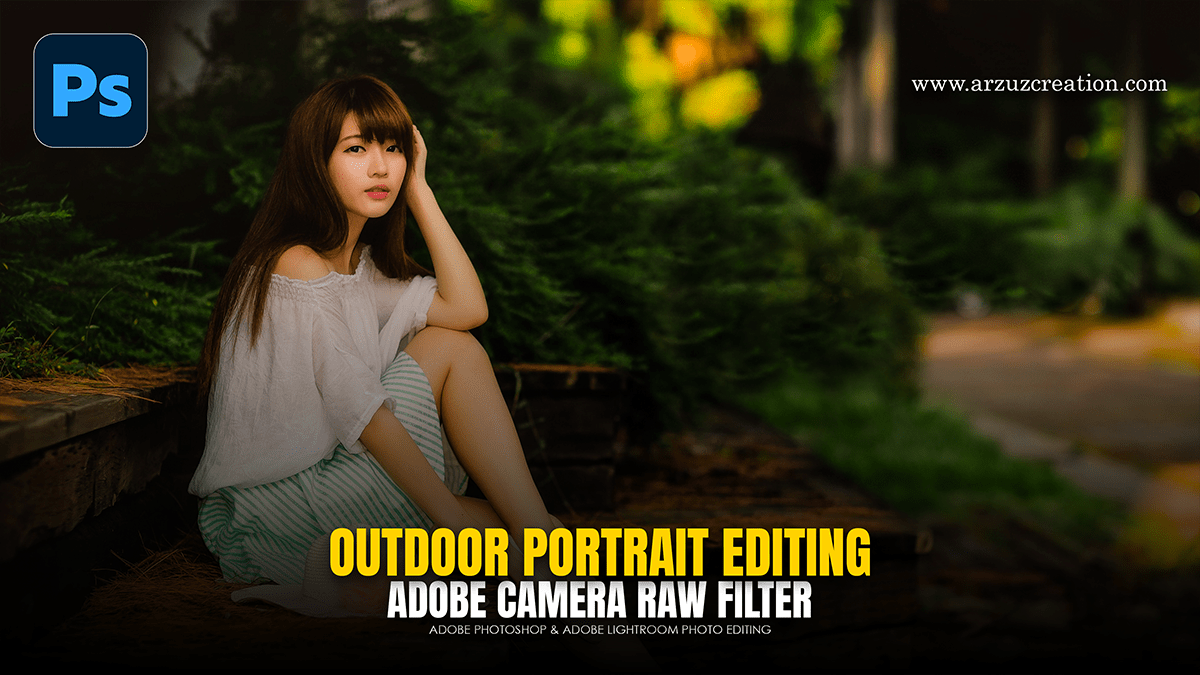
Portrait Photo Editing Using Adobe Photoshop,

Therefore, to edit an outdoor portrait beautifully in Adobe Photoshop, you can follow the steps below. In other words, this will make your photo much more professional and eye-catching:
Portrait Photo Editing Using Adobe Photoshop,
1. Camera Raw Filter:
Therefore, to start with, go to Filter > Camera Raw Filter to adjust the basics of the photo.
Exposure & Contrast: In other words, if there is a lack of light, increase the Exposure a little and add Contrast to increase the depth of the photo.
Highlights & Shadows: However, reduce the Highlights to fix the sky or bright parts of the background, and increase the Shadows to make the dark parts clearer.
White Balance: However, in the case of outdoor photos, you can use the ‘Temperature’ slider to give the photo a slightly warm or golden tone.
Portrait Photo Editing Using Adobe Photoshop,
2. Skin Retouching:
However, to remove blemishes or rough skin:
Spot Healing Brush: For instance, use this to remove acne scars or small, unnecessary spots.
Neural Filters: For instance, in the latest version of Photoshop, you can easily smooth the skin using the Filter > Neural Filters > Skin Smoothing option.
Portrait Photo Editing Using Adobe Photoshop,
3. Color Grading:
Above all, the true beauty of an outdoor photo comes out in its colors.
Selective Color: Above all, here, you can change the settings of the Green or Yellow channel to make the color of the leaves darker or lighter.
Color Balance: In addition, adding a little blue to the shadows and a little yellow or orange to the highlights gives a movie-style look.
Portrait Photo Editing Using Adobe Photoshop,
4. Pop-up the subject:
Dodge & Burn: In addition, use the ‘Dodge Tool’ to highlight the bright parts of the eyes or face, and use the ‘Burn Tool’ to slightly darken the hairline or sidelines. This gives the image a 3D effect.
Subject Selection: After that, you can select the model with ‘Select > Subject’ and give the background a little Gaussian Blur if the lens blur is low.
5. Final Touch:
Vignette: After that, if you darken the edges of the image slightly, everyone’s attention falls on the subject in the middle.
Sharpening: Similarly, finally, use Filter > Sharpen > Smart Sharpen to make the image crisp or sharp.
A tip: In addition, always work with a new layer when editing, so that if you make a mistake, you can easily revert to the previous state.
Portrait Photo Editing Using Adobe Photoshop,
In conclusion, are you looking to create a specific type of look (such as vintage or cinematic)? If you let me know, I can tell you the settings accordingly.
এডোবি ফটোশপে ব্যবহার করে পোর্ট্রেট ফটো এডিটিং,
Adobe Photoshop-এ একটি আউটডোর পোর্ট্রেট সুন্দর করে এডিট করার জন্য আপনি নিচের ধাপগুলো অনুসরণ করতে পারেন। এটি আপনার ছবিকে অনেক বেশি প্রফেশনাল এবং নজরকাড়া করে তুলবে:
১. ক্যামেরা র ফিল্টার (Camera Raw Filter)
শুরুতেই ছবির বেসিক ঠিক করার জন্য Filter > Camera Raw Filter অপশনে যান।
Exposure & Contrast: আলোর স্বল্পতা থাকলে Exposure কিছুটা বাড়িয়ে নিন এবং ছবির গভীরতা বাড়াতে Contrast যোগ করুন।
Highlights & Shadows: ব্যাকগ্রাউন্ডের আকাশ বা উজ্জ্বল অংশ ঠিক করতে Highlights কমিয়ে দিন এবং অন্ধকার অংশ স্পষ্ট করতে Shadows বাড়িয়ে দিন।
White Balance: আউটডোর ছবির ক্ষেত্রে ‘Temperature’ স্লাইডারটি ব্যবহার করে ছবিটিকে সামান্য ওয়ার্ম (Warm) বা গোল্ডেন টোন দিতে পারেন।
২. স্কিন রিটাচিং (Skin Retouching)
চেহারার দাগ বা খসখসে ভাব দূর করার জন্য:
Spot Healing Brush: এটি দিয়ে ব্রণের দাগ বা অপ্রয়োজনীয় ছোট দাগগুলো মুছে ফেলুন।
Neural Filters: লেটেস্ট ফটোশপে Filter > Neural Filters > Skin Smoothing অপশনটি ব্যবহার করে খুব সহজেই ত্বক মসৃণ করা যায়।
এডোবি ফটোশপে ব্যবহার করে পোর্ট্রেট ফটো এডিটিং,
৩. কালার গ্রেডিং (Color Grading)
আউটডোর ছবির আসল সৌন্দর্য ফুটে ওঠে এর রঙে।
Selective Color: এখানে গিয়ে গ্রিন (Green) বা ইয়েলো (Yellow) চ্যানেলের সেটিংস পরিবর্তন করে গাছের পাতার রঙ গাঢ় বা হালকা করতে পারেন।
Color Balance: শ্যাডোতে সামান্য নীল (Blue) এবং হাইলাইটস-এ সামান্য হলুদ (Yellow) বা কমলা যোগ করলে মুভি স্টাইল লুক আসে।
Portrait Photo Editing Using Adobe Photoshop
৪. সাবজেক্টকে পপ-আপ করা (Subject Pop-up)
Dodge & Burn: ‘Dodge Tool’ দিয়ে চোখের মণি বা চেহারার উজ্জ্বল অংশগুলো হাইলাইট করুন এবং ‘Burn Tool’ দিয়ে চুলের পাড় বা সাইডলাইনগুলো সামান্য ডার্ক করুন। এতে ছবিতে থ্রি-ডি (3D) ইফেক্ট আসে।
Subject Selection: ‘Select > Subject’ দিয়ে মডেলকে সিলেক্ট করে ব্যাকগ্রাউন্ডে সামান্য Gaussian Blur দিতে পারেন যদি লেন্সের ব্লার কম থাকে।
এডোবি ফটোশপে ব্যবহার করে পোর্ট্রেট ফটো এডিটিং,
৫. ফাইনাল টাচ:
Vignette: ছবির চারপাশ সামান্য অন্ধকার করে দিলে সবার নজর মাঝখানের সাবজেক্টের ওপর পড়ে।
Sharpening: সবশেষে Filter > Sharpen > Smart Sharpen ব্যবহার করে ছবিটিকে ক্রিস্পি বা শার্প করে নিন।
একটি টিপস: এডিট করার সময় সবসময় নতুন লেয়ার (New Layer) নিয়ে কাজ করবেন, যাতে কোনো ভুল হলে সহজেই আগের অবস্থায় ফিরে আসা যায়।
