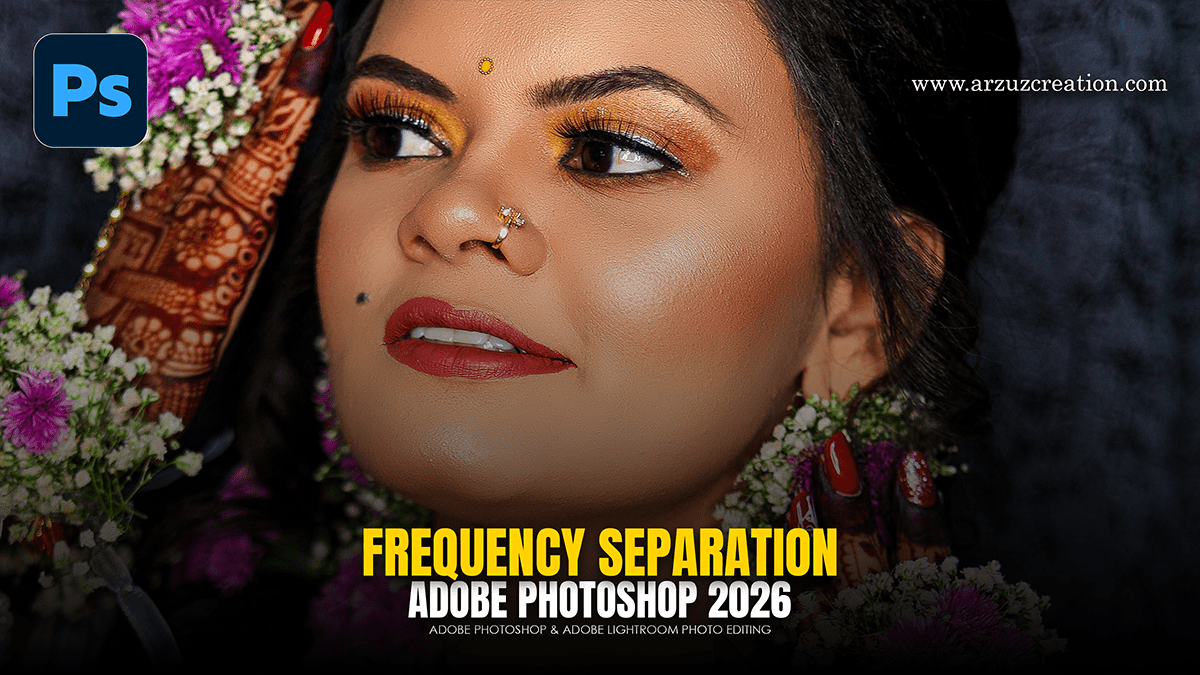
How to do Professional Skin Retouching without using Plugins in Ps,

Therefore, the most effective method for professional-level skin retouching in Adobe Photoshop without third-party plugins (e.g., Portraiture or Retouch4me) is the Frequency Separation technique. In addition, Major editors use it because it allows you to adjust only the color and tone without destroying the texture of the skin.
How to do Professional Skin Retouching without using Plugins in Ps,
Therefore, below is the step-by-step method:
1. Layer Setup (Frequency Separation)
In other words, first, create two duplicate layers of your original image (Ctrl + J twice).
In other words, name the top layer “High Frequency” (this will control the texture or hair/pores).
However, name the bottom layer “Low Frequency” (this will control the color or shadows).
2. Blur Effect (Low Frequency)
In other words, close the top layer.
However, select the “Low Frequency” layer and go to Filter > Blur > Gaussian Blur.
For instance, set the Radius in such a way that the skin details are blurred but the skin color is visible. Usually, it is good to keep it between 5 and 10.
How to do Professional Skin Retouching without using Plugins in Ps,
3. Texture Extraction (High Frequency)
For instance, activate and select the top layer.
However, Go to Image > Apply Image. Then adjust the following settings:
Layer: In addition, select Low Frequency.
Blending: Similarly, Subtract.
Scale: 2, Offset: 128.
Above all, after clicking OK, change the Blending Mode of this layer to Linear Light. Now you will see that the image has become normal as before.
How to do Professional Skin Retouching without using Plugins in Ps,
4. Start retouching
For instance, now the real work begins. You can use two tools to smooth skin without a plugin:
Mixer Brush Tool: Above all, go to the “Low Frequency” layer and lightly blend the skin colors with the mixer brush. This will make the skin tone look very even and professional. (Settings: Wet: 10%, Load: 15%, Mix: 10%, Flow: 10%).
Lasso Tool: Similarly, selecting any part of the “Low Frequency” layer and giving it a light Gaussian Blur also gives a very nice, smooth effect.
Healing Brush: Above all, use the healing brush to remove blemishes or pimples by selecting the “High Frequency” layer. This will not damage the natural pores of the skin.
How to do Professional Skin Retouching without using Plugins in Ps,
5. Finishing Touches (Dodge and Burn)
In addition, you can Dodge and Burn a new layer to make the highlights and shadows more pronounced, which will give the image a 3D look.
In conclusion, Editing this way will make the image look very natural, which is usually difficult to do with plugins. Would you like to know more about a specific step in this method?
ফটোশপে প্লাগইন ব্যবহার না করে কীভাবে পেশাদার স্কিন রিটাচিং করবেন:
Adobe Photoshop-এ কোনো থার্ড-পার্টি প্লাগইন (যেমন: Portraiture বা Retouch4me) ব্যবহার না করেই একদম প্রফেশনাল লেভেলের স্কিন রিটাচিং করার সেরা উপায় হলো Frequency Separation টেকনিক। এটি বড় বড় এডিটরেরা ব্যবহার করেন কারণ এতে স্কিনের টেক্সচার (Texture) নষ্ট না করে শুধু কালার এবং টোন ঠিক করা যায়।
নিচে ধাপে ধাপে পদ্ধতিটি দেওয়া হলো:
১. লেয়ার সেটআপ (Frequency Separation)
প্রথমে আপনার মূল ছবিটির দুটি ডুপ্লিকেট লেয়ার তৈরি করুন (Ctrl + J দুইবার)।
উপরের লেয়ারটির নাম দিন “High Frequency“ (এটি টেক্সচার বা লোম/ছিদ্র নিয়ন্ত্রণ করবে)।
নিচের লেয়ারটির নাম দিন “Low Frequency“ (এটি রং বা শ্যাডো নিয়ন্ত্রণ করবে)।
How to do Professional Skin Retouching without using Plugins in Ps,
২. ব্লার ইফেক্ট (Low Frequency)
উপরের লেয়ারটি চোখ বন্ধ করে দিন।
“Low Frequency” লেয়ারটি সিলেক্ট করে Filter > Blur > Gaussian Blur-এ যান।
এমনভাবে রেডিয়াস সেট করুন যাতে স্কিনের ডিটেইলস ঝাপসা হয়ে যায় কিন্তু গায়ের রং বোঝা যায়। সাধারণত ৫ থেকে ১০ এর মধ্যে রাখা ভালো।
ফটোশপে প্লাগইন ব্যবহার না করে কীভাবে পেশাদার স্কিন রিটাচিং করবেন,
৩. টেক্সচার এক্সট্রাকশন (High Frequency)
উপরের লেয়ারটি চালু করুন এবং সিলেক্ট করুন।
In addition, Image > Apply Image-এ যান। এরপর নিচের সেটিংসগুলো ঠিক করুন:
Layer: Low Frequency সিলেক্ট করুন।
Blending: Subtract।
Scale: 2, Offset: 128।
ওকে করার পর এই লেয়ারটির Blending Mode পরিবর্তন করে Linear Light করে দিন। এখন দেখবেন ছবি আগের মতো স্বাভাবিক হয়ে গেছে।
ফটোশপে প্লাগইন ব্যবহার না করে কীভাবে পেশাদার স্কিন রিটাচিং করবেন,
৪. রিটাচিং শুরু করা:
এখন আসল কাজ শুরু। প্লাগইন ছাড়াই স্কিন স্মুথ করার জন্য দুটি টুল ব্যবহার করতে পারেন:
Mixer Brush Tool: “Low Frequency” লেয়ারে গিয়ে মিক্সার ব্রাশ দিয়ে স্কিনের কালারগুলো হালকাভাবে ব্লেন্ড করুন। এতে স্কিন টোন একদম সমান এবং প্রফেশনাল দেখাবে। (সেটিংস: Wet: 10%, Load: 15%, Mix: 10%, Flow: 10%)।
Lasso Tool: “Low Frequency” লেয়ারে কোনো অংশ সিলেক্ট করে হালকা Gaussian Blur দিলেও খুব সুন্দর স্মুথ ইফেক্ট আসে।
Healing Brush: ব্রাশ বা পিম্পল দূর করার জন্য “High Frequency” লেয়ার সিলেক্ট করে হিলিং ব্রাশ ব্যবহার করুন। এতে স্কিনের ন্যাচারাল ছিদ্রগুলো নষ্ট হবে না।
How to do Professional Skin Retouching without using Plugins in Ps,
৫. ফিনিশিং টাচ (Dodge and Burn)
সবশেষে একটি নতুন লেয়ার নিয়ে Dodge and Burn করে হাইলাইট এবং শ্যাডো আরও স্পষ্ট করতে পারেন, যা ছবিকে থ্রি-ডি লুক দেবে।
এই পদ্ধতিতে এডিট করলে ছবি দেখতে একদম ন্যাচারাল মনে হবে, যা সাধারণত প্লাগইন দিয়ে করা কঠিন। আপনি কি এই পদ্ধতির কোনো নির্দিষ্ট ধাপ সম্পর্কে আরও বিস্তারিত জানতে চান?
