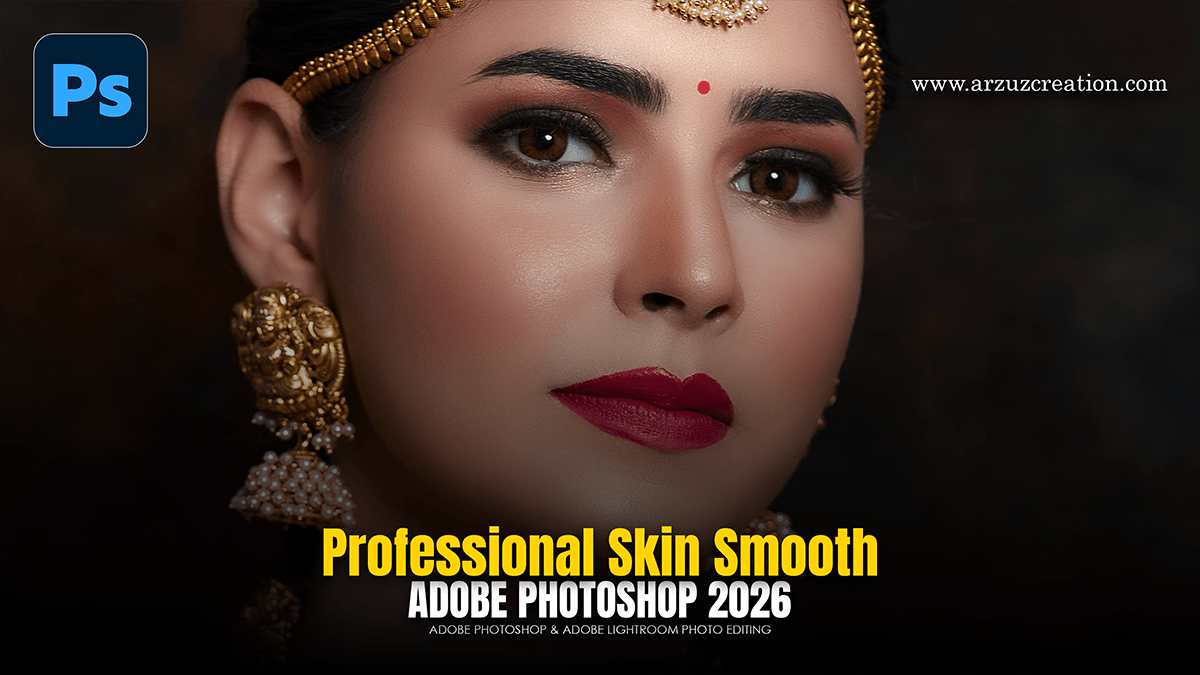
Professional Skin Smooth Using Adobe Photoshop 2026

Therefore, the most popular and professional method for smoothing skin in Adobe Photoshop is Frequency Separation. In this method, the texture and color are on separate layers, so the image can be improved without destroying the natural pores of the skin.
In other words, here are some simple steps:
Professional Skin Smooth Using Adobe Photoshop 2026:
1. Creating layers:
Therefore, first, create two copies or duplicates of your original image (press Ctrl + J twice).
In other words, name the top layer “Texture” and the bottom one “Tone”.
2. Adjusting the blur or tone layer:
In other words, temporarily hide the “Texture” layer and select the “Tone” layer.
Therefore, Go to Filter > Blur > Gaussian Blur.
In other words, set the Radius so that the skin spots blend lightly, but the outline is still visible. (Usually between 4 and 8).
Professional Skin Smooth Using Adobe Photoshop 2026:
3. Texture Layer Setup:
However, now unhide and select the “Texture” layer.
Therefore, Go to Image > Apply Image. Give the following settings there:
Layer: Tone
Blending: Subtract
Scale: 2
Offset: 128
However, then change the Blending Mode of this layer to “Linear Light”. Now the image will look normal again.
Professional Skin Smooth Using Adobe Photoshop 2026:
4. Smoothing Process:
Select the Tone Layer: For instance, now select the part of the skin that you want to smooth with the Lasso Tool (you can keep the Feather or Feather 20-30 pixels). Then again Filter > Blur > Gaussian Blur. You will see that the skin is blending very nicely.
Fixing the Texture Layer: However, if there are any extra pimples or large blemishes on your face, select the “Texture” layer and remove them using the Clone Stamp Tool or Healing Brush Tool.
5. Quick Method (using AI)
For instance, if you have a newer version of Photoshop, you can follow these steps to do it very quickly:
In addition, go to Filter > Neural Filters.
Above all, from there, turn on the “Skin Smoothing” option.
After that, move the slider to set the blur and smoothness to your liking.
Professional Skin Smooth Using Adobe Photoshop 2026:
Above all, which of these methods seems more effective for you? If you want, I can also give you detailed instructions on using a specific tool (such as the Brush Tool).
Similarly, Adobe Photoshop-এ স্কিন স্মুথ (Skin Smooth) করার জন্য সবচেয়ে জনপ্রিয় এবং প্রফেশনাল পদ্ধতি হলো Frequency Separation। এই পদ্ধতিতে টেক্সচার এবং কালার আলাদা লেয়ারে থাকে, ফলে চামড়ার স্বাভাবিক ছিদ্র বা পোরস (Pores) নষ্ট না করেই ছবি সুন্দর করা যায়।
অ্যাডোবি ফটোশপ ২০২৬ ব্যবহার করে পেশাদারভাবে ত্বক মসৃণ করুন,
নিচে সহজ কয়েকটি ধাপ দেওয়া হলো:
১. লেয়ার তৈরি করা:
প্রথমে আপনার মূল ছবিটির দুটি কপি বা ডুপ্লিকেট তৈরি করুন (Ctrl + J দুইবার চাপুন)।
উপরের লেয়ারটির নাম দিন “Texture” এবং নিচেরটির নাম দিন “Tone”।
২. ব্লার বা টোন লেয়ার ঠিক করা:
“Texture” লেয়ারটি সাময়িকভাবে হাইড (Hide) করে দিন এবং “Tone” লেয়ারটি সিলেক্ট করুন।
Similarly, Filter > Blur > Gaussian Blur-এ যান।
এমনভাবে রেডিয়াস (Radius) সেট করুন যেন ত্বকের দাগগুলো হালকা মিশে যায় কিন্তু অবয়ব বোঝা যায়। (সাধারণত ৪ থেকে ৮ এর মধ্যে)।
অ্যাডোবি ফটোশপ ২০২৬ ব্যবহার করে পেশাদারভাবে ত্বক মসৃণ করুন,
৩. টেক্সচার লেয়ার সেটআপ:
এবার “Texture” লেয়ারটি আনহাইড করে সিলেক্ট করুন।
Image > Apply Image-এ যান। সেখানে নিচের সেটিংসগুলো দিন:
Layer: Tone
Blending: Subtract
Scale: 2
Offset: 128
এরপর এই লেয়ারটির Blending Mode পরিবর্তন করে “Linear Light” করে দিন। এখন ছবিটি আবার আগের মতো স্বাভাবিক দেখাবে।
Professional Skin Smooth Using Adobe Photoshop 2026:,
৪. স্মুথিং প্রক্রিয়া:
Tone লেয়ার সিলেক্ট করুন: এবার Lasso Tool দিয়ে ত্বকের যে অংশটি স্মুথ করতে চান সেটি সিলেক্ট করুন (ফেদার বা Feather ২০-৩০ পিক্সেল রাখতে পারেন)। এরপর আবার Filter > Blur > Gaussian Blur দিন। দেখবেন স্কিন খুব সুন্দরভাবে মিশে যাচ্ছে।
Texture লেয়ার ঠিক করা: যদি মুখে কোনো বাড়তি ব্রণ বা বড় দাগ থাকে, তবে “Texture” লেয়ার সিলেক্ট করে Clone Stamp Tool বা Healing Brush Tool ব্যবহার করে সেগুলো সরিয়ে ফেলুন।
Professional Skin Smooth Using Adobe Photoshop 2026:
৫. কুইক মেথড (AI ব্যবহার করে)
আপনার কাছে যদি ফটোশপের নতুন ভার্সন থাকে, তবে খুব দ্রুত করার জন্য নিচের ধাপটি দেখতে পারেন:
Filter > Neural Filters-এ যান।
সেখান থেকে “Skin Smoothing” অপশনটি অন করুন।
স্লাইডার নাড়িয়ে আপনার পছন্দমতো ব্লার এবং স্মুথনেস সেট করে নিন।
এই পদ্ধতিগুলোর মধ্যে কোনটি আপনার জন্য বেশি কার্যকর মনে হচ্ছে? আপনি চাইলে আমি কোনো নির্দিষ্ট টুল (যেমন: ব্রাশ টুল) ব্যবহারের বিস্তারিত নিয়মও বলে দিতে পারি।
