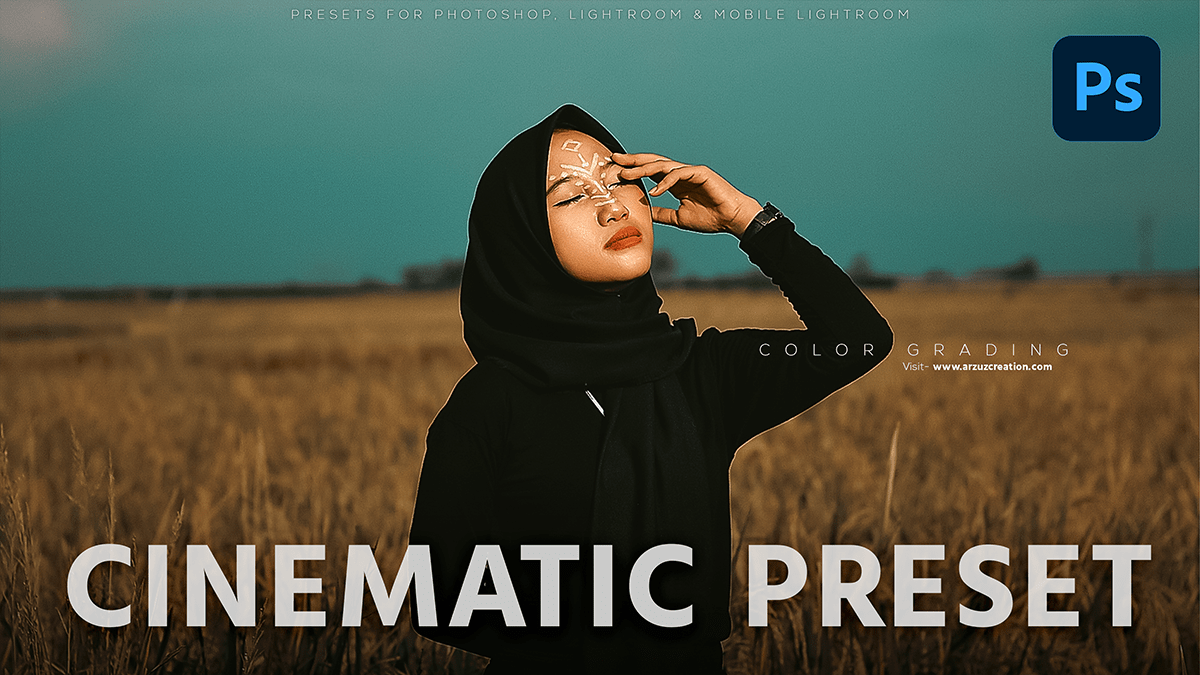
Cinematic presets for Photoshop 2024, Professional cinematic color grading tutorial for beginners.

Therefore, In this Photoshop tutorial, you learn, How to use presets for Photoshop 2024. This premium preset for Photoshop uses a camera raw filter. Outdoor photo editing camera raw presets. color outdoor photo editing in Photoshop.
Presets for Photoshop is a collection of pre-set adjustments and effects that can be applied to your images to give them a look.
These presets are designed to mimic the color grading and stylistic techniques used in film and video production, such as desaturated colors, high contrast, and selective coloring.
However, They can be used to enhance the mood, tone, and atmosphere of your images, making them more cinematic and visually appealing. Presets for Photoshop are available for purchase from various online marketplaces or as part of larger editing software packages.
Cinematic Presets For Photoshop 2024,
In other words, Color grading is the process of enhancing and manipulating the colors in a video to achieve a specific look or mood. In Photoshop, you can simulate this process by applying various adjustments and filters to still images. Here’s a basic workflow for cinematic color grading in Photoshop:
Open your image in Photoshop and duplicate the background layer (Ctrl/Cmd + J).
Apply a Curves adjustment layer to the duplicate layer. This will allow you to adjust the overall brightness and contrast of the image.
Click here to download this camera raw preset,
Use the Curves tool to create a “S” shape curve, with a gentle increase in brightness at the beginning, followed by a steep drop-off towards the end. This will help to create a more cinematic look with deeper shadows and brighter highlights.
For instance, Next, apply a Color Lookup adjustment layer to the duplicate layer. This will allow you to apply predefined color grading presets or custom LUTs (Lookup Tables) to your image. You can find these presets online or create your own using software like DaVinci Resolve or Adobe SpeedGrade.
Use the Color Lookup adjustment layer to apply your chosen color grading preset or custom LUT to your image. This will give it a more cinematic look with richer colors and deeper shadows.
Click here to watch this video tutorial,
You can further refine your color grading by applying additional adjustment layers, such as Vibrance, Saturation, and Hue/Saturation, to specific areas of the image. This will allow you to selectively enhance or desaturate certain colors, creating a more dynamic and cinematic look.
Finally, you can use Photoshop’s blending modes and layer masks to blend your color-grading layers together seamlessly, creating a more cohesive and cinematic look overall.
Remember, the key to achieving a cinematic look is to experiment with different adjustments and filters until you find the right combination for your specific image and desired mood or style.
