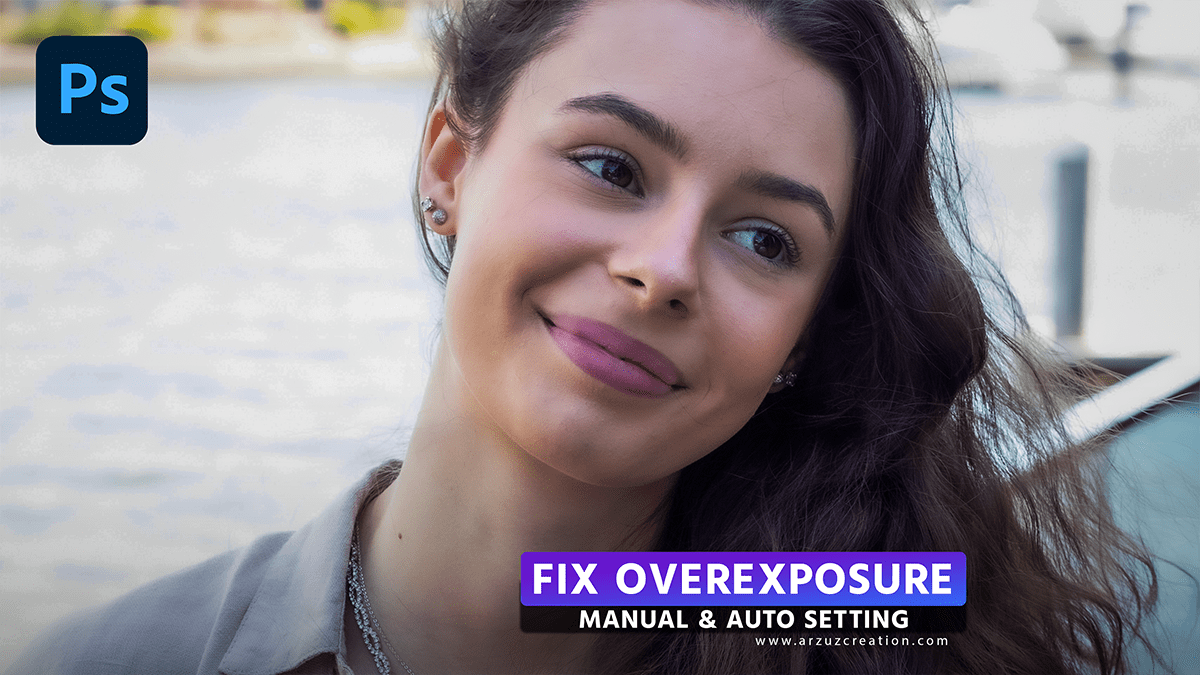
How to fix overexposed photos in Photoshop 2024, a Professional photo editing tutorial for beginners.

In this Photoshop tutorial, you learn, How to fix overexposed photos in Adobe Photoshop 2024. You learn this step by step following my directions & watch this video tutorial also. I am using the Adobe Photoshop 2024 version of the application. If you do this work, you want any Photoshop version.
Adobe Camera Raw Filter plugin very helpful photo editing plugin. Professional photo editing work for use this. If you always use this plugin you learn better photo editing & eye-catching photo editing work.
Here’s a step-by-step guide on how to fix overexposed photos in Photoshop:
Open the overexposed photo in Photoshop.
Duplicate the background layer by right-clicking on the layer and selecting “Duplicate Layer” or by pressing Ctrl + J (Windows) or Command + J (Mac).
Rename the duplicate layer to “Adjustments” or something similar.
How to Fix Overexposed Photos in Photoshop 2024,
Click on the “Adjustments” layer to select it.
Go to the “Adjustments” panel (Window > Adjustments) and click on the “Levels” adjustment layer icon. This will add a new “Levels” adjustment layer to the “Adjustments” layer.
Click here to watch this video tutorial,
In the “Levels” dialog box, adjust the sliders until you see the details in the overexposed areas of the photo. You may need to move the white slider to the left and the black slider to the right to bring back details in the highlights and shadows, respectively.
If you still see some areas that are too bright, you can use the “Burn Tool” to darken them. Select the “Burn Tool” from the toolbar on the left-hand side of the screen, and then set its exposure to around 15%. Use this tool to paint over the overexposed areas until they are more balanced with the rest of the photo.
If you still see some areas that are too dark, you can use the “Dodge Tool” to lighten them. Select this tool from the toolbar, and then set its exposure to around 15%. Use this tool to paint over the dark areas until they are more balanced with the rest of the photo.
Once you’re satisfied with your adjustments, merge all layers by right-clicking on one of your layers and selecting “Merge Layers” or by pressing Ctrl + E (Windows) or Command + E (Mac).
Save your edited photo in your preferred format, such as JPEG or PNG, and enjoy your newly fixed overexposed photo!
