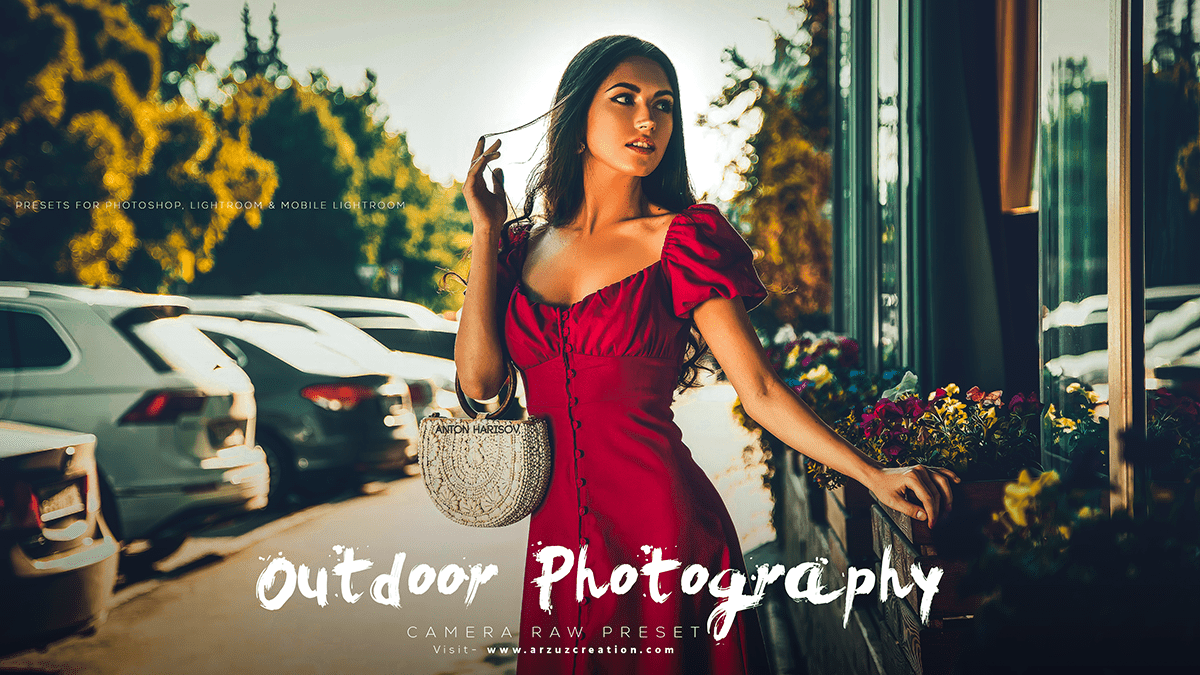
Outdoor photography edit Photoshop 2024, Adobe camera raw filter 16.0 plugin professional photo editing and color grading tutorial. Learn here, about color correction in outdoor and indoor photography.

Therefore, In this Photoshop tutorial, you learn, How to do outdoor photo color grading in Photoshop 2024. Color grading Photoshop camera raw filter. In other words, Camera raw filter color grading tutorial. Preset photo editing Photoshop.
However, Cinematic editing presets for Photoshop 2024. Premium color correction presets for Photoshop using a camera raw filter. Outdoor photo editing camera raw presets. Color outdoor photo editing in Photoshop.
Outdoor Photography Edit Photoshop 2024,
How Do You Edit Outdoor Photoshoots?
For instance, Outdoor photo editing Photoshop tutorial. Outdoor photo editing camera raw presets. Photo editing. Color correction in Photoshop. Above all, Color correction. Photo color correction. Photoshop photo editing.
Outdoor photography often requires color grading in post-processing to enhance the natural colors and mood of the image. Here’s a step-by-step guide on how to color-grade outdoor photography in Photoshop:
Click here to download this preset file,
Open your image in Photoshop and duplicate the background layer by pressing Ctrl/Cmd + J.
In addition, Select the duplicate layer and go to Layer > New Adjustment Layer > Color Lookup. This will open a dialog box where you can select a color lookup table (LUT). LUT files can be downloaded online or created using software like Adobe Premiere Pro or DaVinci Resolve. Select a LUT that suits your image’s mood or style. For outdoor photography with a warm tone or sunset colors, you can use a LUT like “Sunset” or “Golden Hour“. For a cooler tone, you can use a LUT like “Cinema” or “Blue“. Click OK to apply the LUT.
For instance, The LUT adjustment layer will affect the entire image. To fine-tune the color grading, create a layer mask on the LUT adjustment layer by clicking on the layer mask icon at the bottom of the Layers panel.
After that, Use a soft-edged brush with black color to mask out areas that you don’t want to be affected by the LUT. For example, you can mask out the sky to preserve its color and texture. Use a white brush to reveal the LUT effect in areas that need it, like the foreground or midground.
In addition, Adjust the opacity of the LUT adjustment layer to control the intensity of the color grading.
Click here to watch this video tutorial,
Similarly, To enhance the contrast and saturation of the image, create a new adjustment layer by going to Layer > New Adjustment Layer > Curves. Use the curves tool to adjust the contrast and brightness of the image. You can also use the Vibrance and Saturation adjustment layers to fine-tune the colors.
After that, Use layer masks to selectively apply the contrast and saturation adjustments to specific areas of the image.
To add a vignette effect, create a new layer and fill it with black color. Use a soft-edged brush to paint over the edges of the image to create a vignette effect. Change the blending mode of the layer to “Multiply” to darken the edges.
Similarly, Adjust the opacity of the vignette layer to control the intensity of the effect.
In conclusion, Save the image in a high-quality format like JPEG or TIFF.
By following these steps, you can create a stunning color grading effect for your outdoor photography in Photoshop. Remember to experiment with different LUTs, adjustment layers, and layer masks to achieve the desired result.
