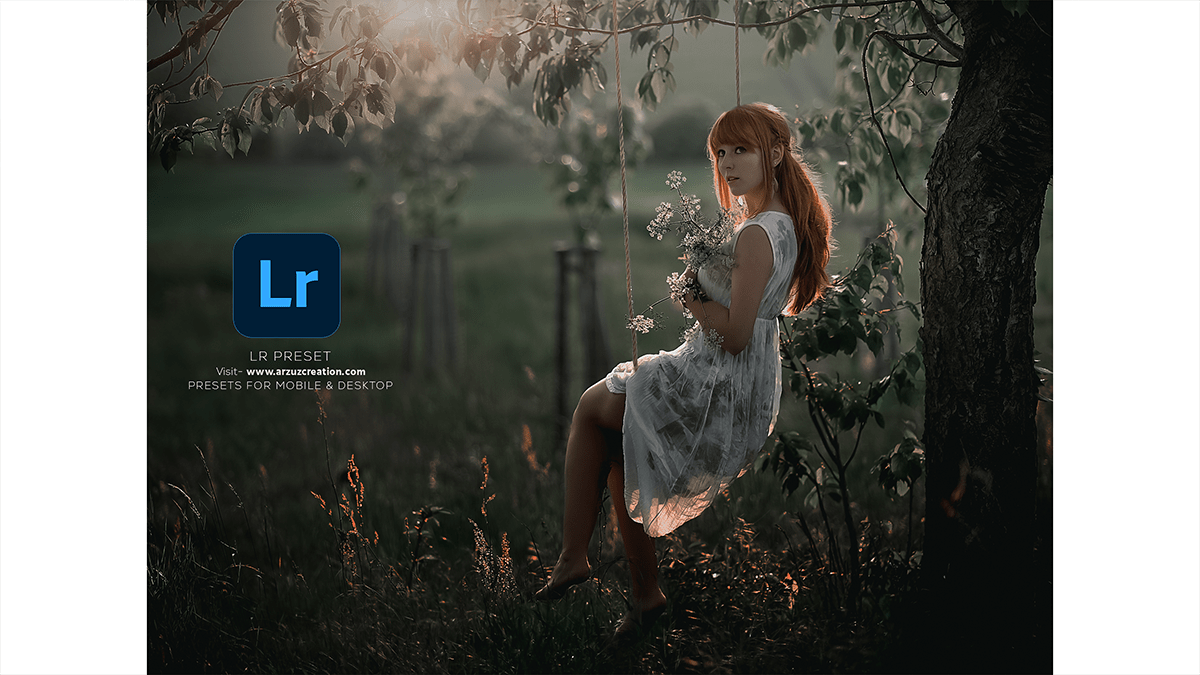
Lightroom Color Grading 2024 Tutorial,
Therefore, In this Photoshop Lightroom tutorial, you learn, How to professional color-grade outdoor or, indoor portrait photos in Adobe Lightroom. LR presets are free to download. LR professional editing tutorial.
Color grading in Adobe Lightroom is a powerful tool for enhancing the mood and atmosphere of your photos by adjusting the colors in specific tonal ranges. Here’s a basic overview of how you can use color grading in Lightroom:
In other words, Open your image: Import your image into Lightroom and navigate to the Develop module.

Access the Color Grading panel: In the Develop module, you’ll find the Color Grading panel located in the right-hand sidebar. It’s represented by an icon with three stacked circles.
Lightroom Color Grading 2024 Tutorial,
Adjust the shadows, midtones, and highlights: The Color Grading panel allows you to adjust the color tint and luminance of the shadows, mid tones, and highlights independently. You can either drag the sliders or use the color wheels to make adjustments.
Color Wheel: The Color Wheel allows you to select a color for shadows, mid-tones, and highlights separately. You can click and drag within the wheel to choose a color and adjust its saturation using the outer ring.
Balance Slider: This slider allows you to adjust the balance between the shadows and highlights. Moving it to the left emphasizes the shadows while moving it to the right emphasizes the highlights.
Fine-tune adjustments: Once you’ve made adjustments to the overall color grading, you can fine-tune your adjustments further using the individual color sliders located beneath the Color Grading panel.

Compare before and after: To see the effect of your color grading adjustments, you can use the Before/After view modes or the History panel to compare the image before and after the changes.
Lightroom Color Grading,
Save your changes: Once you’re satisfied with your color grading adjustments, you can save your changes by clicking on the “Done” button or by pressing “Ctrl + S” (Windows) or “Cmd + S” (Mac).
Remember, color grading is a subjective process, and the best results often come from experimentation and practice. Don’t be afraid to try different combinations of colors and adjustments to achieve the desired look for your photo.
