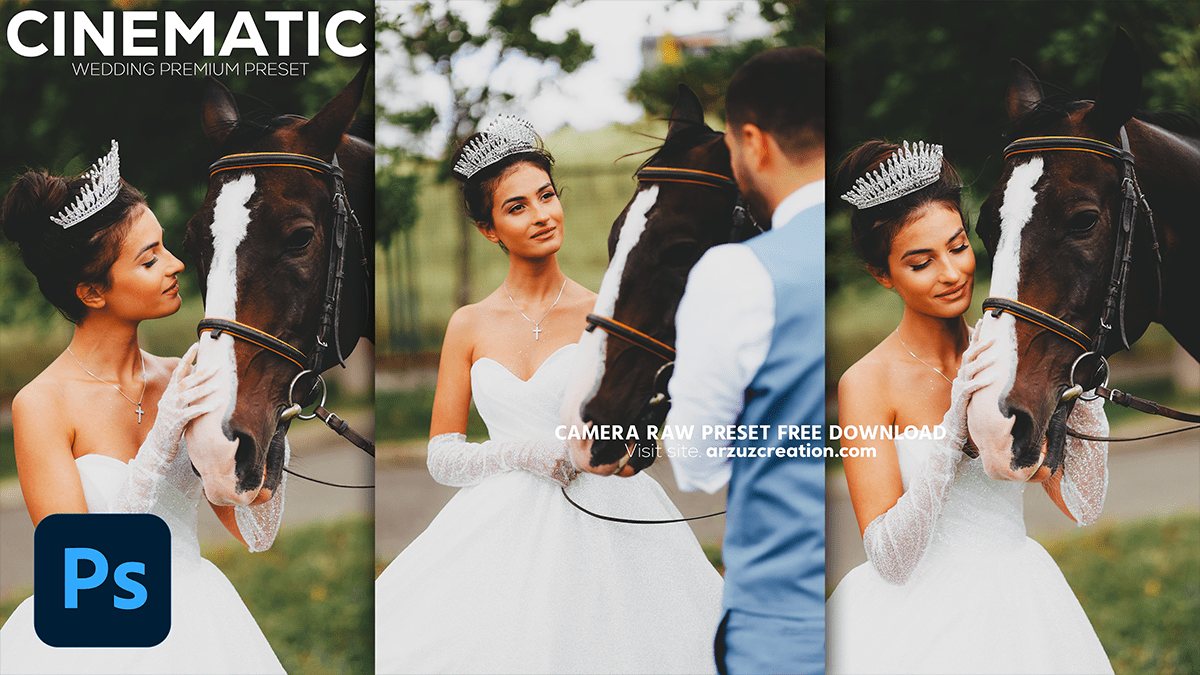
Adobe Photoshop Tutorial: Wedding Photoshop Editing 2024

Therefore, Editing wedding photos in Photoshop is about enhancing the day’s elegance and emotion. In other words, Here’s a step-by-step guide to help you with key wedding photo editing techniques:
Basic Corrections:
- Exposure and Contrast: In other words, Use the Camera Raw Filter or Level adjustments to properly expose the image, bringing out the details in the highlights and shadows.
- White Balance: However, Adjust the Temperature slider to warm or cool the image. Wedding photos often look more romantic with a slightly warmer tone.
- Sharpening and Clarity: Increase sharpness to bring out details like the bride’s dress or jewelry, but avoid over-sharpening which can create noise.
Skin Retouching:
- Spot Healing Brush: However, Remove any blemishes or distractions from the skin.
- Dodge and Burn: Above all, Lightly dodge (brighten) the highlights and burn (darken) the shadows on the face to give a natural, soft glow.
- Frequency Separation: However, For advanced retouching, you can separate skin texture from tone and make detailed adjustments.
Adobe Photoshop Tutorial: Wedding Photoshop Editing 2024, Enhancing Colors:
- Vibrance and Saturation: Above all, Boost vibrance to make colors pop without oversaturating skin tones.
- Selective Color Adjustment: Focus on adjusting specific colors like enhancing the bride’s bouquet or the blue sky.
Adobe Photoshop Tutorial: Wedding Photoshop Editing 2024,

Camera Raw Presets Free Download 2024,
Soft and Dreamy Effects:
- Soft Light Layer: Duplicate the image layer and set it to Soft Light Blending mode. Reduce opacity to create a dreamy, soft glow. You can add a Gaussian Blur to this layer for more softness.
- Radial Blur: For a subtle lens blur effect, use the filter to add a circular focus effect around the couple, drawing attention to them.
Background Enhancements:
- Blur: Above all, If the background is too busy, use the Lens Blur filter to add a shallow depth of field, making the couple stand out.
- Sky Replacement: Use the Sky Replacement Tool if the sky is dull. This can bring life and color to outdoor wedding photos.
Black and White Conversion:
- After that, Use the Black & White Adjustment Layer to convert images, adjusting individual color sliders to control contrast and tone. This is ideal for classic wedding moments.
Adobe Photoshop Tutorial: Wedding Photoshop Editing 2024, Final Touches:
- Vignette: Add a subtle vignette to draw focus toward the center of the image. Use Lens Correction or create a vignette manually using gradient tools.
- Film Grain: Add a slight film grain effect for a vintage, timeless look.
Would you like to explore any of these techniques in more detail?
