SkinFiner: Adobe Photoshop Smooth Skin Plugin,

Therefore, that’s a great tool! SkinFiner is a popular and fast portrait skin retouching software that works as both a standalone application and an Adobe Photoshop/Lightroom plugin.
In other words, here is a summary of its key features and how it helps achieve smooth skin:
SkinFiner: Adobe Photoshop Smooth Skin Plugin,
✨ Key Features of SkinFiner:
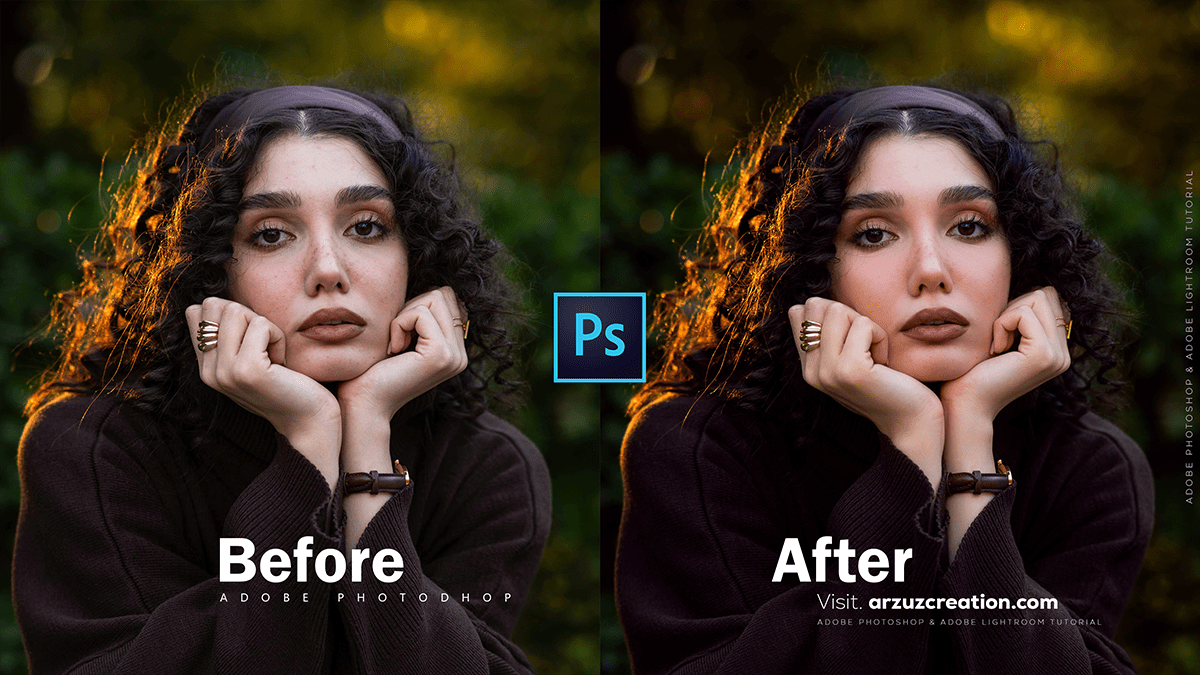
- Automatic Skin Smoothing: It intelligently smooths the skin and removes blemishes and imperfections while preserving the natural skin texture, resulting in a professional and natural look.
- Auto-Skin-Mask: The software automatically detects the skin area in the image, saving you the time of manual selection. You can also fine-tune the mask manually.
- Even Skin Tone: It automatically recognizes and helps fix redness and yellow areas on the skin, allowing you to quickly even out the skin tone using simple sliders.
- Skin Tone Enhancing: You can adjust skin tone, change skin color, fine-tune lighting (shadows and highlights), and adjust brightness and contrast to make the skin look healthy and radiant.
SkinFiner: Adobe Photoshop Smooth Skin Plugin,
- Natural Eye Bags Reduction: It offers a simple slider to brighten and flatten the under-eye area on auto-detected faces.
- Integration: It functions as a plugin for Adobe Photoshop (CS+ up to the latest versions) and Lightroom, and it also works as a standalone photo editor.
- Full-Time 16/32-Bit Processing: This ensures high-quality color adjustments while preserving image details.
💡 How to Use SkinFiner for Smooth Skin (General Workflow)
- Open in Photoshop: With your portrait image open in Photoshop, you would typically run SkinFiner from the Filter menu (e.g.,
Filter > Photo-Toolbox > SkinFiner). - Automatic Mask: SkinFiner will automatically create a skin mask. Review the mask and use the tools within the plugin to manually refine the mask if necessary (e.g., to exclude hair or clothing).
- Skin Smoothing: Navigate to the Skin Details or similar panel.
- Amount: Increase the Amount slider to control how much smoothing is applied. A higher value means smoother skin.
- Fine/Medium/Coarse: Adjust these sliders to control the size of the details to which the smoothing is applied. Pushing the Medium slider higher is often a key step for smoother skin, while the Fine slider can be used to preserve more texture or even sharpen details.
SkinFiner: Adobe Photoshop Smooth Skin Plugin,
- Tone Adjustment: Use the controls in the Skin Imperfections or Skin Tone panels to neutralize unwanted color casts (like redness) and balance the overall tone.
- Apply and Refine: Once satisfied, click OK (or similar) to apply the effect back to your Photoshop layer. You can then use Photoshop’s native tools (like the Spot Healing Brush or a Layer Mask) for any final, localized touch-ups.
In conclusion, would you like me to search for a specific tutorial or video on how to use SkinFiner in Photoshop, or perhaps look for reviews comparing it to other skin smoothing plugins like Portraiture?