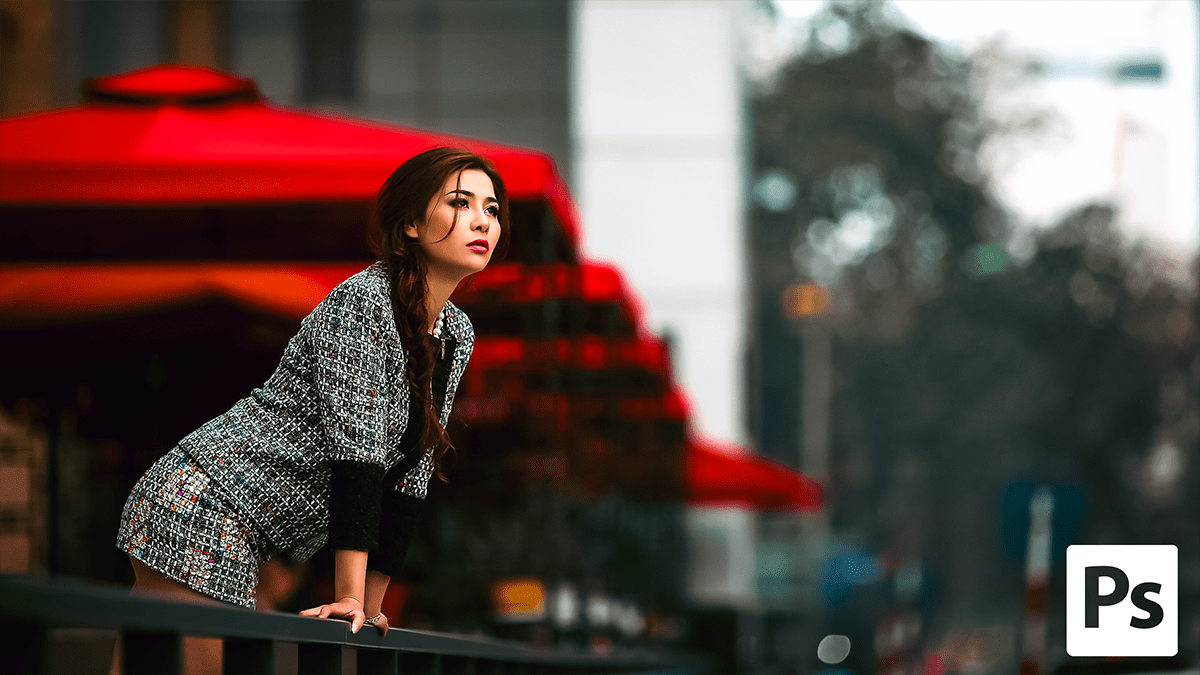
Cinematic Look- How to Edit Photos in Adobe Lightroom Cinematic

Therefore, achieving that “cinematic” look in Adobe Lightroom isn’t just about slapping on a filter; it’s about storytelling through color, contrast, and depth. Cinema often leans into specific palettes (like the classic Teal and Orange) and a softer, more atmospheric texture.
Cinematic Look- How to Edit Photos in Adobe Lightroom Cinematic
In other words, here is a step-by-step guide to crafting a cinematic edit.
1. The Foundation: Light and Contrast:
Therefore, Cinematic shots often have a “moody” feel. This usually means preserving shadows while ensuring the highlights aren’t blown out.
- Exposure: In other words, drop it slightly to create a mood.
- Contrast: Increase it, but don’t go overboard.
- Highlights: In other words, pull them down to recover detail in bright areas.
- Shadows: Lift them slightly to reveal “hidden” details, or crush them for a noir look.
2. The Secret Sauce: The Tone Curve:
Therefore, this is where the magic happens. To get the “faded” film look, you need an S-Curve.
- The Fade: Create a point at the very bottom left of the curve and drag it upward. This turns pure blacks into a smoky dark grey.
- The “S”: In other words, create a point in the shadows (pull down) and a point in the highlights (push up) to add dimension.
Cinematic Look- How to Edit Photos in Adobe Lightroom Cinematic
3. Cinematic Color Grading:
However, Movies rarely use “true-to-life” colors. They use specific palettes to evoke emotion.
- White Balance: In other words, warm it up for a nostalgic/sunset feel, or cool it down for a sci-fi/thriller vibe.
- Color Grading Panel:
- Shadows: However, add a touch of Teal or Deep Blue.
- Highlights: Add a touch of Orange or Gold.
- Midtones: Keep these neutral or slightly toward the highlight color to blend the look.
4. Texture and Presence:
- Dehaze: However, use this sparingly to add “thickness” to the atmosphere.
- Clarity: Often, lowering clarity slightly (-5 to -15) gives skin a softer, more “dreamy” film glow.
- Vignetting: A subtle dark vignette draws the eye to the center of the frame, much like a movie screen.
Cinematic Look- How to Edit Photos in Adobe Lightroom Cinematic
Quick Settings Reference Table:
| Setting | Action | Result |
| Blacks | +10 to +20 | Lifts the “crushed” look |
| Saturation | -10 to -20 | Desaturates for a professional feel |
| Vibrance | +10 | Keeps skin tones alive |
| Grain | +15 to +25 | Mimics 35mm film stock |
Pro Tip: Change your Crop Ratio to 2.35:1 or 2.39:1 (Anamorphic). Nothing says “movie” faster than those wide black bars or a wide-screen aspect ratio.
Would you like me to walk you through how to create a specific cinematic style, like “Dark Academia” or “Cyberpunk”?