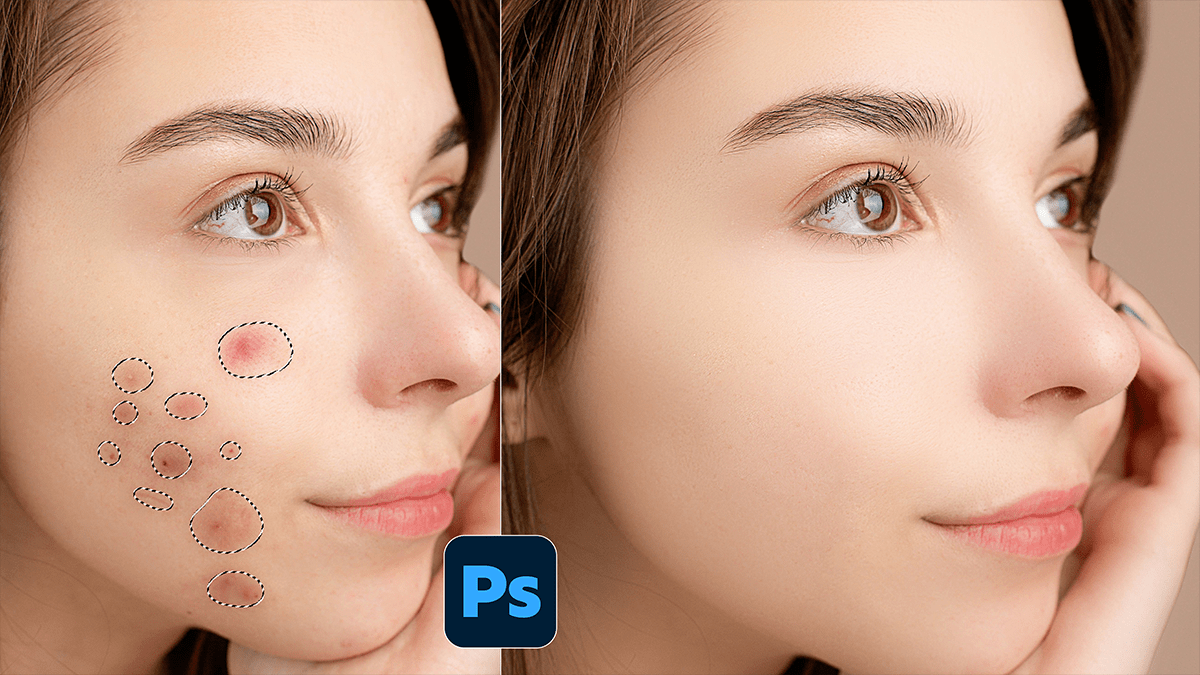
Easy Remove Pimples and Acne in Adobe Photoshop 2026,

Therefore, removing acne or blemishes in Photoshop is one of the most satisfying edits you can do. The software has evolved to the point where “fixing it in post” takes seconds rather than hours.
In other words, here are the three best ways to handle it, ranging from the “magic button” approach to professional-grade skin retouching.
1. The Quickest Way: The Spot Healing Brush:
Therefore, this is the go-to tool for 90% of pimple removals. It uses AI to analyze the surrounding skin and automatically blends the blemish away.
Easy Remove Pimples and Acne in Adobe Photoshop 2026,
Select the Tool: Press J on your keyboard (the icon looks like a band-aid with a loop).
Settings: Ensure Type is set to Content-Aware in the top menu bar.
The Action: Therefore, adjust your brush size (using the [ and ] keys) so it’s just slightly larger than the pimple. Click once.
Pro Tip: Create a new blank layer first and check Sample All Layers in the top bar. This way, your edits are “non-destructive” and won’t ruin the original photo.
2. The Precise Way: The Healing Brush Tool:
Therefore, if the Spot Healing Brush is making the skin look “smudged” or blurry, use the standard Healing Brush Tool (hidden under the Spot Healing tool).
The Difference: You manually choose the “source” skin.
The Action: In other words, Hold Alt (Windows) or Option (Mac) and click on a clear area of skin nearby that has a similar texture.
The Fix: Above all, release the key and paint over the pimple. Photoshop will take the texture from your source point, but keep the color/lighting of the target area.
Easy Remove Pimples and Acne in Adobe Photoshop 2026,
3. The Modern Way: Generative Fill (AI)
In other words, if you’re dealing with a complex area (like a blemish over a beard or a freckle you want to keep), Photoshop’s Firefly AI is incredibly effective.
Select: Use the Lasso Tool (L) to draw a loose circle around the acne.
Command: Above all, click the Generative Fill button on the floating Contextual Task Bar.
Generate: In other words, leave the text prompt blank and hit Generate. Photoshop will look at the face and recreate “perfect” skin based on the rest of the image.
Comparison Table: Which tool should you use?
| Tool | Best For… | Effort Level |
| Spot Healing | Single pimples or stray marks | Very Low |
| Healing Brush | Blemishes near hair or harsh shadows | Medium |
| Generative Fill | Large clusters of acne or complex textures | Low (Requires Internet) |
| Patch Tool | Large areas of uneven skin texture | Medium |
Easy Remove Pimples and Acne in Adobe Photoshop 2026,
One Golden Rule:
Don’t over-smooth! In other words, if you remove every single pore and line, the person will end up looking like a plastic mannequin. Keep some natural skin texture to ensure the photo looks authentic.
In conclusion, would you like me to explain how to do Frequency Separation if you’re looking for that high-end, “magazine cover” skin finish?
