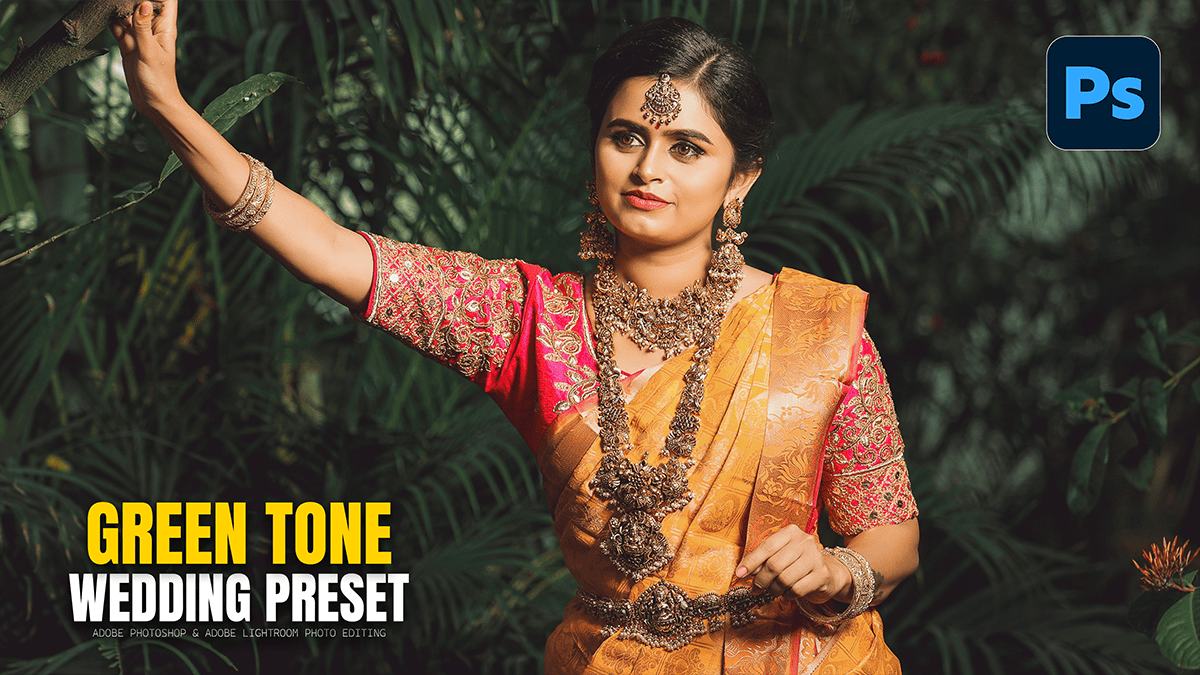
Green Colour Tone Wedding Photo Editing Photoshop Preset,

Therefore, achieving a “green tone” in wedding photography usually refers to one of two popular styles: Dark & Moody Forest (deep, desaturated greens) or Soft Sage/Fine Art (airy, pastel greens).
Inother words, you can achieve both using the Camera Raw Filter (Ctrl+Shift+A) in Photoshop by following these steps:
Green Colour Tone Wedding Photo Editing Photoshop Preset,
1. Basic Panel: Setting the Base:
Therefore, before touching the colors, you need to set the “mood” of the lighting.
Temperature & Tint: In other words, for a moody green, move the Temperature toward Blue (-5 to -10) and the Tint slightly toward Green (-2 to -5). For a warmer sage look, keep the temperature neutral but still add a hint of Green tint.
Exposure: However, drop this slightly for “moody” looks.
Contrast: After that, Increase (+15) to make the greens pop against the shadows.
2. HSL / Color Mixer (The Secret Sauce)
Therefore, this is the most important panel for controlling specific green tones.
Hue: * Yellows: In other words, move the slider toward Green (+50 to +100). This turns yellowish grass and leaves into a true green.
Greens: However, move toward Aqua (+20) for a “cool” forest look, or toward Yellow (-20) for a “warm” olive look.
Saturation: * Greens & Yellows: After that, Decrease (-20 to -40). Wedding photography often looks more “high-end” when the greens are slightly desaturated, so they don’t distract from the couple.
Luminance: * Greens: Similarly, Decrease (-10 to -30) to make the foliage look deep and “velvety.”

Green Colour Tone Wedding Photo Editing Photoshop Preset,
3. Color Grading Panel:
However, to unify the “green” feel across the whole photo:
Shadows: Above all, select a dark teal or forest green hue. Set the saturation very low (around 5–10%). This “washes” the dark areas with a subtle green tint.
Highlights: In addition, select a warm cream or very pale yellow. This keeps the skin tones looking natural and healthy, even while the background is green.
4. Calibration (The Pro Move)
Above all, scroll down to the Calibration panel at the bottom. This affects how the camera interprets all colors.
Green Primary: In addition, shift the Hue to the right (+20) to make greens more “emerald” and less “neon.”
Blue Primary: Above all, shifting the Blue Primary Hue to the left (-10 to -20) often results in a very pleasing, “filmy” green in the shadows.
Green Colour Tone Wedding Photo Editing Photoshop Preset
Summary Table: Moody Green vs. Sage Green:
| Setting | Dark & Moody Green | Soft Sage / Fine Art |
| Exposure | -0.50 to -1.00 | +0.30 to +0.70 |
| Shadows | +20 (to keep detail) | +40 (for airy look) |
| Green Hue | Similarly, Towards Blue/Aqua | Towards Yellow |
| Green Saturation | -30 (Desaturated) | -15 (Muted) |
| Vignette | -20 (Heavy) | 0 (None) |
Pro Tip: In addition, if the skin tones start looking too green, use the Masking tool (Brush) in Camera Raw to select only the “Background” or “Foliage” and apply your green adjustments there while leaving the couple untouched.
In conclusion, would you like me to find a specific XMP preset link for you to download and import directly into Photoshop?