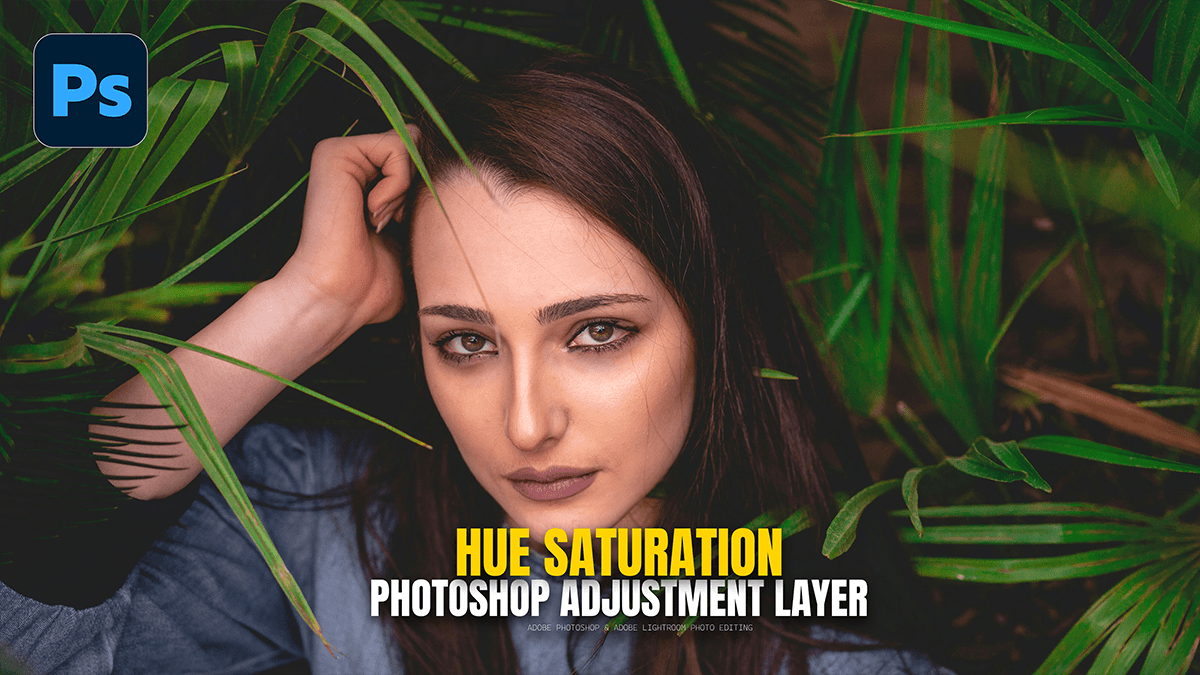
How to use Hue Saturation in Adobe Photoshop 2026

Therefore, A Hue/Saturation adjustment layer in Photoshop enables non-destructive, precise color changes by editing hue (color type), saturation (intensity), and lightness (brightness). In other words, it allows users to target specific colors through a drop-down menu, the “Colorize” option, or by selecting, masking, and adjusting specific color ranges.
How to use Hue Saturation in Adobe Photoshop 2026
Key Features and Capabilities:
Non-destructive Editing: Therefore, Changes can be applied, toggled on/off, or changed at any time without altering the original image, as it acts as a separate layer.
Targeted Color Adjustment: In other words, Users can adjust by selecting a specific color range (e.g., red, blue) from the drop-down menu, or use the eyedropper tool to select colors directly from the image.
Colorize Options: However, the “Colorize” box allows for a complete, monochromatic color change across the entire image or selection.
Layer Mask Control: However, when an area is selected before creating an adjustment layer, that selection is automatically turned into a layer mask, so that only the desired area is changed.
How to use Hue Saturation in Adobe Photoshop 2026
Target specific layers: Above all, the adjustment layer can be clipped to a single layer below it, to ensure that, for example, only an object’s color changes and the background remains untouched.
Advanced Control: In addition, the Properties panel has sliders that help adjust the range of colors affected and fine-tune hue, saturation, and lightness.
How to use:
Create: Above all, go to the Layers panel and select “Hue/Saturation” from the Adjustment Layer icon.
Adjust: In addition, in the Properties panel, select a color using the dropdown or eyedropper, then change it by dragging the sliders.
Refine: After that, Use the sliders at the bottom of the Properties panel to adjust the range of colors affected.
অ্যাডোবি ফটোশপ ২০২৬-এ হিউ স্যাচুরেশন কীভাবে ব্যবহার করবেন
ফটোশপে একটি হিউ/স্যাচুরেশন) অ্যাডজাস্টমেন্ট লেয়ার হিউ (রঙের ধরণ), স্যাচুরেশন (তীব্রতা) এবং হালকাতা (উজ্জ্বলতা) সম্পাদনা করে অ-ধ্বংসাত্মক, সুনির্দিষ্ট রঙ পরিবর্তন সক্ষম করে। এটি ব্যবহারকারীদের ড্রপ-ডাউন মেনু, “রঙিনকরণ” বিকল্পের মাধ্যমে, অথবা নির্দিষ্ট রঙের পরিসর নির্বাচন, মাস্কিং এবং সামঞ্জস্য করে নির্দিষ্ট রঙগুলিকে লক্ষ্য করতে দেয়।
মূল বৈশিষ্ট্য এবং ক্ষমতা:
অ-ধ্বংসাত্মক সম্পাদনা: মূল চিত্রটি পরিবর্তন না করেই যেকোনো সময় পরিবর্তনগুলি প্রয়োগ, চালু/বন্ধ টগল করা বা পরিবর্তন করা যেতে পারে, কারণ এটি একটি পৃথক স্তর হিসেবে কাজ করে।
লক্ষ্যযুক্ত রঙের সমন্বয়: ব্যবহারকারীরা ড্রপডাউন মেনু থেকে নির্দিষ্ট রঙের পরিসর (যেমন, লাল, নীল) নির্বাচন করে সামঞ্জস্য করতে পারেন, অথবা ছবি থেকে সরাসরি রঙ নির্বাচন করতে আইড্রপার টুল ব্যবহার করতে পারেন।
রঙিন করার বিকল্প: “রঙিন করুন” বাক্সটি সম্পূর্ণ ছবি বা নির্বাচন জুড়ে একটি সম্পূর্ণ, একরঙা রঙ পরিবর্তনের অনুমতি দেয়।
লেয়ার মাস্ক নিয়ন্ত্রণ: যখন অ্যাডজাস্টমেন্ট লেয়ার তৈরির আগে একটি এলাকা নির্বাচন করা হয়, তখন সেই নির্বাচনটি স্বয়ংক্রিয়ভাবে একটি লেয়ার মাস্কে পরিণত হয়, যাতে শুধুমাত্র পছন্দসই এলাকাটি পরিবর্তন করা হয়।
নির্দিষ্ট স্তরগুলিকে লক্ষ্য করে: সমন্বয় স্তরটি তার নীচের একটি একক স্তরে ক্লিপ করা যেতে পারে, যাতে নিশ্চিত করা যায় যে, উদাহরণস্বরূপ, শুধুমাত্র একটি বস্তুর রঙ পরিবর্তন হয় এবং পটভূমিটি অস্পৃশ্য থাকে।
উন্নত নিয়ন্ত্রণ: প্রোপার্টি প্যানেলে স্লাইডার রয়েছে যা প্রভাবিত রঙের পরিসর সামঞ্জস্য করতে এবং রঙ, স্যাচুরেশন এবং হালকাতা সূক্ষ্মভাবে সমন্বয় করতে সাহায্য করে।
অ্যাডোবি ফটোশপ ২০২৬-এ হিউ স্যাচুরেশন কীভাবে ব্যবহার করবেন
কিভাবে ব্যবহার করে:
তৈরি করুন: লেয়ার প্যানেলে যান এবং অ্যাডজাস্টমেন্ট লেয়ার আইকন থেকে “হিউ/স্যাচুরেশন” নির্বাচন করুন।
সামঞ্জস্য করুন: প্রোপার্টিজ প্যানেলে, ড্রপডাউন বা আইড্রপার ব্যবহার করে একটি রঙ নির্বাচন করুন, তারপর স্লাইডারগুলি টেনে এনে এটি পরিবর্তন করুন।
পরিমার্জন করুন: প্রভাবিত রঙের পরিসর সামঞ্জস্য করতে প্রোপার্টিজ প্যানেলের নীচের স্লাইডারগুলি ব্যবহার করুন।
