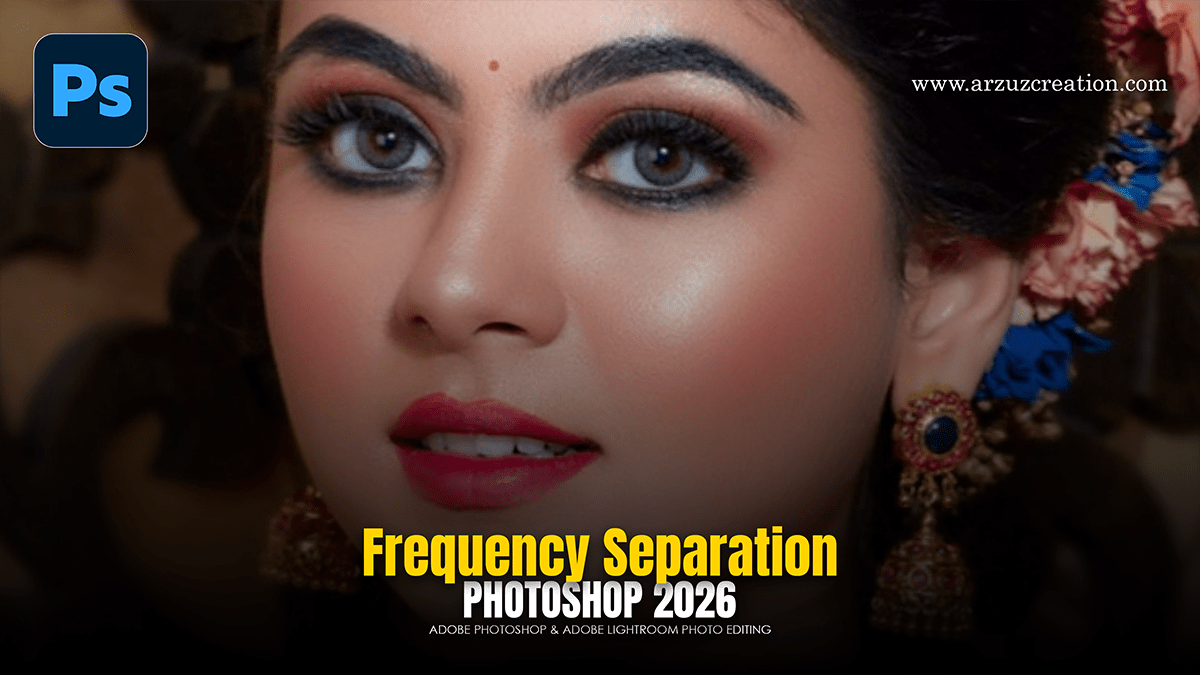
Frequency Separation Skin Retouching in Adobe Photoshop 2026,

Therefore, Professional skin retouching in Photoshop is a delicate balance between technical precision and maintaining the natural “texture” of the skin. In other words, to achieve high-end results, the industry standard involves a two-part workflow: Frequency Separation (to fix tones and blemishes) followed by Dodge and Burn (to sculpt and refine).
Frequency Separation Skin Retouching in Adobe Photoshop 2026,
1. Frequency Separation (The Foundation)
Therefore, this technique splits your image into two layers: one for Texture (High Frequency) and one for Color/Tone (Low Frequency).
The Setup: In other words, create two copies of your layer. Name the top one “Texture” and the bottom one “Tones.”
Tones Layer: Therefore, Apply a Gaussian Blur. Increase the radius until the skin texture disappears, but the shapes and colors remain visible.
Texture Layer: Go to Image > Apply Image.
In other words, set the layer to “Tones.”
However, Blending to “Subtract.”
In other words, Opacity 100%, Scale 2, Offset 128.
However, change the Texture layer’s Blend Mode to Linear Light.
The Retouch: Use the Healing Brush on the Texture layer for spots, and the Mixer Brush on the Tones layer to smooth out blotchy transitions.
2. Global Dodge and Burn (Contouring)
However, once the skin is “clean,” you need to add back the dimension that cameras often flatten.
Frequency Separation Skin Retouching in Adobe Photoshop 2026,
The Setup: Create two Curves adjustment layers.
For instance, pull the center of one curve up (Dodge/Highlight).
Above all, pull the center of the other down (Burn/Shadow).
For instance, Invert both masks to black (Cmd/Ctrl + I).
The Technique: Above all, use a soft white Brush at 1–3% Flow.
Dodge: Trace the tops of cheekbones, the bridge of the nose, and the center of the forehead.
Burn: Subtly deepen the hollows of the cheeks and the jawline.
3. Micro Dodge and Burn (Detailing)
In addition, this is the “secret sauce” of high-end beauty photography. Instead of blurring skin, you manually brighten dark pores and darken bright spots to create an even surface.
The Setup: Create a Black & White adjustment layer to help you see luminosity values without the distraction of color.
The Process: In addition, Zoom in to 200%. Using the same 1% Flow brush on your Curves masks, “fill in” tiny shadows within the skin texture. This preserves 100% of the original pore detail while making the skin look flawless.
Frequency Separation Skin Retouching in Adobe Photoshop 2026,
Pro Tips for Realism:
| Element | Strategy |
| Pores | Never use the Blur tool; it creates a “plastic” look. Stick to Micro Dodge & Burn. |
| Transitions | Use a large, soft brush for Global D&B and a tiny, hard-edged brush for Micro D&B. |
| Check Your Work | Toggle your D&B group on and off frequently to ensure you aren’t over-sculpting the face. |
In conclusion, would you like me to create a step-by-step guide on how to set up a “Check Layer” to help you see skin imperfections more clearly?
