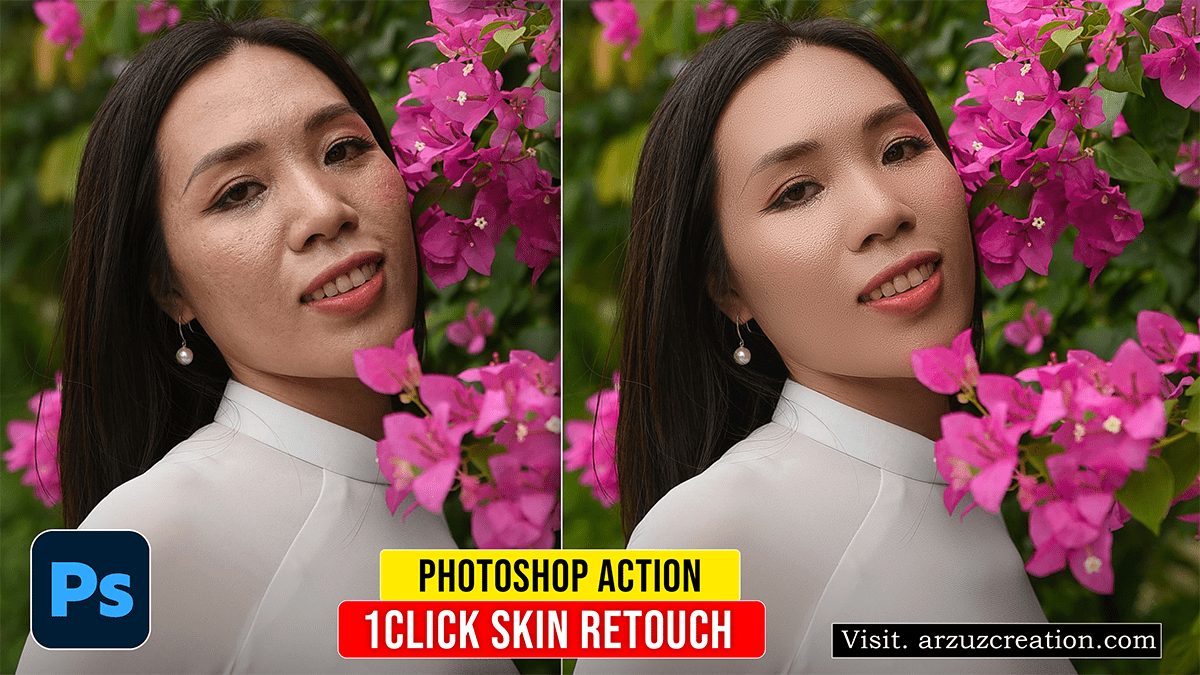
Skin Retouching: One-Click Skin Retouching Photoshop Action

Therefore, creating an automated Frequency Separation Action in Adobe Photoshop allows you to separate skin texture (high frequency) from tone and color (low frequency), enabling smooth skin retouching while preserving natural texture.
Skin Retouching: One-Click Skin Retouching Photoshop Action
How to Record a Frequency Separation Action:
1. Prepare the Actions Panel: Set up a new recording group.
Therefore, open any portrait image in Photoshop.
In other words, go to Window > Actions to open the Actions panel.
Therefore, click the Folder icon at the bottom of the panel to create a new Set named. Retouching Tools.
In other words, click the + (Create New Action) icon, name itFrequency Separation 8-Bit, and click Record. (The red circle icon will turn on).
2. Duplicate and Structure Layers: Create dedicated low and high frequency layers.
Therefore, select your background image layer and press Ctrl + J (Windows) / Cmd + J (Mac) twice.
In other words, rename the middle layer to Low Frequency (Color/Tone).
Therefore, rename the top layer to High Frequency (Texture).
However, Group both layers by selecting them and pressing Ctrl + G / Cmd + G. Name the group Frequency Separation.
Skin Retouching: One-Click Skin Retouching Photoshop Action
3. Apply Low Frequency Blur: Smooth skin tone while ignoring texture.
In other words, hide the High Frequency layer by clicking its eye icon, then select the Low Frequency layer.
However, Go to Filter > Blur > Gaussian Blur.
In other words, set the radius to a value where fine pore texture just disappears (typically between 3.0 and 8.0 pixels depending on image resolution).
However, Click OK.
4. Extract High Frequency Texture: Isolate skin texture using Apply Image.
For instance, make the High Frequency layer visible again and select it.
However, go to Image > Apply Image.
Above all, set the layer to Low Frequency.
For instance, Set Blending to Subtract.
Above all, Set Scale to 2 and Offset to 128.
For instance, click OK.
In addition, change the blending mode of the High Frequency layer from Normal to Linear Light.
5. Finish Recording: Save the action for one-click reuse.
In addition, click the square Stop Recording button at the bottom of the Actions panel.
Skin Retouching: One-Click Skin Retouching Photoshop Action
Retouching Workflow Using the Action
In addition, once the Action runs, retouching skin takes only two simple tools:
For Tones & Blotchiness: Select the Low Frequency layer, pick the Lasso Tool with a feather of 15–30px, select an area of skin, and apply Filter > Blur > Gaussian Blur to smooth out tone transitions.
For Blemishes & Scars: Select the High Frequency layer, pick the Clone Stamp Tool or Healing Brush Tool (set to Current Layer), and sample clean texture to cover blemishes without altering skin color.
