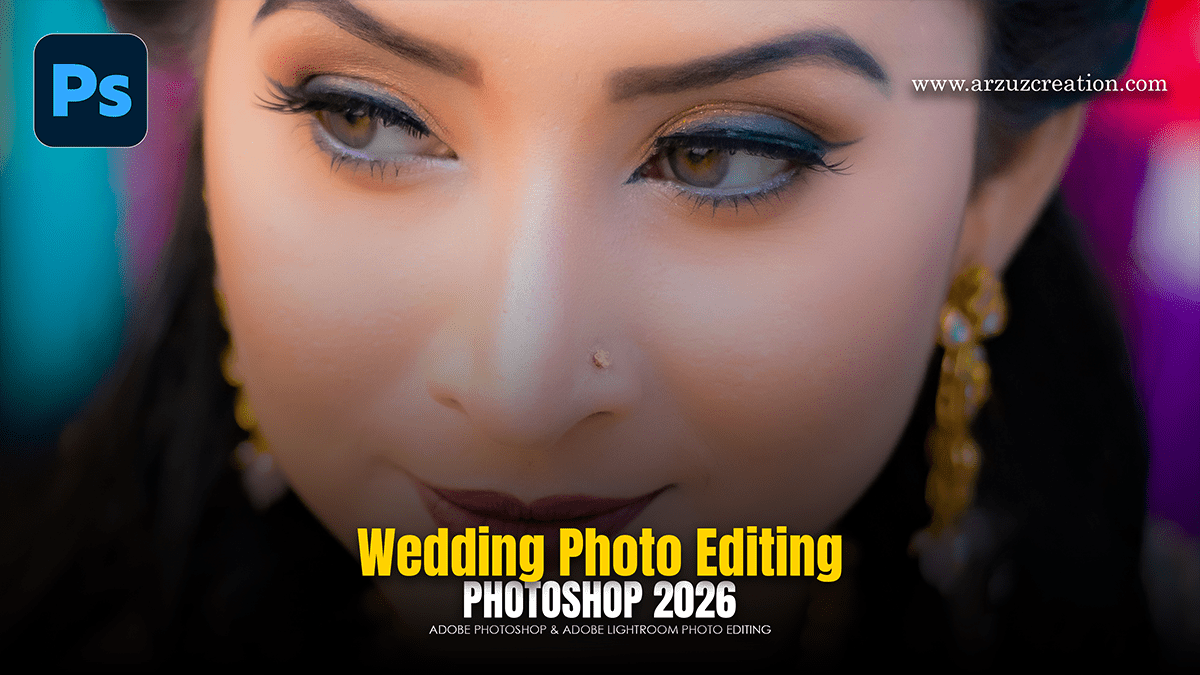
Photoshop Wedding Photo Editing Workflow 2026,

Therefore, editing wedding photos requires a balance between preserving the natural emotion of the day and providing a polished, professional finish. In other words, here is a streamlined workflow for retouching wedding photography in Photoshop.
Photoshop Wedding Photo Editing Workflow 2026,
1. Natural Skin Retouching:
Therefore, the goal is to remove distractions while keeping the skin texture intact. Avoid over-smoothing, which can make subjects look “plastic.”
Spot Healing Brush: In other words, use this for quick removal of temporary blemishes or stray hairs.
Frequency Separation: Therefore, this technique separates texture (high frequency) from color/tone (low frequency). It allows you to smooth out blotchy skin tones on one layer without blurring the actual skin pores on the other.
Dodge & Burn: In other words, use a low-opacity brush to subtly brighten dark shadows under the eyes or soften deep smile lines without removing them entirely.
2. Enhancing the Wardrobe:
However, Wedding attire is a focal point. Small adjustments can make a massive difference in the final “expensive” look of the shot.
Photoshop Wedding Photo Editing Workflow 2026,
The White Dress: However, use a Selective Color adjustment layer. Target the “Whites” and slightly reduce the Cyan or Yellow to remove any dingy casts. Be careful not to “blow out” the highlights—the lace detail must remain visible.
The Suit: For instance, use the Lasso Tool to select the suit and apply a slight Dehaze or Clarity boost via the Camera Raw Filter to make the fabric texture pop.
3. Lighting and Color Grading:
However, Consistency is key for a wedding gallery. You want a cohesive “story” across all images.
Curves Layer: For instance, create an “S-Curve” to add a gentle pop of contrast.
Color Balance: Add a hint of warmth (Yellow/Red) to the highlights for a romantic feel, or a touch of Blue to the shadows for a modern, “fine art” look.
Subject Masking: For instance, use the Select Subject AI tool to slightly brighten the couple (Exposure +0.20) while slightly lowering the exposure of the background to draw the eye inward.
Photoshop Wedding Photo Editing Workflow 2026,
4. Cleaning the Environment:
Above all, Weddings are chaotic; background distractions are common.
Generative Fill: This is the fastest way to remove exit signs, power cords, or unwanted guests in the background. Simply marquee the object and hit “Generate” without a prompt.
Content-Aware Fill: Above all, use this for simpler tasks like extending a floor or a sky if you need to change the aspect ratio for a specific print size.
Pro Tips for Efficiency:
| Task | Tool/Feature | Why? |
| Batching | Actions | Record your “base” edit and play it across the entire set to save hours. |
| Focus | Sharpening | Apply a High Pass Filter (Overlay mode) specifically to the eyes and jewelry. |
| Safety | Smart Objects | Always convert your layer to a Smart Object before using the Camera Raw Filter so you can tweak it later. |
Would you like me to walk you through the specific steps for setting up a Frequency Separation action?
