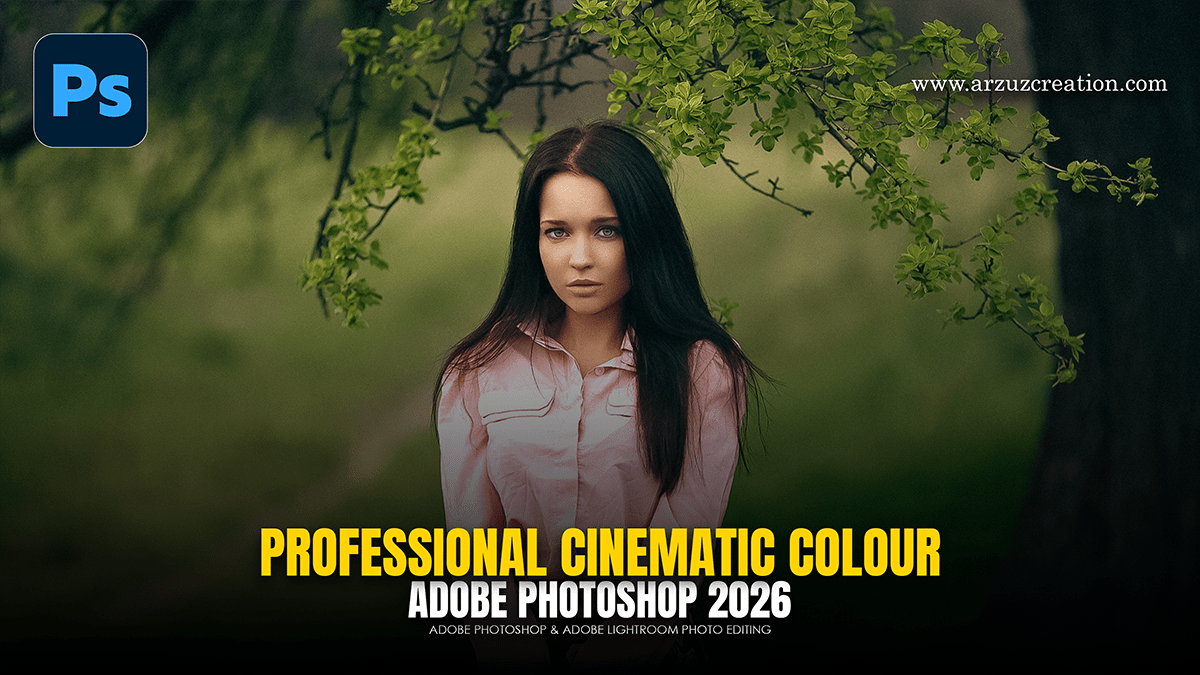
Professional Cinematic Colour Tone: Adobe Photoshop 2026,

Therefore, creating a professional cinematic look in Adobe Photoshop via the Camera Raw Filter involves manipulating contrast, color separation, and texture to mimic high-end film stock.
In other words, the following adjustments provide a solid foundation for a cinematic aesthetic:
Professional Cinematic Colour Tone: Adobe Photoshop 2026,
1. Light and Basic Adjustments:
Therefore, the goal is often a “faded” but high-contrast look.
Contrast: In other words, increase slightly to add punch.
Highlights: Therefore, decrease to recover detail in bright areas.
Shadows: However, increase to reveal details in dark areas.
Blacks: In other words, lift the black point slightly to create a soft, matte look in the deepest shadows.
2. The S-Curve (Point Curve)
However, the Tone Curve is the most critical tool for cinematic styling.
Shadows: For instance, create a point near the bottom left and lift it slightly off the baseline. This “crushes” the blacks into a dark gray.
S-Shape: However, drop a point in the lower-mids and raise a point in the upper-mids to create an “S” curve, which adds depth and dimension.
Professional Cinematic Colour Tone: Adobe Photoshop 2026,
3. Color Grading (The Teal and Orange Foundation)
For instance, Cinematic tones often rely on complementary colors to create separation.
Shadows: Above all, apply a cool tone (Teal or Deep Blue). Keep the saturation low (10-20\%).
Midtones: In addition, apply a neutral or slightly warm tone to maintain a natural skin tone.
Highlights: Above all, apply a warm tone (Orange or Gold) to simulate natural light or skin highlights.
4. Calibration:
In addition, this is a “secret” panel used by professional colorists to shift the image’s entire color science.
Blue Primary: Increasing the Saturation here often makes all colors in the image feel more “expensive” and vivid without looking over-processed.
Red/Green Primaries: Use the Hue sliders to subtly shift skin tones away from digital magentas toward cinematic oranges.
Professional Cinematic Colour Tone: Adobe Photoshop 2026,
5. Effects and Finishing:
Dehaze: Use a small amount (+5 to +10) to add clarity.
Vignetting: A subtle negative vignette draws the eye toward the center of the frame, mimicking older cinema lenses.
Grain: Adding a small amount of fine grain (15-25 strength, small size) breaks up digital smoothness and provides a filmic texture.
In conclusion, would the user like a guide on how to save these specific settings as a Preset for one-click application to future photos?
