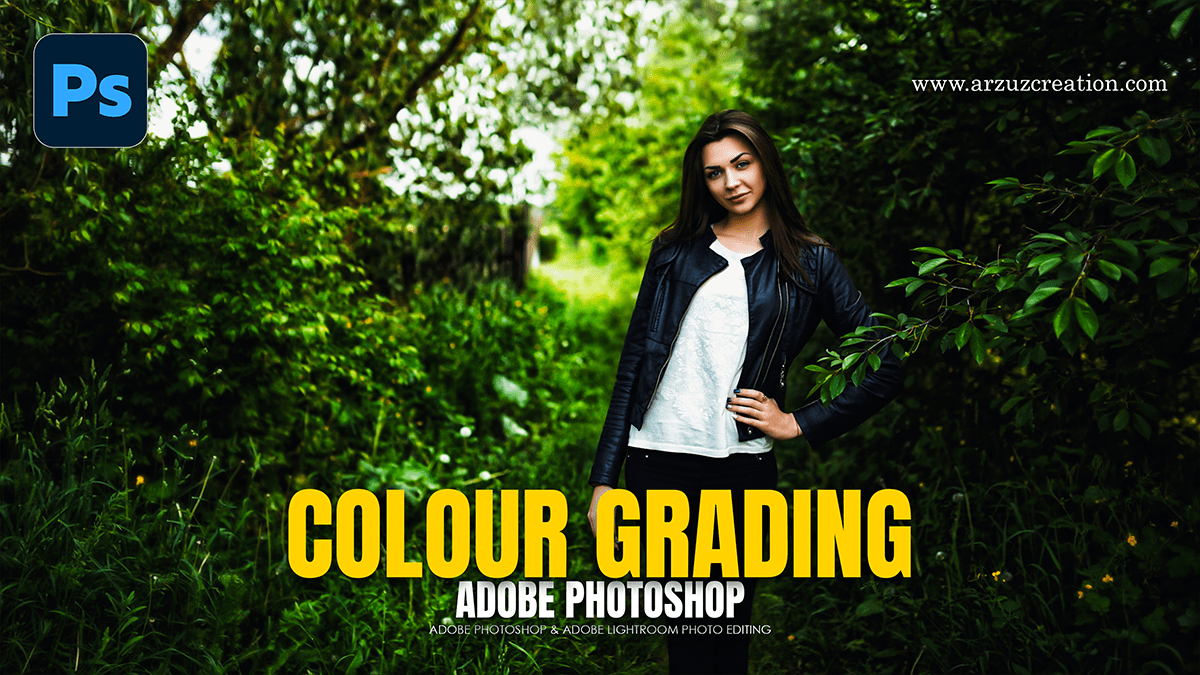
Adobe Photoshop Adjustment Layer Basic to Advanced Tutorial,

Therefore, Color grading in Adobe Photoshop via Adjustment Layers is a non-destructive workflow that allows for precise control over the mood, tone, and narrative of an image. In other words, by using layers instead of direct edits, the original pixels remain untouched, and settings can be tweaked at any point.
Adobe Photoshop Adjustment Layer Basic to Advanced Tutorial,
1. The Foundation: Primary Adjustments:
Therefore, before diving into creative grading, the image requires a balanced base. These layers ensure the “canvas” has the correct dynamic range.
Levels / Curves: In other words, these are essential for setting the black and white points. Curves is generally preferred for advanced grading because it allows for specific control over highlights, midtones, and shadows independently.
Brightness/Contrast: In other words, Best used for quick, global shifts, though Curves can perform the same task with more nuance.
2. Intermediate: Selective Color Control:
However, once the exposure is set, the focus shifts to manipulating specific hues without affecting the entire image.
Hue/Saturation:
In other words, this layer is used to alter the “vibe” of specific colors. For example, by selecting the Greens in the drop-down menu, the user can shift forest tones toward an autumnal yellow or a lush teal without affecting the blue sky.
Adobe Photoshop Adjustment Layer Basic to Advanced Tutorial,
Selective Color:
However, A favorite among professional retouchers, Selective Color allows for the adjustment of CMYK sliders within specific color families.
Tip: For instance, adjusting the “Black” slider within the Neutrals or Blacks category is a powerful way to add “matte” effects or deep color washes to the shadows.
3. Advanced: Narrative Color Grading:
For instance, Advanced grading involves “splitting” tones—applying different colors to the highlights and shadows to create a cinematic look.
Color Balance:
For instance, this tool provides three distinct sliders for Shadows, Midtones, and Highlights.
The Cinematic Split: A common technique involves adding Cyan and Blue to the shadows while adding Red and Yellow to the highlights.
Adobe Photoshop Adjustment Layer Basic to Advanced Tutorial,
Gradient Map:
Above all, this is perhaps the most powerful advanced tool. It maps specific colors to the luminosity values of the image.
In addition, create a Gradient Map adjustment layer.
Above all, set the left side (shadows) to a dark navy and the right side (highlights) to a soft cream.
In addition, change the Layer Blend Mode to Soft Light or Overlay and drop the Opacity to 20-30%.
4. Professional Finishing Touches:
In addition, to unify the grade and add a “film” or “high-end” feel, these final steps are often applied at the top of the layer stack.
Color Lookup (LUTs): These are preset color profiles. Applying a “Teal and Orange” or “Fuji Film” LUT can provide an instant professional base, which can then be refined with the layers mentioned above.
Photo Filter: A subtle way to “warm up” or “cool down” an entire composition. Using a “Warming Filter (85)” at 10% density can make a portrait feel more inviting.
Vibrance vs. Saturation: Use Vibrance for portraits, as it boosts the intensity of more muted colors while protecting skin tones from becoming overly “orange.”
Adobe Photoshop Adjustment Layer Basic to Advanced Tutorial,
Layer Organization and Masking:
After that, the true power of adjustment layers lies in the Layer Mask. If a color grade looks perfect on the background but ruins the skin tones of a subject, the user can paint with a black brush on the mask to hide the adjustment from the subject.
Pro Tip: Similarly, Group all color grading layers into a single Folder (Ctrl/Cmd + G). This allows the user to toggle the entire grade on and off to see the progress and adjust the “Global Opacity” of the look.
In conclusion, would you like me to generate a step-by-step guide on creating a specific cinematic look, such as a “Moody Noir” or “Summer Golden Hour”?
