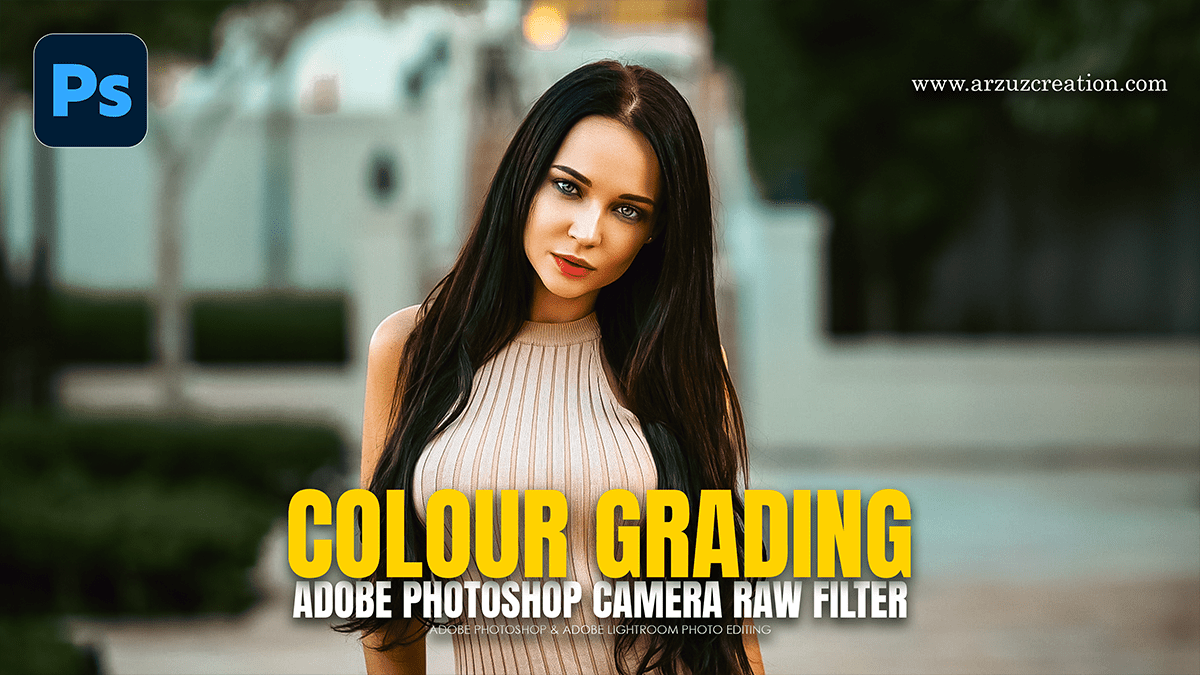
Camera Raw Filter 18: Professional Colour Grading For Beginners,

Therefore, the Camera Raw Filter in Adobe Photoshop is a powerful, non-destructive environment for color grading. In other words, it provides a more intuitive interface than standard adjustment layers, making it ideal for quickly achieving a cinematic or professional look.
Camera Raw Filter 18: Professional Colour Grading For Beginners,
1. Getting Started:
Therefore, to keep the workflow non-destructive, the user should convert the target layer into a Smart Object before beginning. This allows the filter settings to be adjusted at any time.
In other words, right-click the layer and select Convert to Smart Object.
However, navigate to Filter > Camera Raw Filter (or press. Ctrl + Shift + A / Cmd + Shift + A).
2. The Core Grading Workflow:
Therefore, Professional color grading is typically broken down into three phases: correction, stylization, and refinement.
Step 1: Basic Correction (The Foundation)
In other words, before adding style, the user must ensure the image has a neutral starting point.
White Balance: However, use the eyedropper tool to select a neutral gray or white area to remove color casts.
Exposure & Contrast: Adjust these to recover detail in the shadows and highlights.
Dehaze: Use this sparingly in the “Effects” or “Basic” panel to add depth and clarity.
Camera Raw Filter 18: Professional Colour Grading For Beginners,
Step 2: The Color Grading Panel (The “Look”)
However, this panel is the heart of professional grading. It features three color wheels: Shadows, Midtones, and Highlights.
Complementary Grading: A common professional technique is the “Teal and Orange” look.
Shadows: Drag the center icon toward Teal/Blue.
Highlights: Drag the center icon toward Orange/Yellow.
Blending & Balance: * Blending: Adjusts how much the colors overlap. High values create a smoother transition.
Balance: Shifts the priority toward the shadow or highlight color.
Step 3: Color Mixer (Fine-Tuning)
However, the Color Mixer allows for the manipulation of specific hues without affecting the entire image.
Hue: Above all, change specific colors (e.g., making green grass look more golden).
Saturation: Boost or mute specific colors (e.g., lowering the saturation of “Aqua” to make the sky look less digital).
Luminance: Adjust the brightness of individual colors. Increasing the luminance of “Orange” is a common trick to make skin tones pop.
Camera Raw Filter 18: Professional Colour Grading For Beginners
3. Advanced Tools for Beginners:
Calibration Panel: For instance, often overlooked, this panel adjusts the underlying color rendering. Moving the Blue Primary Saturation slider up is a “secret” used by many pros to increase overall color vibrance naturally.
Curves: Above all, use the Point Curve to create a subtle “S-Curve” (boosting highlights and dropping shadows) for classic cinematic contrast.
Masking: For instance, the masking icon (circle with dots) allows the user to apply color grading only to the sky, the subject, or a specific background element.
4. Helpful Shortcuts:
| Action | Shortcut (Windows/Mac) |
| Toggle Before/After | \ |
| Constrain to Hue Only | Hold Ctrl / Cmd while dragging the color wheel |
| Slow Movement for Precision | Hold Alt / Option while dragging |
| Reset a Slider | Double-click the slider icon |
