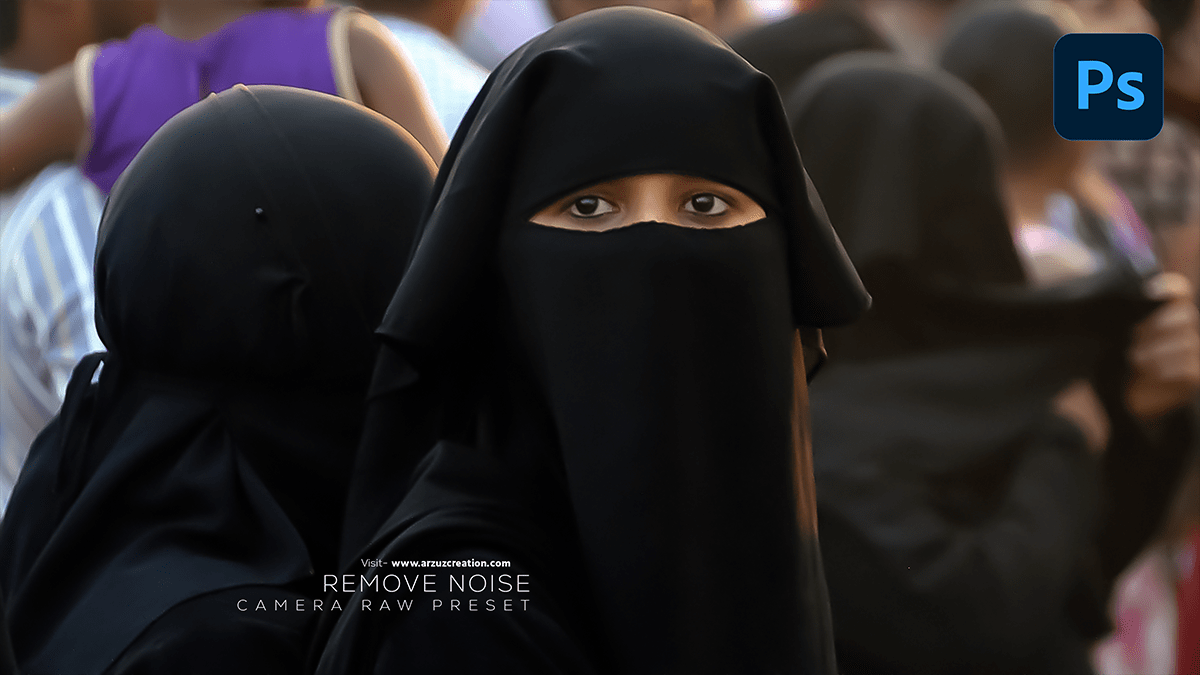
How to remove noise in Photoshop 2024, Learn photo editing work here.

Therefore, In this Photoshop tutorial, you learn, How to remove noise in Photoshop 2024. How to reduce noise in Photoshop 2024. Reduce noise in Photoshop. Edit noise images from photos in Photoshop. Decrease noise in Photoshop. How to reduce gain in Photoshop. Remove color noise in Photoshop.
Photo editing camera raw presets. Outdoor photo editing. Photo editing. Color correction in Photoshop. Color correction. Photo color correction. Photoshop photo editing.
How to Remove Noise in Photoshop 2024,
In other words, The noise reduction filter you’re looking for in Photoshop is called “Reduce Noise“. You can find it by going to the “Filter” menu at the top of the screen and selecting “Noise” > “Reduce Noise“. This filter allows you to reduce both color noise and luminance noise in your images while preserving detail and sharpness as much as possible.
You can adjust the strength of the noise reduction, as well as other settings, to achieve the desired result. Once you’re satisfied with the noise reduction, you can save your edited image and continue working on it in Photoshop.
Click here to download this preset file,
For instance, Open your image in Adobe Photoshop and go to the “Filter” menu at the top of the screen. Select “Noise” > “Reduce Noise“.
After that, In the “Reduce Noise” dialog box, you’ll see several options that allow you to control how much noise reduction you want to apply. Here’s a quick rundown of what each option does:
Color Grading Photoshop Tutorial, How to Remove Noise in Photoshop 2024,
“Strength“: This slider determines the amount of noise reduction you apply. Move it to the right to reduce more noise, but be careful not to overdo it, as this can result in a loss of detail and sharpness.
“Preserve Details“: This option helps to maintain the details in your image while reducing noise. Move the slider to the right to preserve more detail, but be aware that this can result in more noise being preserved as well.
Click here to watch this video tutorial,
“Reduce Color Noise“: This option helps to reduce color noise, which can appear as a mottled or speckled pattern in your image. Move the slider to the right to reduce color noise.
“Luminance Smoothing“: This option helps to reduce luminance noise, which can appear as a grainy or rough texture in your image. Move the slider to the right to reduce more luminance noise, but be careful not to overdo it, as this can result in a loss of detail and sharpness in the brightest and darkest areas of your image.
Camera Raw Presets Free Download,
Once you’ve adjusted the settings to your liking, click “OK” to apply the noise reduction. You can repeat this process as many times as necessary to achieve the desired level of noise reduction.
To further refine your noise reduction, you can also use the “Spot Healing Brush” tool to remove any remaining noise or blemishes in your image. Simply select the tool and use it to paint over the areas you want to remove.
Finally, you can use the “Unsharp Mask” filter to sharpen your image and restore any detail that may have been lost during the noise reduction process. To do this, go to the “Filter” menu and select “Sharpen” > “Unsharp Mask“. Adjust the settings to your liking and click “OK” to apply the filter.
Remember to always save a backup copy of your original image before applying any significant edits, just in case you need to revert to the original at any point.
