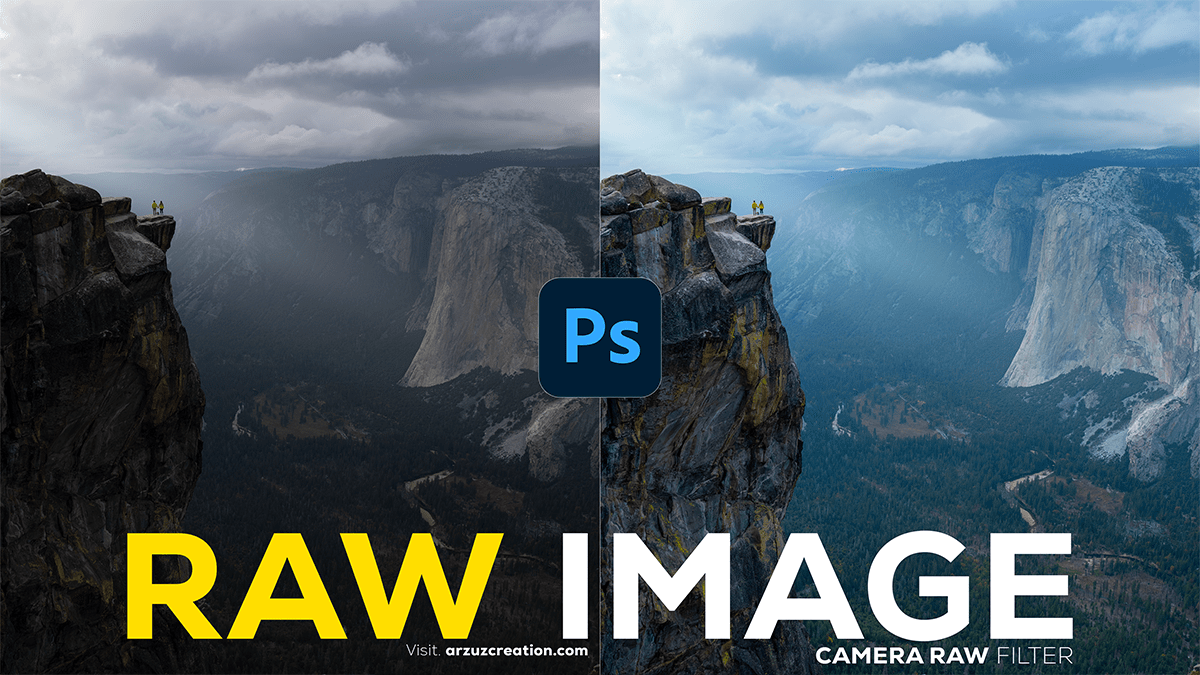
How to Raw Photo Editing in Adobe Photoshop, How to edit raw images in Adobe Photoshop?

Therefore, Editing RAW photos in Photoshop provides a lot of flexibility because RAW files preserve more image data than formats like JPEG or PNG. In other words, Here’s a step-by-step guide to editing RAW photos in Photoshop:
Open the RAW File in Photoshop:
- For instance, Drag and drop the RAW file into Photoshop, or go to File > Open, and select your RAW image.
- Above all, Photoshop will automatically open the Adobe Camera Raw (ACR) interface to allow for initial edits.
Adjust Exposure & Contrast:
- However, In the Basic panel of ACR, you’ll see sliders for Exposure, Contrast, Highlights, Shadows, Whites, and Blacks.
- Exposure: Corrects the overall brightness.
- Contrast: Increases the difference between light and dark areas.
- Highlights and Shadows: Adjust these to recover details from bright or dark areas.
- Whites and Blacks: Fine-tune the brightest and darkest points in the image.
Adjust White Balance:
- In addition, Use the White Balance settings to correct color temperature:
- Temperature: Adjusts the warmth (yellow) or coolness (blue) of the image.
- Tint: Adds a green or magenta tint to neutralize unwanted color casts.
How to Raw Photo Editing, Enhance Clarity & Texture:
- Clarity: Enhances midtone contrast, giving the image more “punch.”
- Texture: Sharpens fine details without affecting the entire image as clarity does.
- Dehaze: Reduces atmospheric haze, improving contrast and clarity, especially in landscapes.
Fine-Tune Colors (Vibrance and Saturation):
- Vibrance: Boosts less-saturated colors without oversaturating skin tones.
- Saturation: Increases or decreases the overall intensity of all colors.
How to Raw Photo Editing, Lens Corrections:
- In addition, Switch to the Lens Corrections tab and enable Remove Chromatic Aberration and Enable Profile Corrections. This will automatically correct distortions caused by your lens.
Sharpen and Reduce Noise:
- After that, Go to the Detail tab to apply sharpening and noise reduction.
- Sharpening: Helps define the edges of objects.
- Noise Reduction: Reduces graininess, especially in low-light images.
Apply Local Adjustments (Optional):
- After that, Use the Adjustment Brush, Graduated Filter, or Radial Filter tools to selectively adjust parts of your image. For example, you can brighten a face without affecting the background.
Open the Image in Photoshop for Further Editing:
- Similarly, After making your basic adjustments in Camera Raw, click Open to send the image to Photoshop for more advanced edits like retouching, compositing, or adding special effects.
How to Raw Photo Editing, Save Your Edited Image:
- Similarly, Once you’re done editing in Photoshop, go to File > Save As to save your image in the desired format (e.g., JPEG, TIFF, or PSD).
Let me know if you need tips on any specific part of the RAW photo editing process!