Dramatic Color Grading Lightroom Tutorial,
Therefore, In this Photoshop Lightroom tutorial, you learn, How to create a Dramatic color grading look in Adobe Lightroom. In other words, Step by step you learn this dramatic color grading look photo editing. However, LR presets are free to download.

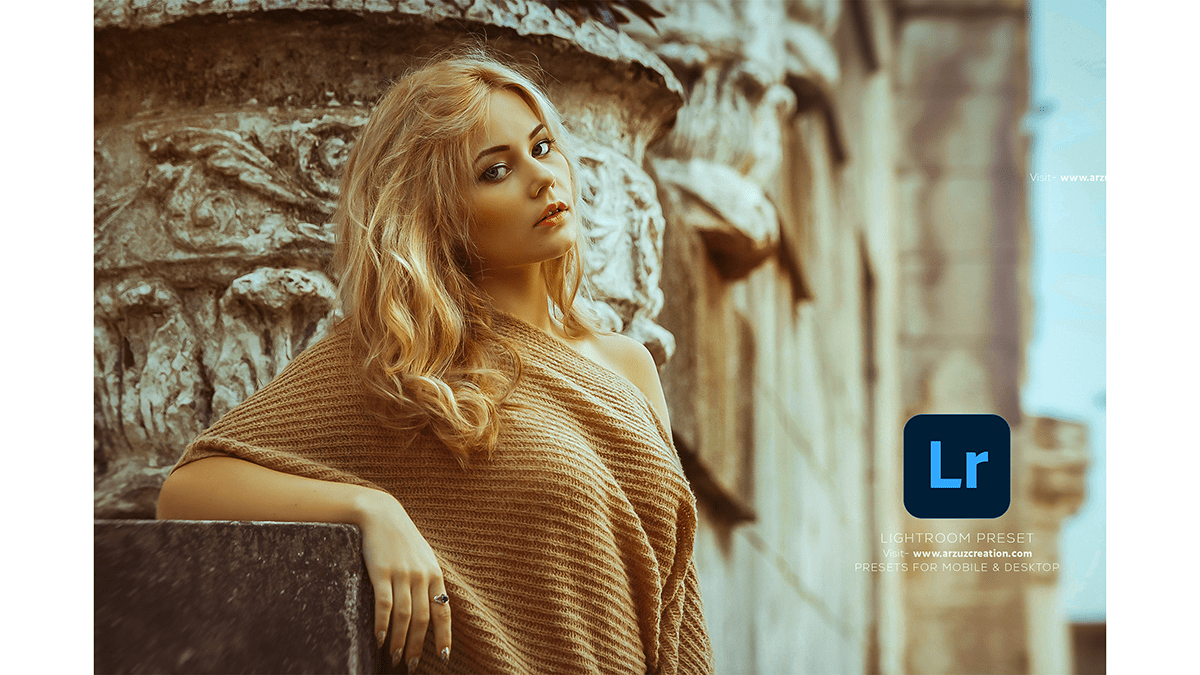
For instance, Dramatic color grading in Lightroom can give your photos a bold, cinematic look that enhances mood and atmosphere. Here’s a step-by-step guide to achieve this effect:
Import Your Image: Above all, Open Lightroom and import the image you want to edit.
Basic Adjustments: In addition, Start by adjusting the basic settings like exposure, contrast, highlights, shadows, whites, and blacks to get a balanced starting point. You can find these adjustments in the Basic panel in the Develop module.
Tone Curve: Move to the Tone Curve panel. Create an S-curve by adding a point in the shadows and dragging it down slightly, then add another point in the highlights and drag it up. This increases contrast and adds depth to your image.
HSL/Color: Head to the HSL/Color panel. Here, you can adjust individual colors to achieve the desired effect. For dramatic coloring, you might want to increase the saturation of certain colors, such as blues for a moody sky or reds for vibrant warmth.
Split Toning: Split toning allows you to add different colors to the highlights and shadows of your image. Experiment with warm tones like orange or red in the highlights and cool tones like blue or teal in the shadows for a cinematic look.
Vibrance and Saturation: Fine-tune the overall vibrance and saturation of your image. Be cautious not to overdo it, as too much saturation can make the colors appear unnatural.

Graduated and Radial Filters: Use graduated and radial filters to selectively adjust parts of your image. For example, you can darken the sky or enhance the exposure of the subject to create more focus.
Professional Photo Editing,
Detail and Sharpening: Adjust the sharpening settings to enhance details in your image. Be careful not to apply too much sharpening, as it can introduce noise.
Vignette: Adding a subtle vignette can draw the viewer’s attention towards the center of the image. Experiment with the amount and feathering to find the right balance.
Final Touches: Take a step back and evaluate your image. Make any final adjustments to color temperature, exposure, or other settings to achieve the desired look.
Color Grading Lightroom,
Presets and Export: If you’re happy with the result, you can save your adjustments as a preset for future use. Finally, export your image in your desired format and resolution.
Remember, the key to dramatic color grading is experimentation and finding a style that suits your preferences and the mood of your image. Don’t be afraid to push the boundaries and try new techniques!
