How to Create Beauty Skin Skin in Photoshop,
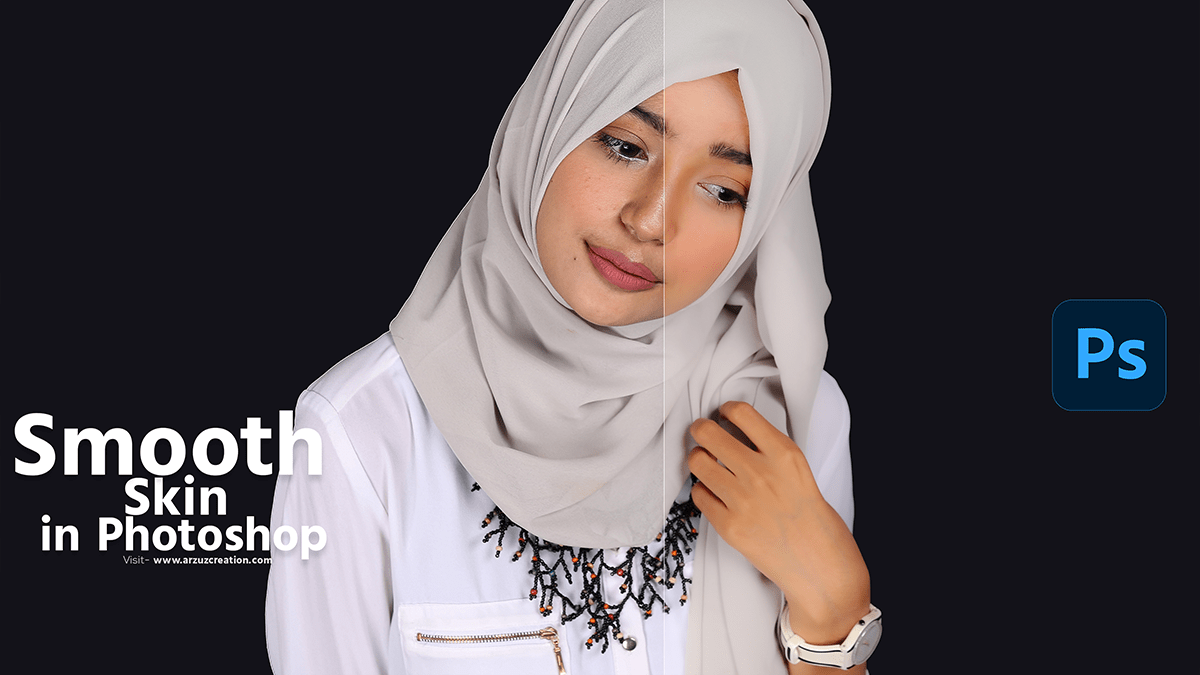
Therefore, In this Photoshop tutorial, you learn, How to Create Smooth Skin in Adobe Photoshop 2024. In other words, Step by step you learn this skin smooth process. However, This skin retouching tutorial is for beginners.

Creating smooth skin in Photoshop involves several steps to ensure it retains its natural texture while reducing imperfections. Here’s a step-by-step guide:
How to Create Beauty Skin Smooth, Open Your Image:
- For instance, Open Photoshop and load the image you want to work on by going to
File > Open.
Duplicate the Background Layer:
- Above all, In the Layers panel, right-click the background layer and select
Duplicate Layer. This keeps the original image untouched.
Use the Spot Healing Brush Tool:
- In addition, Select the
Spot Healing Brush Toolfrom the toolbar (or pressJ). - After that, Zoom in on the image where you see blemishes or imperfections.
- Click on the blemishes to remove them. The tool will automatically blend the area with the surrounding skin.
How to Create Beauty Smooth Skin in Photoshop, Apply Gaussian Blur for Smoothing:
- Duplicate the retouched layer by right-clicking it and selecting
Duplicate Layer. - Go to
Filter > Blur > Gaussian Blur. Adjust the radius until you see the skin blur without losing too much detail (usually between 3-10 pixels). - Click
OK.
Masking the Blur:
- Add a layer mask to the blurred layer by clicking the
Add Layer Maskicon at the bottom of the Layers panel. - Select the mask, and press
Ctrl + I(Windows) orCmd + I(Mac) to invert the mask, hiding the blur effect. - Select the
Brush Tool(B), set the hardness to 0%, and choose a soft, round brush. - Set the foreground color to white and paint over the areas of the skin where you want the blur to appear. Adjust the brush opacity if needed to blend smoothly.
Professional Skin Retouching Tutorial For Beginners,

Fine-Tuning with Frequency Separation (Optional):
- Frequency Separation is an advanced technique that separates the skin texture from the color.
- Create two duplicates of your retouched layer.
- Rename the top layer to
High Frequencyand the one below it toLow Frequency. - Hide the
High Frequencylayer by clicking the eye icon. - Select the
Low Frequencylayer, go to, and blur it until the details are just visible. - Show the
High Frequencylayer, go to, and set the following:
- Layer: Low Frequency
- Blending: Subtract (Scale: 2, Offset: 128) (for 16-bit images, use
Addwith Scale 2, Offset 0, and invert checked)
- Change the
High Frequencylayer’s blending mode toLinear Light. - Now you can retouch each layer separately—use the
Clone Stamp ToolorHealing Brush Toolon theHigh Frequencylayer for texture and tools likeGaussian Bluron theLow Frequencylayer for color.
Final Adjustments:
- Fine-tune the overall image by adjusting the opacity of the retouched layers to blend them naturally.
- Flatten the image if needed by going to
Layer > Flatten Image.
Save Your Work:
- Save your edited image by choosing the desired format (e.g., JPEG, PNG).
Following these steps, you can achieve smooth yet natural-looking skin in your photos using Photoshop.