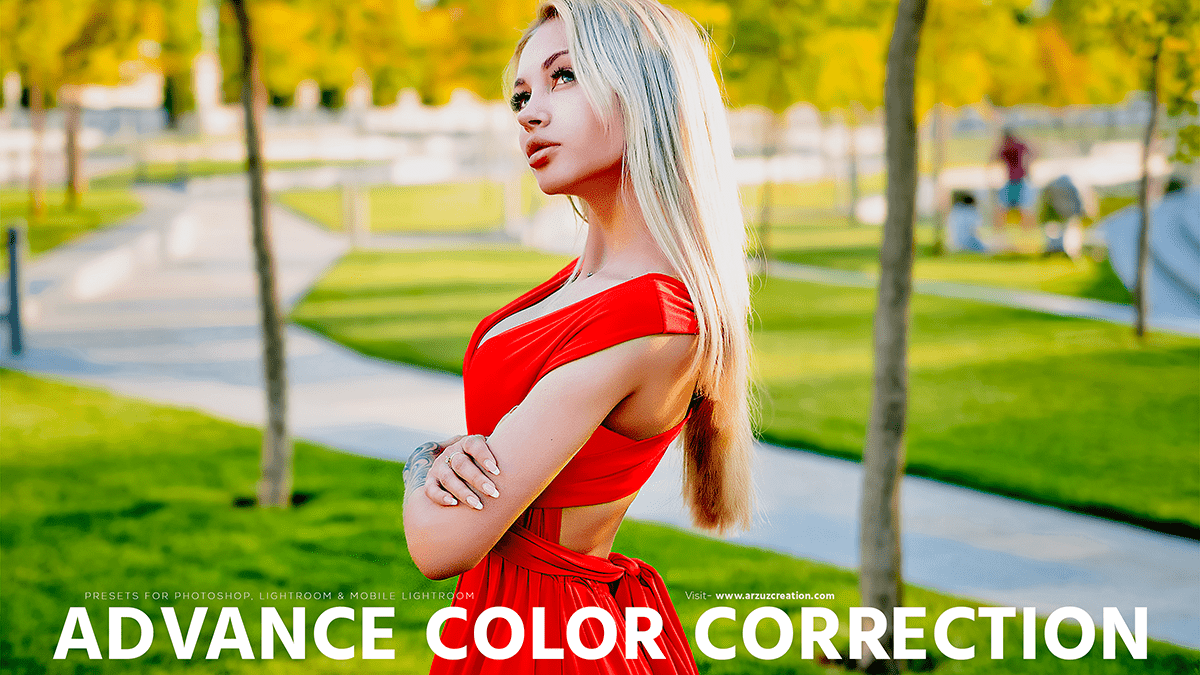
Advanced Color Correction Photoshop Tutorial,
Therefore, In this Adobe Photoshop tutorial, you learn, How to edit portrait photos in Photoshop. In other words, Easy way to advance color correction in Camera Raw Filter Photoshop Plugin. However, I hope you learn the best photo editing here.

For instance, Advanced color correction in Photoshop involves a variety of techniques and tools to fine-tune and enhance the colors in your images. Below are some key methods and tools to achieve professional-level color correction:
Advanced Color Correction Photoshop Tutorial, Camera Raw Filter:
- Opening Camera Raw: Above all, Go to
Filter > Camera Raw Filter. This filter provides a range of controls for color correction, such as Temperature, Tint, Exposure, Contrast, Highlights, Shadows, Whites, Blacks, Clarity, and Vibrance. - Basic Adjustments: In addition, Use the sliders in the Basic panel to adjust exposure, contrast, highlights, shadows, whites, blacks, and clarity. Fine-tune the temperature and tint to correct the white balance.
- Tone Curve: After that, Adjust the Tone Curve for precise control over the tonal range of the image.
- HSL/Grayscale: Modify the Hue, Saturation, and Luminance of individual colors.
- Split Toning: Therefore, Add color to the highlights and shadows for creative effects.
- Calibration: In other words, Fine-tune the primary colors for more advanced color correction.
Adjustment Layers:
- Levels: Similarly, Use
Levelsto adjust the shadows, mid-tones, and highlights. Access this viaLayer > New Adjustment Layer > Levels. - Curves: The
Curvesadjustment layer provides more advanced control than Levels. You can add points to the curve to adjust specific tonal ranges. - Color Balance: Adjust the color balance of the shadows, mid-tones, and highlights independently. Access this via
Layer > New Adjustment Layer > Color Balance. - Hue/Saturation: Adjust the overall hue, saturation, and lightness of the image or target specific colors.
- Selective Color: Adjust the amount of cyan, magenta, yellow, and black in specific colors.
Selective Color Correction:
- Color Range: Select specific colors in the image using
Select > Color Range. This allows for targeted adjustments. - Layer Masks: Apply layer masks to adjustment layers to restrict changes to specific areas of the image.
- Blend Modes: Use blend modes on adjustment layers to control how the adjustments interact with the image below.
Advanced Blending Options:
- Blend If Sliders: Access this by double-clicking on a layer to open the Layer Style dialog and use the Blend If sliders to blend layers based on the underlying layer’s brightness.
Working with Channels:
- Channel Mixer: Adjust the Red, Green, and Blue channels to fine-tune the color balance. Access this via
Layer > New Adjustment Layer > Channel Mixer. - Lab Color Mode: Convert the image to Lab Color mode (
Image > Mode > Lab Color) to make adjustments in the Lightness, a, and b channels for more precise control.
Advanced Color Matching:
- Match Color: Match the color between different layers or images using
Image > Adjustments > Match Color. - Apply Image: Use
Image > Apply Imageto blend layers or make precise adjustments by applying the image data from one layer to another.
Professional Photo Editing Tutorial,
Color Lookup Tables (LUTs):
- Applying LUTs: Use LUTs for complex color grading. Access this via
Layer > New Adjustment Layer > Color Lookup. - Custom LUTs: Create and load custom LUTs for specific color grading needs.
Non-Destructive Editing:
- Always use adjustment layers, smart filters, and masks to maintain the ability to edit and revert changes without altering the original image data.
Professional Plugins:
- Consider using third-party plugins like Nik Collection, ON1, or others that offer advanced color correction tools and presets.
By mastering these tools and techniques, you can achieve precise and professional-level color corrections in your photos. Each method offers different levels of control and flexibility, so understanding when and how to use them is key to achieving the best results.
