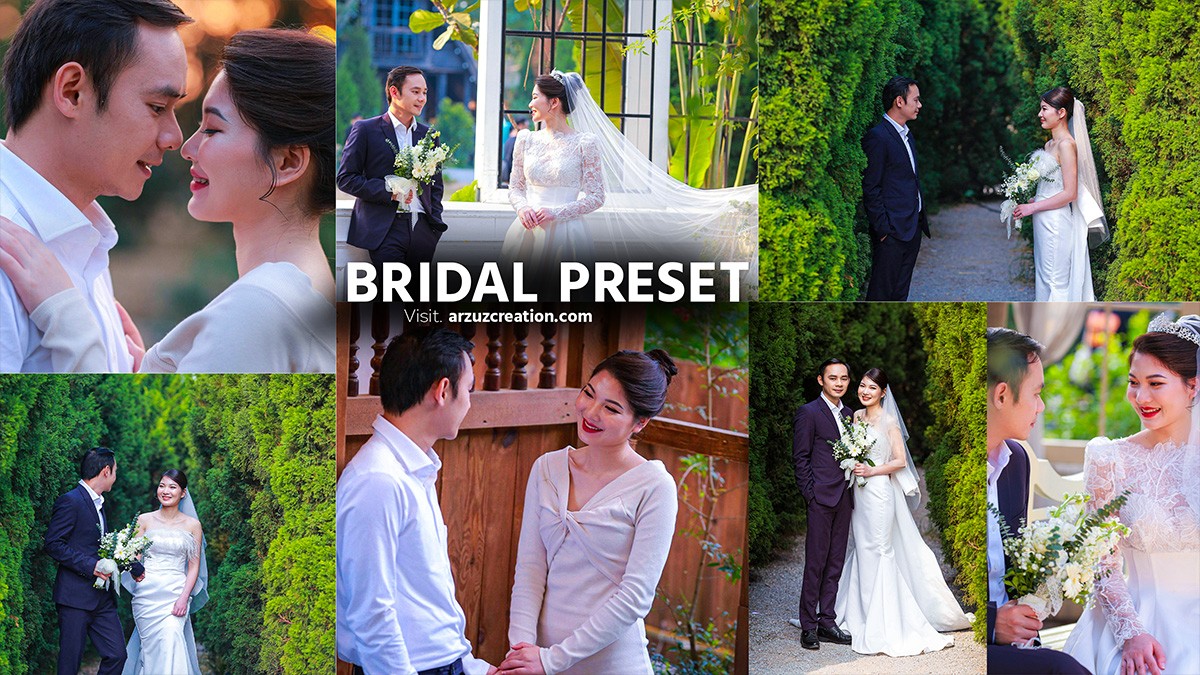
Photoshop Tutorial: Professional Wedding Photo Editing Photoshop,

Therefore, Professional wedding photo editing in Photoshop involves a variety of techniques to enhance the natural beauty of the event while maintaining a timeless and elegant feel. In other words, Here are key steps and techniques for editing wedding photos:
Raw File Processing:
- Use Adobe Camera Raw (ACR): However, Start by importing your raw files into ACR. Adjust exposure, contrast, white balance, shadows, and highlights to get a balanced base image.
- Correct White Balance: For instance, Wedding photos can have varying lighting conditions (indoor, outdoor, etc.), so it’s essential to adjust the white balance to keep skin tones natural.

Skin Retouching:
- Frequency Separation: Above all, This is a non-destructive technique to smooth out skin without losing texture. It separates the high and low-frequency details of an image, allowing you to work on color and texture separately.
- Dodge & Burn: In addition, Lightly dodge (lighten) the highlights and burn (darken) the shadows to add dimension to the skin and facial features.

Photoshop Tutorial: Professional Wedding, Eyes and Teeth Enhancement:
- Brightening Eyes: Above all, Use the Dodge tool or adjustment layers to subtly brighten the whites of the eyes without overdoing it.
- Whiten Teeth: Use a Hue/Saturation adjustment layer to desaturate and brighten the yellows in the teeth.

Photoshop Tutorial: Professional Wedding, Color Grading:
- Warm Tones: Weddings often benefit from warm, romantic tones. Use tools like Color Balance, Selective Color, or Curves to add a soft, warm color grading.
- Split Toning: Apply slight color differences in highlights and shadows for added depth and mood. For instance, warm highlights and cooler shadows can create a pleasing contrast.
- Gradient Maps: Use gradient maps for creative color overlays to subtly shift the overall color mood.
Exposure and Contrast:
- Adjustment Layers: Use Curves or Levels to fine-tune the exposure and contrast. Avoid overly high contrast unless you’re going for a particular style.
- Vignette: Add a soft vignette to focus attention on the subject. This can be done via the Lens Correction tool or manually with a layer mask and gradient.

Photoshop Tutorial: Professional Wedding, Background Cleanup:
- Clone Stamp or Healing Brush: Remove distractions like stray objects, blemishes, or inconsistencies in the background to keep the focus on the couple.
- Blur Background (Bokeh Effect): For photos where the background is distracting, use the blur tool or lens blur to simulate depth of field and keep attention on the couple.
Photoshop Tutorial: Sharpening:
- High Pass Filter: Use the High Pass filter for sharpening. Duplicate the image layer, apply the filter, and set the blending mode to Overlay or Soft Light to sharpen the details.
Wedding Photo Editing Photoshop Presets Free Download,

Final Touches:
- Film Grain: Similarly, Adding subtle film grain can give the image a classic, timeless feel.
- Cinematic Crop: Apply a wide, cinematic crop (16:9 aspect ratio) to create a more dramatic composition for certain shots.
Batch Processing (for Multiple Photos):
- Actions: If you need to apply similar edits across many images, create an action to automate processes like color grading, contrast adjustment, or sharpness.
- Lightroom Integration: For bulk editing, consider using Lightroom for organizational purposes and making initial corrections, then fine-tuning in Photoshop.
Each wedding is unique, so adjusting based on the mood, location, and couple’s preferences is key to creating perfect images. You can customize these techniques to match the aesthetic you’re aiming for.
