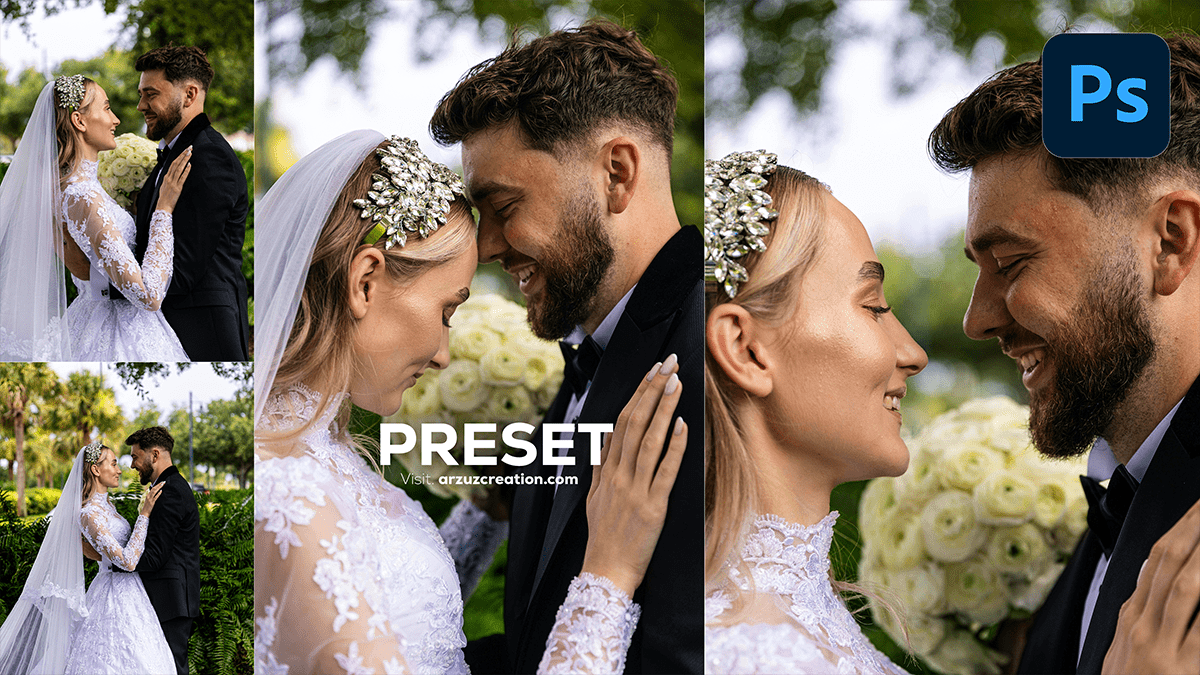
Tips & Tricks: How to Wedding Photo Editing in Adobe Photoshop,

Therefore, Editing pre-wedding photos in Adobe Photoshop involves enhancing the natural beauty of the images and giving them a dreamy, romantic look. In other words, Here’s a basic step-by-step guide to help you achieve that:
Basic Adjustments (Exposure, Contrast, and Color Balance):
- Open the Image: However, Start by opening the image in Photoshop.
- Adjust Exposure: Above all, Go to
Image>Adjustments>Exposure. Adjust the exposure to correct any over or underexposed areas. - Adjust Contrast: For instance, Use
Image>Adjustments>Brightness/Contrastto enhance the details by slightly increasing the contrast. - White Balance: In addition, Use the
Color Balance(Ctrl + BorCmd + B) to correct the color tones if they appear too warm or cool. Pre-wedding photos often look good with warmer tones.

Tips & Tricks: Retouching (Skin Smoothing, Blemish Removal):
- Spot Healing Brush Tool: Remove small blemishes or imperfections on the skin by selecting the Spot Healing Brush tool (shortcut:
J). Click on the areas that need retouching. - Frequency Separation (Advanced): This technique helps preserve skin texture while smoothing. You can do this by separating the image into high-frequency (details) and low-frequency (colors) layers and applying blur to the low-frequency layer.
- Dodge and Burn: After that, Lightly uses the
Dodgetool to brighten the highlights and theBurntool to enhance shadows. This helps in giving the skin a more polished look.

How to Wedding Photo Editing, Enhance Colors, and Add Glow:
- Vibrance and Saturation: After that, Go to
Image>Adjustments>Vibranceto enhance the colors. Keep it subtle to avoid oversaturation. - Add Soft Glow: To add a dreamy, soft glow, duplicate the image layer (
Ctrl + J), applyGaussian Blur(go toFilter>Blur>Gaussian Blur), and set the blending mode of the blurred layer toSoft LightorOverlay. Reduce opacity if needed.

How to Wedding Photo Editing, Background Enhancement:
- Selective Color Adjustment: If the background needs enhancement, use the
Selective Coloradjustment layer to make colors like greens (in trees) or blues (in the sky) pop. - Bokeh Effect (Optional): If you want a bokeh effect, you can manually blur parts of the background using the
Gaussian Blurfilter.
Tips & Tricks: How to Wedding Photo Editing in Adobe Photoshop,

How to Wedding Photo Editing, Add Vignette:
- Vignette Effect: To focus attention on the couple, create a vignette by going to
Filter>Lens CorrectionUnder theCustomtab, adjust theVignettesettings. Alternatively, use theElliptical Marquee Toolto select the area around the couple, feather the selection, and darken the edges.
- Gradient Map: Create a
Gradient Mapadjustment layer, and choose a color combination that complements the image’s tone. Warm, pastel, or pinkish hues often work well for romantic pre-wedding photos. - Curves Adjustment: Adjust the curves by creating an
S-curvein-theRGBchannel for better contrast. You can also tweak the individual red, green, and blue channels to fine-tune the color mood.

Wedding Photoshop Presets Free Download,
Tips & Tricks: How to Wedding Photo Editing, Final Touches:
- Sharpening: Use
Unsharp Mask(Filter>Sharpen>Unsharp Mask) to sharpen the final image, especially around the couple’s faces. - Remove Distractions: Use the
Clone Stamp Tool(shortcut:S) to remove any distracting objects or blemishes in the background. - Save the Final Image: Once you’re satisfied, save the image in high resolution.
These steps will help you create polished, visually appealing pre-wedding photos with a romantic, soft, and vibrant look. Let me know if you’d like to explore any specific techniques in detail!
