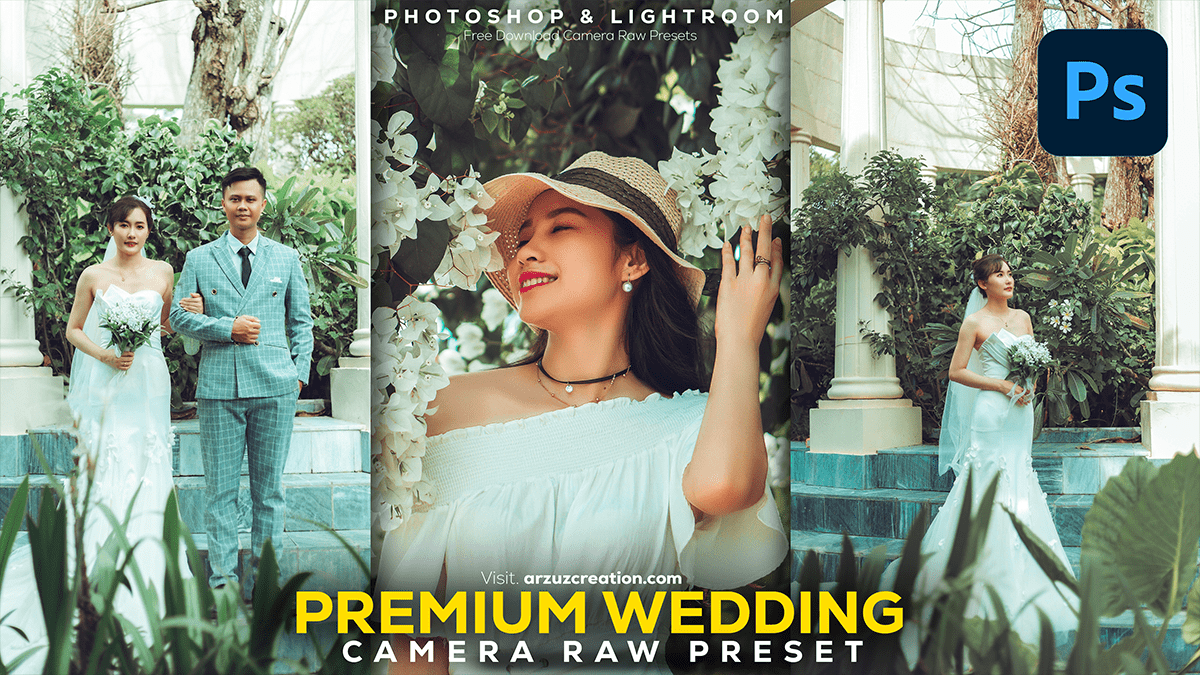
Adobe Photoshop: Wedding Photo Editing & Retouching Tutorial,

Therefore, Editing wedding photos and skin retouching in Photoshop involves several techniques to make the images look professional while keeping them natural and beautiful. In other words, Here’s a guide to help you with both:
Adobe Photoshop: Wedding Photo Editing, Wedding Photo Editing
Color Grading:
- Adjust White Balance: Use the Camera Raw Filter or Adjustments Panel to correct the temperature and tint.
- Tone Adjustments: Apply curves to fine-tune contrast and brightness. This adds depth and mood to the image.
- Vibrance and Saturation: Increase vibrance slightly to make colors pop without oversaturating.
- Color Lookup Tables (LUTs): Apply subtle LUTs to give the image a cohesive color style, perfect for a romantic or vintage feel.
- Selective Color: Adjust specific color ranges (like greens in the foliage or skin tones) to control the feel of the overall image.
Sharpening:
- However, Use the High Pass Filter for sharpening. Set the filter radius low (around 1-2px), then change the blend mode to Overlay or Soft Light. This enhances details without over-sharpening.
Dodging and Burning:
- For instance, Use the Dodge Tool (set to mid-tones, around 10-20% exposure) to brighten the highlights, especially on the bride’s dress, and the Burn Tool to darken shadows for depth.
Lens Corrections:
- However, Apply corrections for lens distortion, chromatic aberration, and vignetting in the Camera Raw Filter or Lens Correction filter.
Adobe Photoshop: Wedding Photo Editing & Retouching Tutorial,

Adobe Photoshop: Skin Retouching:
For instance, For natural-looking skin, focus on subtle enhancements while maintaining texture.
Frequency Separation:
- For instance, This technique separates the skin’s texture from its color, allowing you to work on both independently.
- Step 1: Duplicate the image twice. Name the first layer “Low Frequency” and the second “High Frequency.”
- Step 2: Apply a Gaussian Blur (around 5-10px) to the “Low Frequency” layer to smooth out color transitions.
- Step 3: For the “High Frequency” layer, go to Image > Apply Image, select the “Low Frequency” layer, and set the blending to Subtract (in 16-bit, choose Add). Change the blend mode of the “High Frequency” layer to Linear Light.
- Step 4: Use the Clone Stamp Tool on the “High Frequency” layer to fix imperfections in the texture. Use the Lasso Tool and Gaussian Blur to even out color tones on the “Low Frequency” layer.
Spot Healing Brush and Patch Tool:
- For instance, Use the Spot Healing Brush Tool for small blemishes. For larger areas, use the Patch Tool to select and replace problematic skin areas with smoother textures.
Dodge and Burn for Skin:
- Above all, Create two curve adjustment layers: one for dodging (brightening) and one for burning (darkening). Invert their masks and use a soft brush with low opacity (5-10%) to paint in subtle highlights and shadows to give dimension to the face without losing natural texture.
Smoothing with Mixer Brush:
- Above all, Use the Mixer Brush Tool with a low flow (around 10-20%) and no wetness to gently blend skin tones. Avoid over-smoothing the texture; just use it on transition areas like under the eyes or around the cheeks.
Adobe Photoshop: Wedding Photo Editing,

Eye and Teeth Enhancement:
- In addition, Use the Dodge Tool to brighten the whites of the eyes and teeth slightly.
- After that, To enhance the iris, create a new layer, paint over the iris with a light color using a soft brush, then reduce the opacity for a natural effect.

Lip and Cheek Enhancement:
- In addition, Use a Hue/Saturation layer to adjust lip color slightly if needed. For cheeks, use a soft brush with a pinkish tone at low opacity to enhance the blush.
Photoshop Presets Free Download 2024,

Final Touches:
- Noise Reduction: Use the Camera Raw Filter to reduce any digital noise, particularly in low-light wedding photos.
- Sharpening for Print: If the photo is meant for print, apply an additional pass of sharpening (using the Unsharp Mask or Smart Sharpen filters) to enhance detail, but avoid overdoing it.
- Vignette: Add a subtle vignette to focus attention on the couple.
Would you like a deeper walkthrough on any specific steps?
