Adobe Photoshop: Cinematic Look Photo Editing Presets Download,

Therefore, Cinematic photo editing in Adobe Photoshop focuses on creating dramatic, film-like effects, often using specific color grading, lighting enhancements, and other techniques. In other words, Here’s a step-by-step guide to achieve a cinematic look:
Adjusting Basic Exposure and Contrast:
- However, Open your photo in Photoshop.
- For instance, Go to Image > Adjustments > Levels or press
Ctrl+L. Adjust the shadows and highlights to create contrast. - However, Alternatively, use Curves (
Ctrl+M) to manually fine-tune the contrast and exposure.
Color Grading for a Cinematic Look:
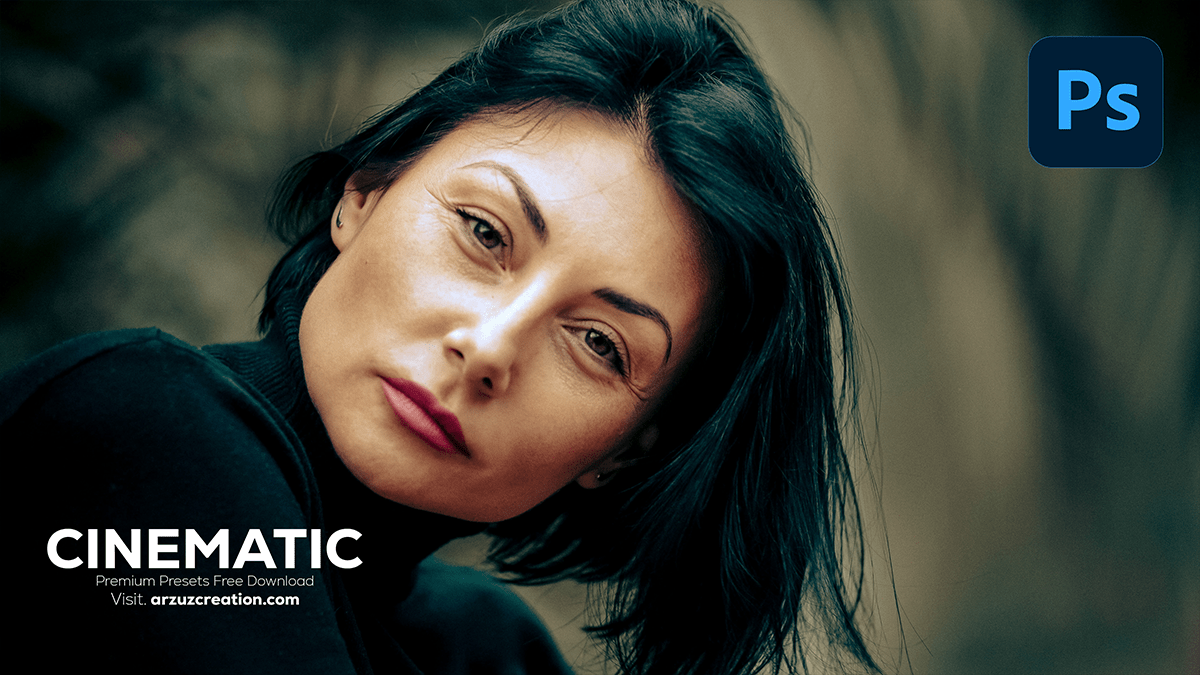
For instance, Color grading is key in cinematic photography. This often involves cool shadows and warm highlights.
Create a Color Lookup Adjustment Layer:
- Above all, Go to Layer > New Adjustment Layer > Color Lookup.
- In addition, Try out different LUTs (Look-Up Tables) like Crisp_Warm, FuturisticBleak, or TealOrangePlusContrast. These give an instant cinematic feel.
Manual Color Grading:
- Above all, Add a Gradient Map adjustment layer.
- In addition, Use a color gradient from a teal shadow to an orange highlight to create the popular teal and orange look.
- After that, Adjust the blending mode to Soft Light or Overlay and reduce the opacity to around 20-40% for a more subtle effect.
- Above all, You can also add a Selective Color adjustment layer to refine tones like reds, blues, or neutrals.
Enhance Depth with Vignetting:
For instance, Cinematic shots often have a subtle vignette to direct attention to the subject.
- In addition, Add a Solid Color layer and fill it with black.
- After that, Set the blending mode to Soft Light or Overlay.
- Similarly, Use the Elliptical Marquee Tool (M) to create a circular selection around the subject.
- In addition, Go to Select > Modify > Feather and increase the feather radius to around 100-200px.
- After that, Hit Delete to remove the selection and leave a soft vignette.
Adobe Photoshop: Cinematic Look Photo Editing Presets Download,

Adobe Photoshop: Cinematic Look Photo Editing, Add Film Grain:
Similarly, To give the photo a more cinematic texture:
- After that, Go to Filter > Noise > Add Noise and add a subtle amount of grain (between 2-6%). Choose Gaussian and Monochromatic for a subtle, film-like effect.
Enhancing Lighting (Dodge and Burn):
- Use the Dodge Tool to lighten specific areas and create a dramatic light focus.
- Use the Burn Tool to darken shadows or areas that need more depth.
- Focus on the edges of the frame and the shadows to add depth.
Letterbox Effect (Optional):
Similarly, If you want to replicate a widescreen movie format:
- Use the Rectangular Marquee Tool to create black bars at the top and bottom of the image.
- Fill them with black to give the image a 21:9 aspect ratio.
Adobe Photoshop: Cinematic Look Photo Editing, Final Touches:

- Sharpening: Go to Filter > Sharpen > Unsharp Mask to slightly enhance details.
- Lens Blur: Add a subtle blur in certain areas to replicate a shallow depth of field. Go to Filter > Blur > Lens Blur, and use the brush to mask areas that should stay sharp (like the subject).
Summary:
- Adjust contrast and exposure using Levels or Curves.
- Apply color grading with LUTs or manually adjust with Gradient Maps and Selective Color.
- Add vignettes and film grain for depth and texture.
- Use dodge and burn to enhance lighting.
- Optionally add letterboxing for a cinematic frame.
- Add finishing touches with sharpening or blur.
These steps will help you achieve a cinematic, dramatic effect on your photos in Photoshop.
