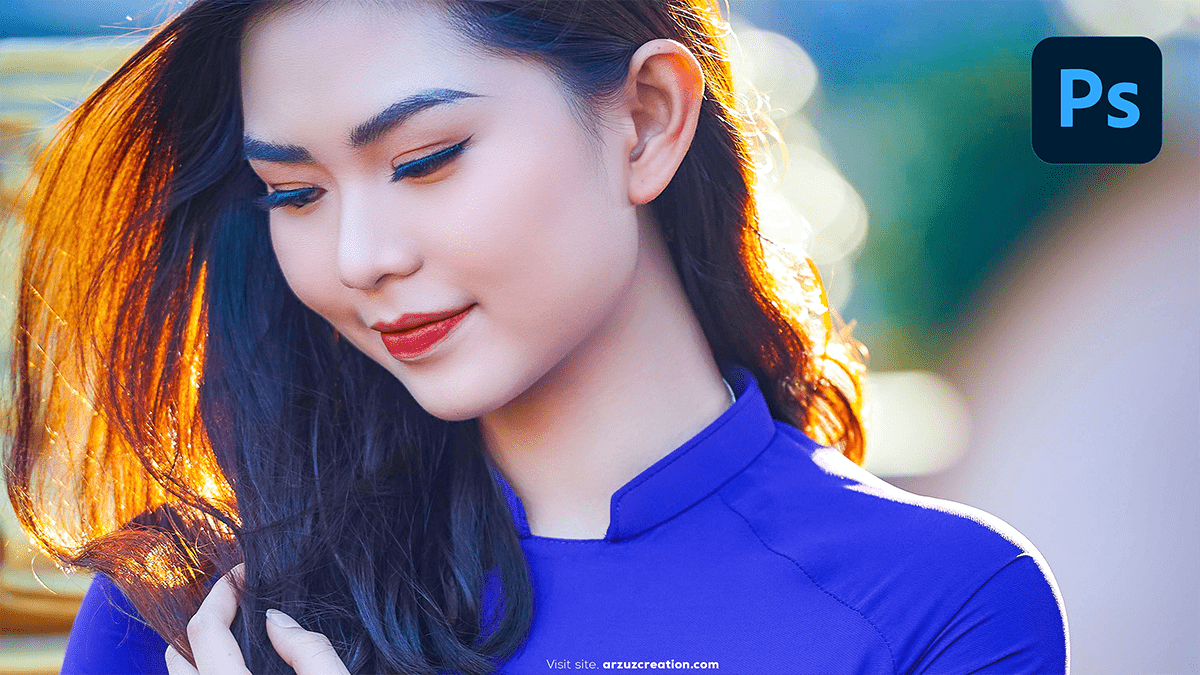
Tips: How to Edit Pictures in Photoshop to Look Professional?

Therefore, Editing photos to look professional in Photoshop involves several techniques that enhance the image while maintaining a natural and polished appearance. In other words, Here’s a step-by-step guide to achieve professional-looking photos:
Adjust Exposure and Contrast
- Levels/Curves: Use the Levels or Curves adjustment layers to fine-tune brightness and contrast. Ensure the photo isn’t too dark or too bright.
- However, Go to Image > Adjustments > Levels or Curves.
- For instance, Adjust the sliders to enhance shadows, mid-tones, and highlights.
Tips: How to Edit Pictures, Sharpen the Image
- High Pass Filter: Sharpen the image without overdoing it by using the High Pass filter.
- However, to Duplicate the image layer, go to Filter > Other > High Pass. Set the radius between 1-3 pixels.
- For instance, Set the layer blend mode to Overlay or Soft Light for a subtle sharpening effect.
Use Color Grading for Style
- However, Apply Color Balance or Gradient Map to achieve a cohesive and polished look. This can set a mood or match a particular style.
- For instance, Go to Image > Adjustments > Color Balance and adjust the shadows, mid-tones, and highlights.
Tips: How to Edit Pictures, Skin Retouching (Portraits)
- For instance, Use the Healing Brush or Clone Stamp to remove blemishes or imperfections. Keep retouching natural by not over-smoothing the skin.
- Apply Frequency Separation for advanced skin retouching.
Dodge and Burn
- Above all, Lightly uses the Dodge (lighten) and Burn (darken) tools to add depth and dimension.
- Set exposure to around 10% for more control, and apply it gradually.
Tips: How to Edit Pictures in Photoshop to Look Professional?

Vibrance and Saturation
- Above all, Boost the vibrancy without oversaturating the colors for a more natural enhancement.
- Go to Image > Adjustments > Vibrance and increase it to make colors pop subtly.
Lens Correction and Cropping
- In addition, Correct any lens distortions to ensure straight lines, especially in architectural or landscape photography.
- Go to Filter > Lens Correction and make the necessary adjustments.
- Above all, Use the Crop Tool to improve the composition by following the rule of thirds.
Tips: How to Edit Pictures, Add Vignette
- In addition, A slight vignette can focus attention on the subject.
- Go to Filter > Lens Correction and under the Custom tab, apply a subtle vignette.
Photoshop Premium Presets Free Download,
Noise Reduction
- In addition, If the image is noisy (especially in low-light conditions), reduce the noise while preserving details.
- Go to Filter > Noise > Reduce Noise.
Final Touch: Curves for Contrast
- After that, After all adjustments, apply the Curves adjustment layer to give the photo a final boost in contrast and brightness.
- Make an “S” curve to enhance the contrast while maintaining balance.
Similarly, These steps can give your photos a polished and professional look. Would you like to focus on a specific type of photo (e.g., portraits, landscapes, etc.)?
