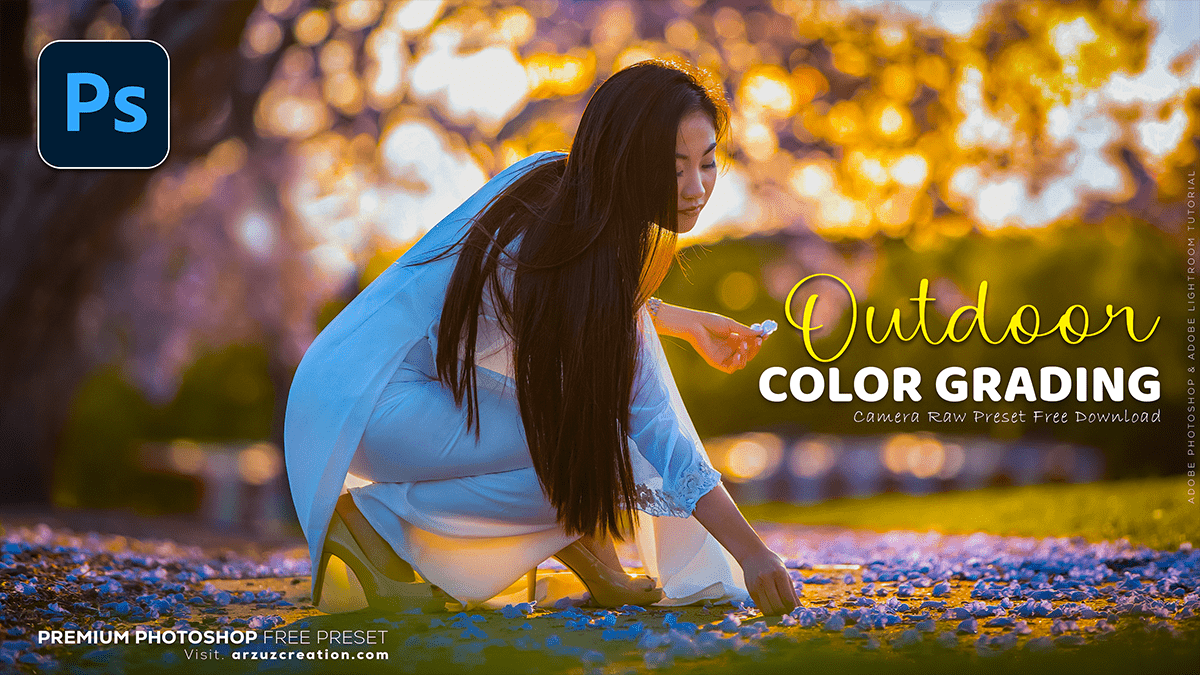
Adobe Photoshop 2025 Outdoor Portrait Photo Colour Grading Tips,

Therefore, Color grading outdoor portrait photos in Photoshop involves enhancing the image’s colors and tones to achieve a specific aesthetic. In other words, Here’s a step-by-step guide to help you color-grade an outdoor portrait effectively:
1. Open the Image in Photoshop:
- Therefore, Import your image into Photoshop and duplicate the background layer (
Ctrl+J/Cmd+J) to work non-destructively.
2. Adjust the Basic Settings:
- In other words, Go to
Image > Adjustments > Camera Raw Filteror use Adobe Camera Raw (ACR) to adjust:- Exposure: Balance highlights and shadows.
- Contrast: Add depth to the image.
- White Balance: Adjust for warmth or coolness.
- Clarity: Enhance mid-tone contrast for more texture.
- Dehaze: Use sparingly to remove or add haze to the background.
3. Use Adjustment Layers:
Therefore, Adjustment layers allow for flexibility in edits:
- Curves:
- Therefore, Use curves to adjust brightness and contrast.
- In other words, Fine-tune individual color channels (Red, Green, Blue) for color grading.
- Color Balance:
- However, Shift tones in shadows, mid-tones, and highlights.
- In other words, For a warm look, add reds and yellows to highlight and mid-tones.
- Therefore, For a cooler look, add blues and cyans to shadows.
- Hue/Saturation:
- In other words, Enhance specific colors. For example, greens and blues can be made more vibrant for outdoor scenery.
- Therefore, Desaturate distracting elements if necessary.
- Selective Color:
- In other words, Adjust specific colors for fine-tuning (e.g., make the greens richer or the skies deeper blue).
4. Add Gradient Maps (Optional):
- Therefore, Add a Gradient Map adjustment layer.
- However, Choose a gradient that fits the image’s mood (e.g., warm golden tones for sunsets).
- In other words, Lower the opacity or change the blending mode (e.g., Soft Light) for subtle effects.
5. Adobe Photoshop 2025 Outdoor Portrait Photo Colour Grading Tips, Dodge and Burn:
- Therefore, Use the Dodge (lighten) and Burn (darken) tools to enhance highlights and shadows on the subject’s face or other areas.
- However, please create a new layer and set it to Overlay, fill it with 50% gray, and then dodge and burn on this layer for a non-destructive approach.

6. Enhance the Background:
- Therefore, Use Luminosity Masks or manually select the background to enhance the sky, greenery, or other elements.
- However, Adjust using
LevelsorCurvesto create depth and separation between the subject and background.
7. Adobe Photoshop 2025 Outdoor Portrait Photo Colour Grading Tips, Add a Vignette (Optional):
- However, Use the
Lens Correctiontool or create a vignette manually with the Elliptical Marquee tool andFeatherto draw attention to the subject.
8. Final Touches:
- For instance, Sharpen the image using
Unsharp MaskorHigh Pass Filter(set blending mode to Overlay or Soft Light). - Above all, Check overall colors by adding a new layer filled with neutral gray (
Shift+F5) and setting it to theColorblend mode to detect color casts.
Adobe Photoshop 2025 Outdoor Portrait Photo Colour Grading Tips, Tips for Outdoor Portraits:
- Above all, Use warm tones for sunset or golden hour photos.
- After that, Opt for cool tones for moody or overcast scenes.
- For instance, Always maintain natural skin tones; don’t let the color grading overpower the subject’s complexion.
In conclusion, Let me know if you’d like detailed guidance on any specific step!
