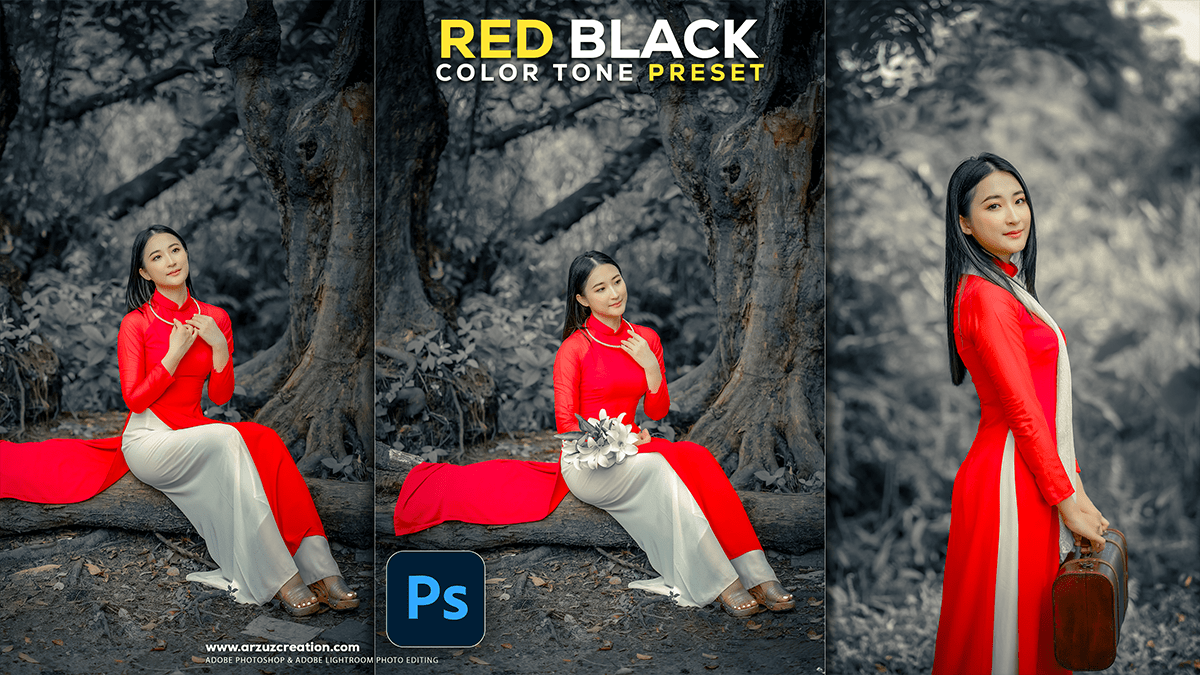
Outdoor Photo Dark Red Black Color Grading Adobe Photoshop,
Therefore, creating a dark red and black color grading effect in Photoshop is a popular technique for achieving a moody, dramatic, and cinematic look. This style often involves desaturating other colors and emphasizing deep reds and rich blacks. Here’s a general approach you can take, using various Photoshop adjustment layers:

Outdoor Photo Dark Red Black Color Grading Adobe Photoshop,
The Core Principles:
- Curves: Therefore, this is one of the most powerful tools for color grading. You can manipulate the individual red, green, and blue (RGB) curves to shift the tones and shadows.
- Camera Raw Filter: This is an excellent all-in-one tool for making initial adjustments to exposure, contrast, and color.
- Hue/Saturation: Therefore, this adjustment allows you to selectively desaturate colors, making the red stand out more.
- Color Balance: Use this to push specific color tones into the shadows, mid-tones, and highlights.
- Gradient Map: A great way to apply a specific color palette to your image’s highlights and shadows.
Camera Raw Presets Free Download,
Step-by-Step Guide:
- Start with the Right Photo: Therefore, this effect works best on photos that are already on the darker side, with strong shadows and a clear subject. Images with a lot of light or a busy background may be more difficult to grade in this style.
- Initial Adjustments (Camera Raw Filter):
- Therefore, go to Filter > Camera Raw Filter or press Ctrl+Shift+A (Windows) or Cmd+Shift+A (Mac).
- In other words, in the Basic panel, adjust the Exposure and Contrast to your liking. You want to create deep blacks, so you might lower the exposure slightly and increase the contrast.
- Therefore, lower the Highlights to preserve detail and raise the Shadows a little to prevent them from becoming completely crushed.
- In other words, adjust the Blacks slider to make the dark areas of the image as black as you want.
Outdoor Photo Dark Red Black Color Grading Adobe Photoshop,
- Applying the Red Tones (Color Mixers):
- However, in the Camera Raw Filter, navigate to the Color Mixer panel (the icon with the colored circles).
- In other words, this is where you can start manipulating specific colors. You can desaturate all the colors except for the red and orange channels.
- However, select the Red channel and increase the Hue and Saturation to make it more vibrant.
- For instance, you can also adjust the Luminance of the red to make it brighter or darker.
- In other words, select other color channels like Yellow, Green, and Blue, and drag their Saturation sliders all the way to the left to desaturate them.
Adobe Photoshop Adjustment Color Grading,
- Refining with Curves:
- For instance, close the Camera Raw Filter and create a new Curves Adjustment Layer.
- Above all, the “S-curve” is a classic starting point for adding contrast. Click on the curve line to add a point in the middle, then drag the bottom left of the curve down to darken the shadows and the top right of the curve up to brighten the highlights.
- Now, switch to the individual color channels:
- Red Channel: Click on the red curve. Drag the bottom left of the curve up to add red to the shadows.
- Blue Channel: Click on the blue curve. Drag the bottom left of the curve down to add yellow to the shadows (the opposite of blue), and drag the top right of the curve down to add blue to the highlights. This can give a nice, cool-toned contrast to the warm reds.
Outdoor Photo Dark Red Black Color Grading Adobe Photoshop,
- Using a Gradient Map:
- For instance, create a new Gradient Map Adjustment Layer.
- Above all, in the Gradient Map panel, click on the gradient swatch to open the Gradient Editor.
- For instance, create a simple gradient with three color stops:
- Black: For the shadows.
- Dark Red: For the mid-tones.
- A slightly brighter red or orange: For the highlights.
- Above all, set the Gradient Map’s blending mode to Soft Light or Overlay and lower the Opacity to a level that looks natural. This will apply the color grading without being too overpowering.
- Final Touches:
- For instance, you can add a Vibrance/Saturation adjustment layer to make final tweaks.
- Above all, to add a vignette, create a new layer filled with black. Use a large, soft eraser brush to erase the center, revealing your image. Set the layer’s blending mode to Soft Light or Overlay and lower the opacity.
- For instance, Use Dodge and Burn techniques on a new gray layer (set to Overlay blending mode) to selectively lighten and darken areas, further enhancing the dramatic feel.
Outdoor Photo Dark Red Black Color Grading Adobe Photoshop,
Key Considerations:
- Work Nondestructively: Always use adjustment layers instead of making direct changes to your image. This allows you to go back and fine-tune your settings at any point.
- Reference Images: Look at movies or photos with a similar aesthetic to understand the balance between the dark red and black tones.
- Experiment: The best way to get the look you want is to play with the different sliders and settings. Every image is different, so what works for one photo might not work for another.