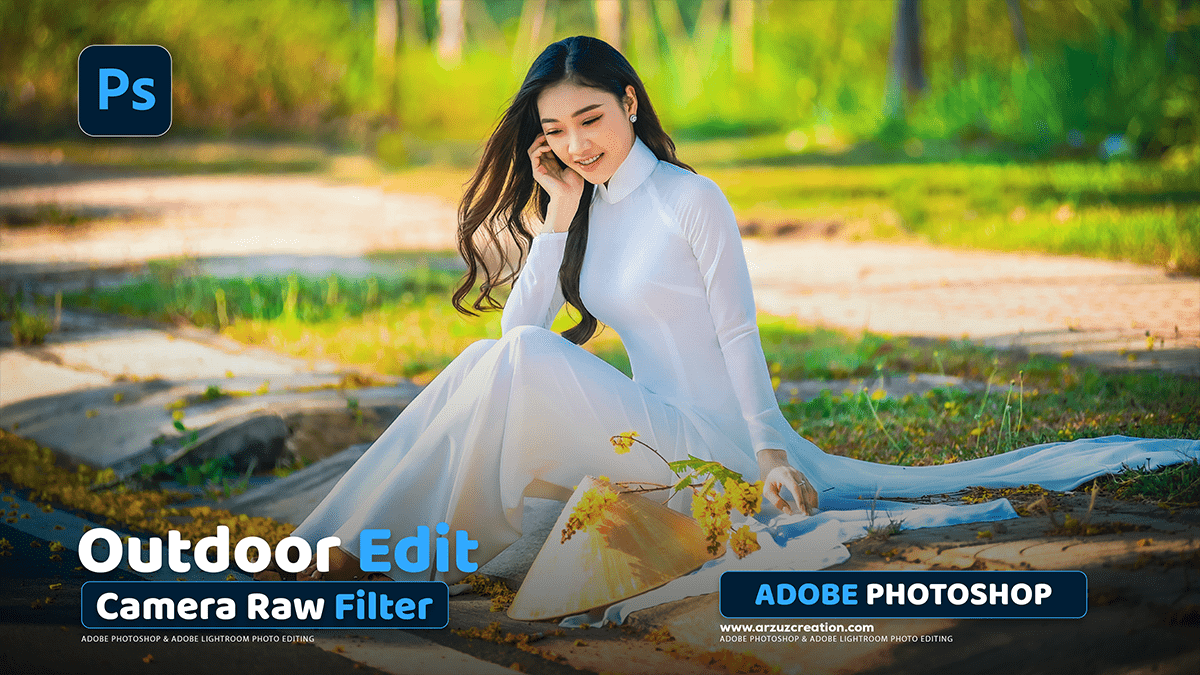
How to Edit a Photo in Adobe Photoshop 2025,

Therefore, Photoshop photo editing can range from basic adjustments to complex retouching. The key to powerful, non-destructive editing is using layers and masks. The following steps cover foundational edits, which can be adapted for any photo.
How to Edit a Photo in Adobe Photoshop 2025,
Begin with foundational adjustments:
Therefore, start with a RAW file if possible, as it retains the most data. Otherwise, open a standard image file, such as a JPEG.
- Open in Camera Raw: When you open a RAW file in Photoshop, it automatically launches the Camera Raw editor. Here, you can make basic corrections to color and exposure before entering the main Photoshop workspace.
- Adjust highlights and shadows: In Camera Raw (or using an Adjustment Layer in Photoshop), move the Highlights and Shadows sliders. The highlight slider recovers detail in the brightest areas, while the shadows slider brightens up the darkest parts of your image.
- Set the black and white points: Use the Blacks and Whites sliders to add contrast. Lower the Blacks slider to deepen shadows and increase the Whites slider to make bright areas pop.
- Correct white balance: Use the Temperature and Tint sliders to remove unwanted color casts. This is useful for correcting photos taken under unusual lighting, such as fluorescent light.
How to Edit a Photo in Adobe Photoshop 2025,
Improve composition:
Therefore, A strong photo starts with good composition. Use the Crop Tool (C) to improve the image’s framing.
- Crop and resize: Use the crop handles to trim edges and reframe your photo. You can also change its aspect ratio using the options at the top of the screen.
- Straighten horizons: If you have a crooked horizon, click the “Straighten” icon in the Crop Tool’s options bar. Then, click and drag a line along your crooked horizon. Photoshop will automatically rotate the image to straighten it.
- Use the Rule of Thirds: For better composition, enable the Rule of Thirds grid by clicking the Overlay Options in the Crop Tool’s settings. Aligning key elements along these grid lines or at their intersections can make your photo more dynamic.
Retouch and remove distractions:
In other words, fix imperfections with the healing tools. For non-destructive editing, work on a duplicate layer (Ctrl+J or Cmd+J) or a new blank layer.
- Spot Healing Brush Tool (J): This is ideal for removing small blemishes, dust spots, or other minor imperfections. It automatically samples pixels from the surrounding area to blend over the spot.
- Patch Tool (J): For larger areas, use the Patch Tool. Draw a selection around the unwanted object, then click and drag the selection to a clean area of the image to replace it.
- Clone Stamp Tool (S): This gives you precise control over what pixels you copy. Hold
Alt(Windows) orOption(Mac) To sample a source area, then click and paint over the area you want to replace.
Adjustment Layer Photo Editing,
Enhance colors and tones:
In other words, Adjustment layers are the best way to modify color and tone because they are fully editable and don’t permanently change your image.
- Levels or Curves: Add a Levels or Curves adjustment layer to fine-tune brightness and contrast. Levels is simpler, while Curves gives you more granular control over specific tonal ranges.
- Hue/Saturation: Add a Hue/Saturation adjustment layer to control the colors in your image. Adjust the master sliders for a global effect, or select a specific color (like “Blues”) from the dropdown menu to adjust it individually.
- Color Balance: For more precise color correction, use the Color Balance adjustment layer. This allows you to add or subtract cyan, magenta, and yellow from the shadows, midtones, and highlights.
- Layer Masks: To apply an adjustment to only a specific part of the image, use the layer mask. Select the mask thumbnail and paint with a black brush to hide the effect or a white brush to reveal it.
How to Edit a Photo in Adobe Photoshop 2025,
Apply final touches:
In other words, once the major edits are complete, a few finishing touches can make your photo stand out.
- Sharpen the image: Add a Sharpen filter to give your photo a final boost in clarity. A good practice is to use “Smart Sharpen” as a smart filter so you can adjust it later.
- Use creative filters: Explore creative effects like converting your photo to black and white or applying a Tilt-Shift Blur to create a miniature effect.
Camera Raw Presets Free Download,
Save your work:
- Save as a PSD: Save your work as a
.PSDfile to preserve all your layers and adjustments. This is the best option for future edits. - Export as a JPEG: When you’re ready to share your photo, save a copy as a JPEG.
.JPEGfile for online use or printing.