
Therefore, Adobe Lightroom Classic is a powerful, non-destructive photo editor designed for managing and processing large volumes of images
Unlike Photoshop, which uses layers and is suited for complex compositing, Classic is organized around a streamlined workflow covering import, organization, editing, and export.
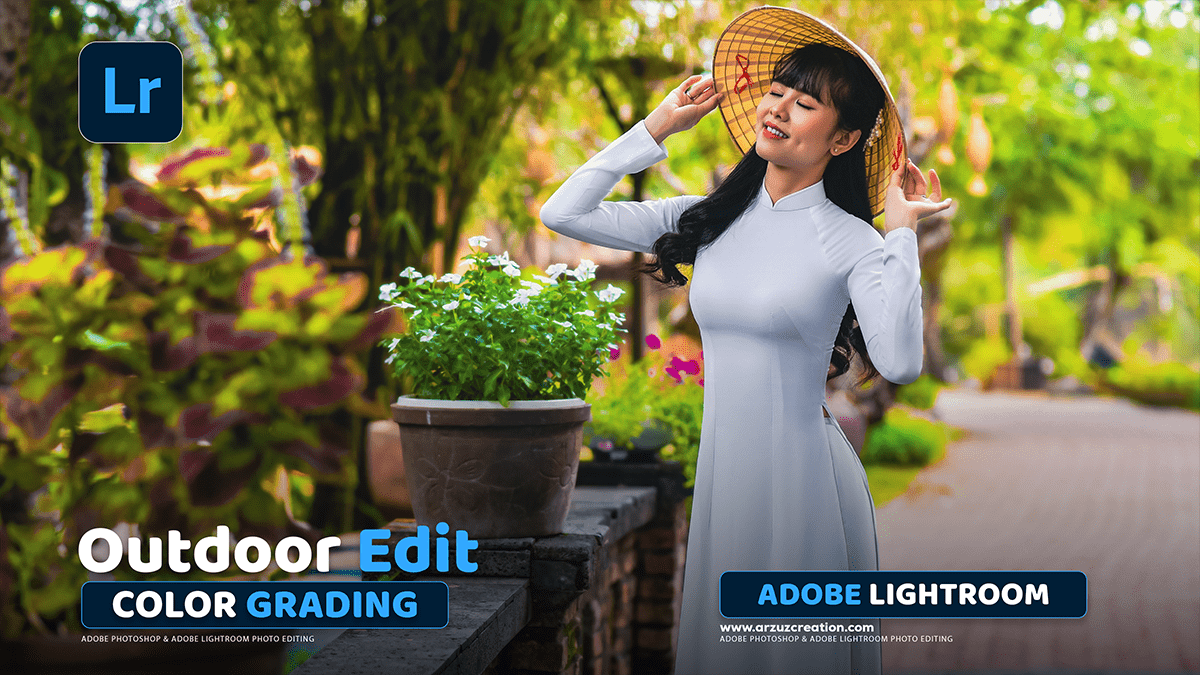
Learn: Adobe Lightroom Classic Photo Editing Tutorial 2025,
Step 1: Import and organize:
Therefore, A solid workflow starts with importing and organizing your images into the Lightroom Catalog.
- Import photos: In the Library module, click the Import button.
- Choose source: Select the memory card, hard drive, or folder containing your photos on the left side of the import dialog.
- Select destination: In the right panel, tell Lightroom Classic where to save the files on your computer.
- Copy (recommended): When importing from a memory card, choose “Copy” to move the images to your hard drive and add them to the catalog.
Adjustment Layer Photo Editing,
- Create smart previews: Enable “Build Smart Previews” to edit your photos even when your external hard drive is disconnected. When you reconnect the drive, your edits will sync to the original files.
- Organize your photos: Use the Library module’s tools to rate and sort your new photos.
- Cull: Use star ratings (1-5) or flags (P for pick, X for reject) to identify your best and worst photos.
- Use collections: Drag and drop photos into “Collections” for specific projects, events, or themes to keep your photos organized.
Lr Photo Editing Presets Free Download,
Method 2: Develop your image:
Therefore, switch to the Develop module to begin editing your selected photos.
Global adjustments,
Therefore, start with broad adjustments in the Basic panel to perfect the overall light and color.
- White Balance: Use the eyedropper tool to click on a neutral gray or white area in your photo, or use the “Temp” and “Tint” sliders for manual control.
- Tone controls: Adjust the sliders for Highlights, Shadows, Whites, and Blacks. Holding down the
Alt(Windows) orOption(Mac) Key while dragging the sliders will show clipping, revealing areas that are pure white or pure black. - Presence adjustments:
- Texture: Adjusts the fineness of details without affecting overall contrast.
- Clarity: Enhances midtone contrast for more depth.
- Dehaze: Reduces or adds atmospheric haze.
- Vibrance/Saturation: Vibrance increases the intensity of muted colors while leaving saturated colors (like skin tones) alone. Saturation boosts the intensity of all colors equally.
- Tone Curve: For more precise control over tonal ranges, use the Tone Curve panel to fine-tune highlights, lights, darks, and shadows.
Learn: Adobe Lightroom Classic Photo Editing Tutorial 2025,
Local adjustments with masking,
In other words, use the Masking tools (the circular icon at the top of the Develop panel) to make targeted adjustments.
- Select Subject/Sky: Let AI automatically select your subject or the sky, then apply adjustments to just that area.
- Linear/Radial Gradient: These tools create a gradual, feathered selection for making adjustments across a specific area, such as darkening a bright sky (linear) or drawing attention to a subject (radial).
- Adjustment Brush: “Paint” adjustments onto a specific area of your photo for maximum control.
Retouch and remove,
- Remove Tool: In other words, use this AI-powered tool (the band-aid icon) to quickly remove distractions and unwanted objects. It is more sophisticated than the older “Spot Removal” tool and can handle more complex objects.
- Clone/Heal: For smaller blemishes or dust spots, the Clone and Heal tools offer manual control for copying or healing pixels from a source area.
Creative and finishing touches,
- Color Grading: In other words, use this panel to apply color toning to your highlights, midtones, and shadows independently.
- Sharpening & Noise Reduction: In the Detail panel, sharpen the image for more clarity. Use a sharpening “Masking” to apply sharpening only to the edges of objects. Reduce noise, especially on high ISO images, using the Noise Reduction sliders.
- Lens Corrections: In the Lens Corrections panel, check “Remove Chromatic Aberration” and “Enable Profile Corrections” to automatically fix lens distortion and vignetting.
Learn: Adobe Lightroom Classic Photo Editing Tutorial 2025,
Step 3: Export your photos:
In other words, export your final photos with the proper settings for their intended use.
- Export dialog: Select the images you want to export and click File > Export.
- File Settings:
- For web: Choose JPEG and a quality between 70-80. Set the color space to sRGB, as it is the standard for most web browsers.
- For print: Use a high-resolution format like TIFF or JPEG at quality 100. Set the color space to a wider gamut like Adobe RGB (1998).
- Image Sizing:
- For web: For social media, resize to fit a long edge of 2048 pixels.
- For print: Set the resolution to 300 pixels per inch.
- Output Sharpening: Apply “Sharpen For: Screen” (for web) or “Sharpen For: Matte/Glossy Paper” (for print) with a “Standard” amount.
