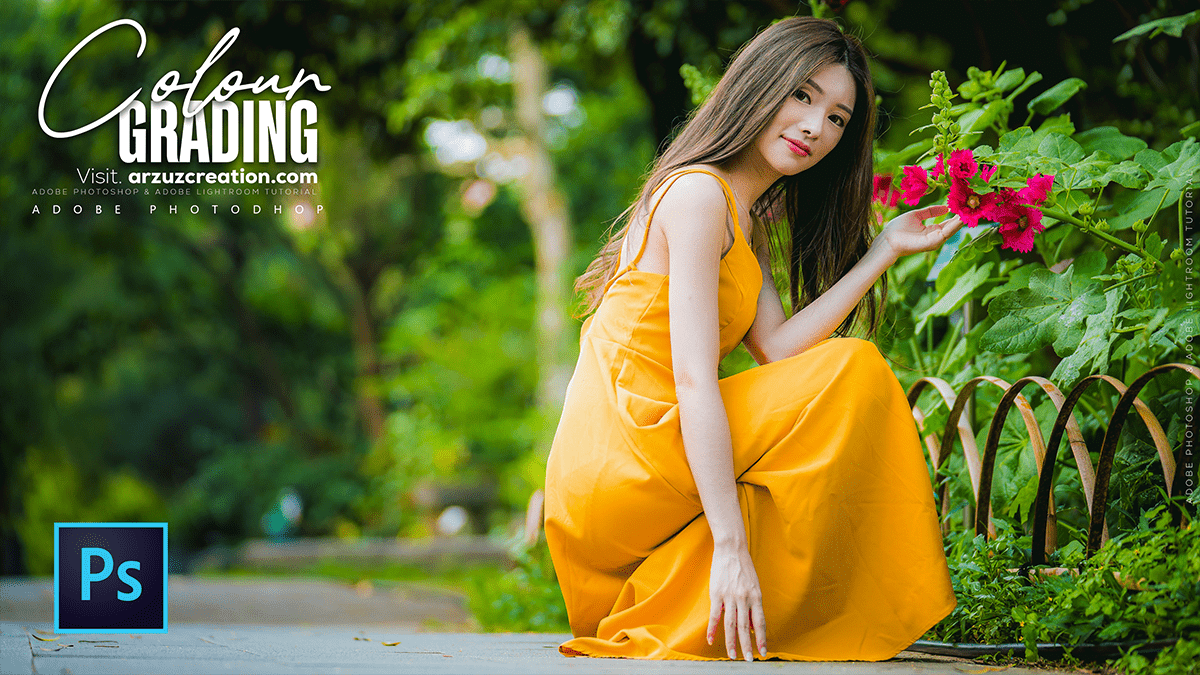
Green Tone Colour Grading in Adobe Photoshop,
Therefore, that’s a popular aesthetic! Creating a green color tone in Photoshop involves using non-destructive adjustment layers to control color across the entire image or just specific areas.

In other words, here are a few of the best methods for applying a green color tone or aesthetic in Photoshop:
Green Tone Colour Grading in Adobe Photoshop,
1. Selective Color Adjustment (Most Control)
Therefore, this is great for applying a green tint to your shadows, midtones, or highlights, or for modifying existing colors (like making a forest greener or shifting yellows towards green).
In other words, go to Layer > New Adjustment Layer > Selective Color.
However, in the Properties panel, choose the color range you want to affect (e.g., Neutrals, Shadows, or Greens).
In other words, for a general green tone:
Select Neutrals or Shadows.
Move the Cyan slider to the left (adds Red).
Move the Yellow slider to the left (adds Blue).
Move the Magenta slider to the right (adds Green).
Tip: Adding green to the shadows often creates a moody, cinematic look.
Green Tone Colour Grading in Adobe Photoshop,
2. Color Balance Adjustment (Easy to Use)
However, this layer allows you to easily shift the color balance in your shadows, midtones, and highlights.
However, Go to Layer > New Adjustment Layer > Color Balance.
For instance, in the Properties panel:
However, Select Midtones from the drop-down menu.
For instance, drag the slider towards Green.
However, repeat the process for Shadows and Highlights, adjusting the green/magenta balance to your liking.
3. Hue/Saturation Adjustment (Targeting Specific Colors)
However, this is ideal for enhancing existing green elements (like grass or trees) or shifting other colors to a green hue.
However, Go to Layer > New Adjustment Layer > Hue/Saturation.
For instance, in the Properties panel, change the Master drop-down to a specific color (e.g., Yellows or Greens).
However, use the Hue slider to shift the color towards your desired green shade.
For instance, use the Saturation slider to make the color more or less intense.
Tip: You can use the eyedropper tool in the Hue/Saturation panel to click directly on the color you want to adjust in your image.
Green Tone Colour Grading in Adobe Photoshop,
4. Curves Adjustment (Advanced Control)
For instance, the Curves adjustment layer is the most powerful tool for color grading. You can individually adjust the Red, Green, and Blue (RGB) channels to introduce color shifts into specific tones.
For instance, go to Layer > New Adjustment Layer > Curves.
Above all, change the channel dropdown from RGB to Green.
For instance, to add Green to your photo, drag the curve up.
Above all, to add Magenta (the opposite of green) to your photo, drag the curve down.
For instance, by placing anchor points and manipulating the curve, you can target shadows (bottom-left), midtones (middle), and highlights (top-right) with a green tint.
💡 Workflow Tip: Non-Destructive Editing
Above all, always use Adjustment Layers (like those mentioned above) instead of making permanent changes to your original image layer. This allows you to go back and easily tweak the effect later.
In conclusion, would you like a step-by-step tutorial on applying a specific type of green tone, like a “moody dark green” or a “bright, vibrant green”?