Cinematic Colour Tone Photo Editing Tutorial For Beginners 2025,

Therefore, that’s a fantastic request! The Color Grading panel within the Adobe Camera Raw (ACR) Filter in Photoshop is the primary tool for achieving a professional, cinematic look.
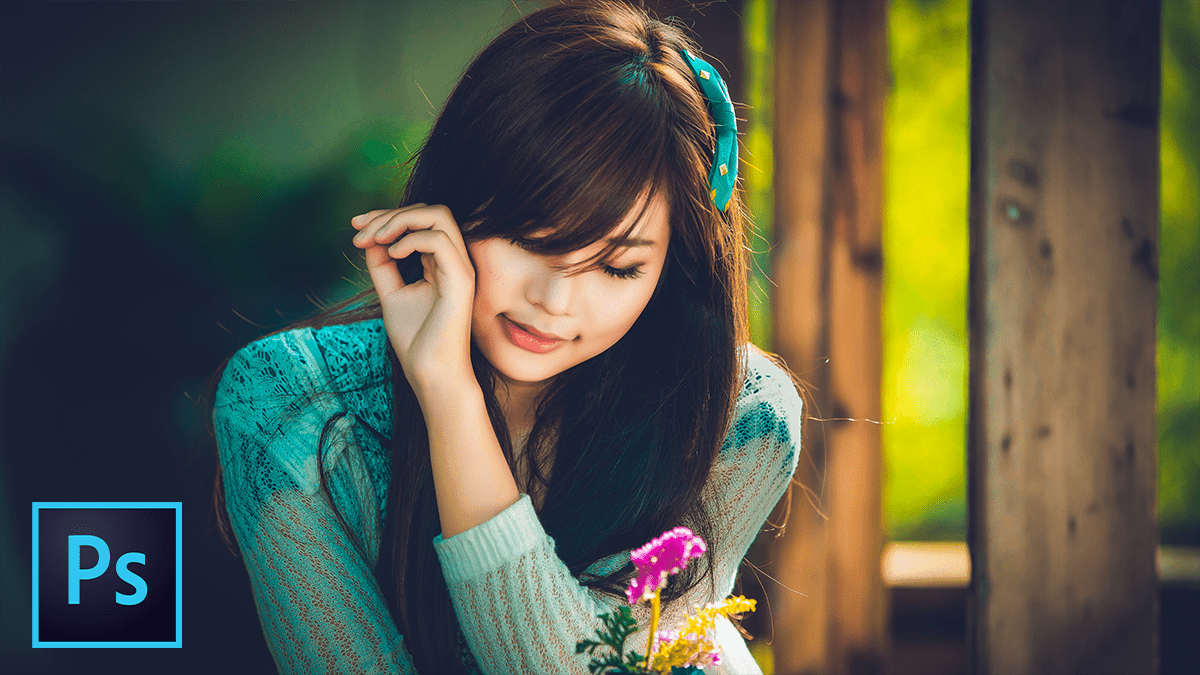
Therefore, the essence of a cinematic color grade often lies in the Teal and Orange (or Blue and Gold) look, achieved by setting complementary colors in the shadows and highlights.
In other words, here is a step-by-step guide to achieving a cinematic color grade using the Camera Raw Filter:
Cinematic Colour Tone Photo Editing Tutorial For Beginners 2025,
🎬 Cinematic Color Grading in Camera Raw
1. Preparation (Non-Destructive Editing)
Therefore, before applying the Camera Raw Filter, it’s highly recommended to convert your layer to a Smart Object. This allows you to re-edit the Camera Raw settings at any time.
Right-click on your image layer in the Layers Panel.
Therefore, Select Convert to Smart Object.
In other words, go to Filter > Camera Raw Filter… (or press Ctrl+Shift+A / Cmd+Shift+A).
2. Basic Tonal Adjustments (The “Base”)
Therefore, first, adjust your image’s fundamental contrast and exposure to create a strong base for the color grade.
In the Basic Panel (the first icon):
Contrast: Increase slightly for drama (e.g., 1+10 to 5+25).
Highlights: Decrease to bring back detail in bright areas (e.g., 2-20 to 5-50).
Shadows: Increase to open up dark areas (e.g., 6+20 to 9+50).
Blacks: Decrease slightly to deepen the darkest tones (e.g., 5-5 to 3-15).
Vibrance/Saturation: Consider slightly lowering the overall Saturation (e.g., 12-5 to 4-15) to prepare for a more stylized, less jarring color grade.
Cinematic Colour Tone Photo Editing Tutorial For Beginners 2025,
3. Color Grading Panel (The “Cinematic Look”)
In other words, this is where the magic happens. Navigate to the Color Grading Panel (the icon with three color wheels). Select the 3-Way view.
A. Shadows (The Blue/Teal)
In other words, Cinematic looks often tint the shadows with a cool color (blue or teal).
In other words, click and drag the point in the Shadows color wheel.
However, move it towards the Blue or Teal/Cyan region.
(Tip: Start around the H: 200–220 range).
Luminance: Slightly decrease this slider (e.g., 9-10 to 25-20) to darken the shadows and increase the intensity of the color tint.
Cinematic Colour Tone Photo Editing Tutorial For Beginners 2025,
B. Highlights (The Orange/Gold)
However, the highlights should be tinted with a warm color (orange, gold, or yellow) to contrast the shadows.
However, click and drag the point in the Highlights color wheel.
However, move it towards the Orange or Yellow region.
(Tip: Start around the H: 40–60 range).
Luminance: Adjust slightly to control the brightness of the highlights.
C. Midtones (The Bridge)
However, the midtones are usually kept neutral or used to blend the shadows and highlights smoothly.
You can leave the Midtones color wheel untouched or move the point closer to the center to keep them largely neutral.
D. Blending and Balance
Blending: However, adjust this slider to control how the colors transition between the shadows, midtones, and highlights. A lower value creates sharper breaks; a higher value (e.g., 60 or higher) creates a smoother, more subtle film-like transition.
Balance: Slide this to the left (negative values) to favor the Shadow tint, or to the right (positive values) to favor the Highlight tint.
Cinematic Colour Tone Photo Editing Tutorial For Beginners 2025,
4. Detail and Effects (The “Film Feel”)
Above all, to complete the cinematic look, add some final texture and effects.
In the Effects Panel (the icon with a star/fx):
Grain: Above all, add a small amount of Grain (e.g., Amount: 20, Size: 30, Roughness: 50) to simulate film texture.
Vignetting: Above all, use the Post-Crop Vignetting to gently darken the edges (e.g., Amount: 8-10 to 5-20) to draw attention to the center subject.
Above all, this process gives you the classic Hollywood look. Remember to experiment with the Hues and Saturations in the Color Grading panel to find the perfect cinematic feel for your specific image!
In conclusion, would you like to search for a video tutorial demonstrating a specific cinematic color grade (like a moody or vintage look) in the Camera Raw Filter?