Adobe Photoshop: Dramatic Black and White Portrait Tutorial,
Therefore, creating a dramatic black-and-white portrait in Photoshop is about more than just removing color; it’s about controlling the tonal contrast to guide the viewer’s eye.
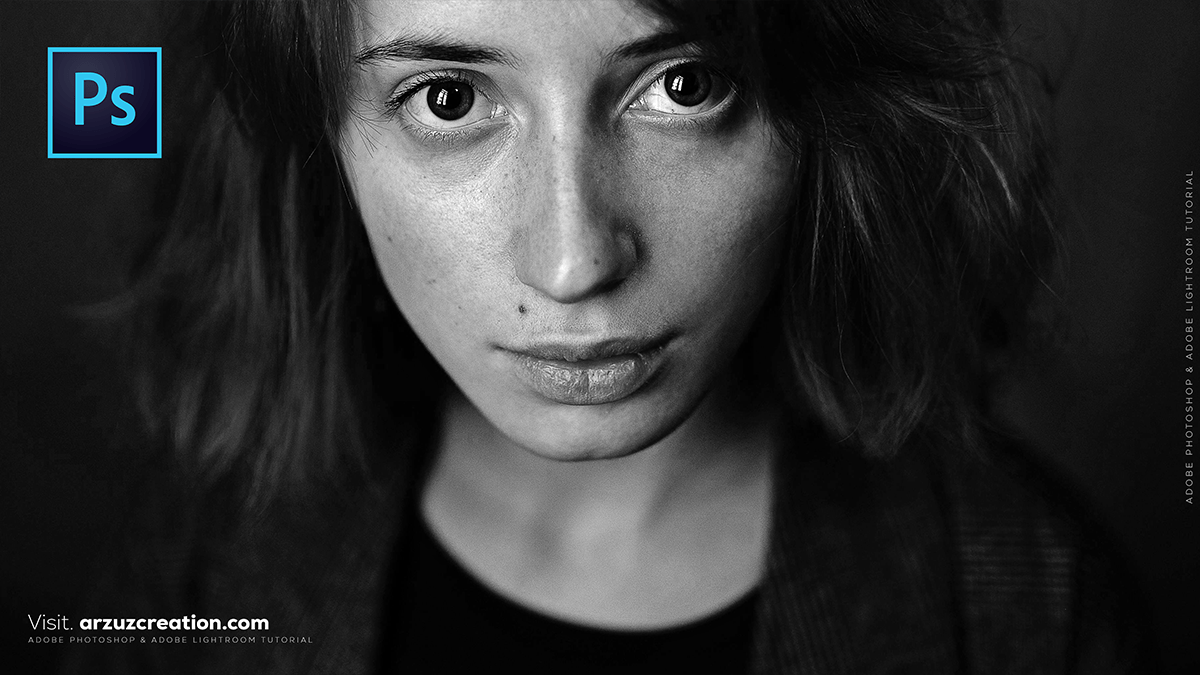
In other words, here is a professional workflow to transform a standard portrait into a high-impact, dramatic masterpiece.
Adobe Photoshop: Dramatic Black and White Portrait Tutorial

1. The Perfect Conversion: Gradient Maps
Therefore, while the “Black & White” adjustment layer is common, Gradient Maps offer much deeper blacks and cleaner highlights.
In other words, go to the Adjustments panel and click the Gradient Map icon.
However, ensure your foreground/background colors are set to default (press D for Black and White).
Therefore, in the Properties panel, click the gradient bar. Ensure it goes from pure black (0\% brightness) to pure white (100\% brightness).
Pro Tip: This method maps the darkest pixels to black and the brightest to white, instantly adding “punch” that a standard conversion lacks.
2. Sculpting with Curves
Therefore, A “dramatic” look usually requires an S-Curve to crush shadows and pop highlights.
Therefore, add a Curves adjustment layer.
In other words, create a point in the shadows (lower left) and drag it down slightly.
Therefore, create a point in the highlights (upper right) and drag it up.
The “Matte” Trick: If you want a film-noir look, grab the very bottom-left point of the curve and lift it slightly. This turns pure blacks into a dark, moody charcoal gray.
Adobe Photoshop: Dramatic Black and White Portrait Tutorial
3. Targeted Drama: Local Dodge & Burn
In other words, this is where the “drama” is truly made. You want to highlight the bone structure of the face and darken the background.
However, create a new layer and go to Edit > Fill. Choose 50% Gray and set the blending mode to Overlay.
In other words, select the Dodge Tool (O) to brighten (eyes, bridge of the nose, cheekbones).
However, select the Burn Tool (O) to darken (hair, jawline, background).
In other words, keep the Exposure low (around 5-10\%) and build the effect gradually.
4. Final Textures & Sharpness
After that, Drama often arises from gritty details, such as skin texture or stray hairs.
High Pass Sharpening: However, Press Ctrl+Alt+Shift+E (Windows) or Cmd+Opt+Shift+E (Mac) to create a merged copy of all layers. Go to Filter > Other > High Pass. Set the radius to around 2.0 pixels and change the layer blend mode to Overlay.
Add Grain: In other words, go to Filter > Camera Raw Filter, open the Effects tab, and add a small amount of Grain to give it a timeless, cinematic feel.
Adobe Photoshop: Dramatic Black and White Portrait Tutorial
Summary Table: Key Blending Modes
| Effect | Blending Mode | Result |
| High Contrast | Soft Light | Deepens shadows and brightens highlights subtly. |
| Maximum Impact | Overlay | Harsh, punchy contrast (good for “gritty” portraits). |
| Dodge/Burn | Overlay (on 50% Gray) | Allows non-destructive lighting changes. |
In conclusion, would you like me to walk through how to use the “Blend If” sliders to make the subject pop even more from a dark background?