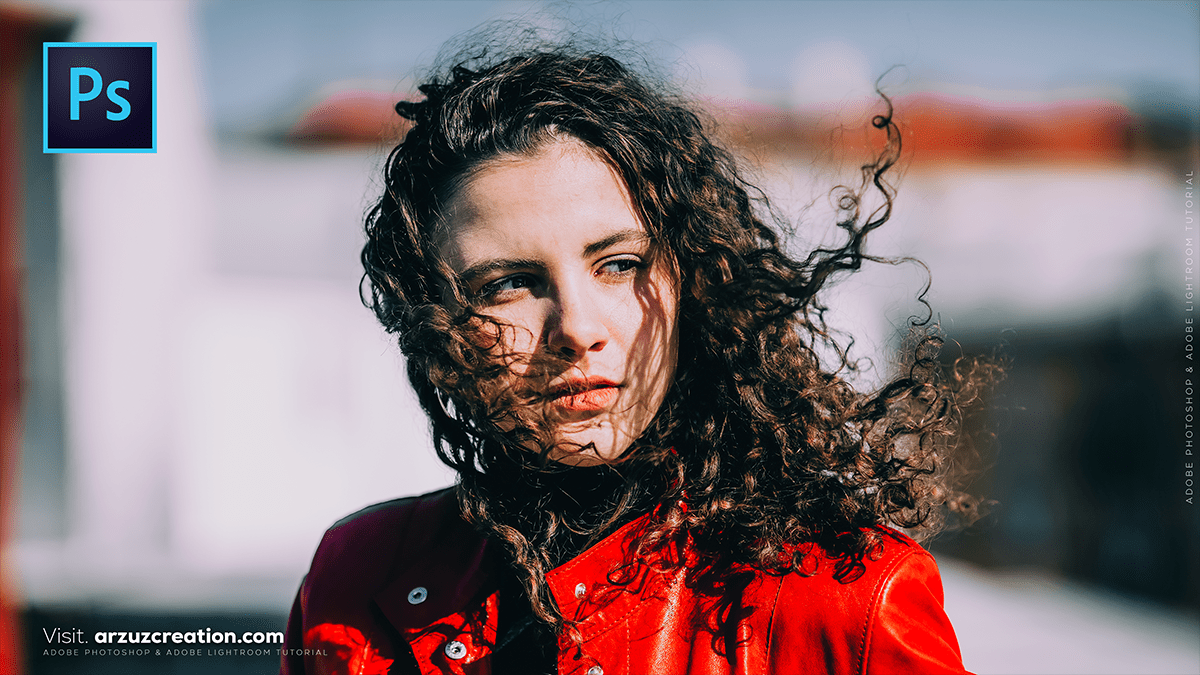
Outdoor Portrait Photo: Colour Grading Camera Raw Filter,

Therefore, editing outdoor portraits in Photoshop is about balancing natural light with professional polish. Unlike studio shots, outdoor photos often deal with unpredictable lighting and distracting backgrounds.
In other words, here is a professional workflow to elevate your outdoor portraits.
Outdoor Portrait Photo: Colour Grading Camera Raw Filter,
1. The Foundation: Camera Raw Filter:
Therefore, before doing any detailed retouching, use the Camera Raw Filter (Ctrl+Shift+A / Cmd+Shift+A) to fix the global environment.
White Balance: In other words, Outdoor light can be too blue (shade) or too orange (sunset). Use the eyedropper on a neutral white/gray area to balance it.
Exposure & Shadows: Outdoor shots often have harsh shadows. Lift the Shadows slider slightly and lower the Highlights to recover detail in bright skies or white clothing.
Calibration: In other words, A pro trick is to go to the Calibration tab and increase the Blue Primary Saturation. This often makes skin tones look more “golden” and healthy without turning them orange.
2. Cleaning & Retouching:
Therefore, once the light is balanced, focus on the subject and the environment.
The Remove Tool / Patch Tool: In other words, use these to remove distracting elements in the background, like stray trash, power lines, or “photobombers.”
Frequency Separation: This is the gold standard for skin. It separates texture from color, allowing you to smooth out skin tones (color layer) without losing the natural pores (texture layer).
Dodge & Burn: In other words, use a low-opacity brush (around 1–3%) on separate layers to brighten the eyes and cheekbones (Dodge) and deepen the jawline or hair shadows (Burn). This adds 3D depth that natural outdoor light sometimes flattens.
Outdoor Portrait Photo: Colour Grading Camera Raw Filter,
3. Enhancing the “Outdoor” Vibe:
Above all, Outdoor portraits benefit from color grading that emphasizes the season or time of day.
Color Lookup (LUTs): Above all, add a Color Lookup adjustment layer. Profiles like “Crisp_Warm” or “Fall_Colors” can instantly give the photo a cinematic outdoor feel.
Selective Color: However, this is great for foliage. Go to the “Greens” or “Yellows” in the Selective Color menu and adjust the sliders to make grass look more lush or shift yellow summer leaves toward a more autumnal orange.
Depth of Field: After that, if your background is too sharp, use Filter > Blur Gallery > Field Blur. Use a mask to ensure the subject remains sharp while the background gets a soft, creamy bokeh.
Outdoor Portrait Photo: Colour Grading Camera Raw Filter,
4. Final Polish:
Vignetting: However, A subtle vignette helps draw the eye to the subject. Instead of the standard black vignette, try a large, soft Curves adjustment layer that darkens the edges slightly.
Sharpening: After that, use High Pass Sharpening (Filter > Other > High Pass) set to a “Linear Light” or “Overlay” blend mode at a low opacity to make the eyes and hair “pop.”
Comparison of Key Tools:
| Tool | Best Used For… | Pro Tip |
| Curves | Contrast & Matte Looks | Lift the bottom-left point slightly for a “faded film” look. |
| Healing Brush | Blemishes & Stray Hairs | Use a “Hardness” of about 50% for natural blending. |
| Color Balance | Fixing “Muddy” Colors | Add Cyan/Blue to shadows to make the subject pop. |
Would you like me to walk you through a specific look, like a “Golden Hour” effect or a “Misty Woods” edit?