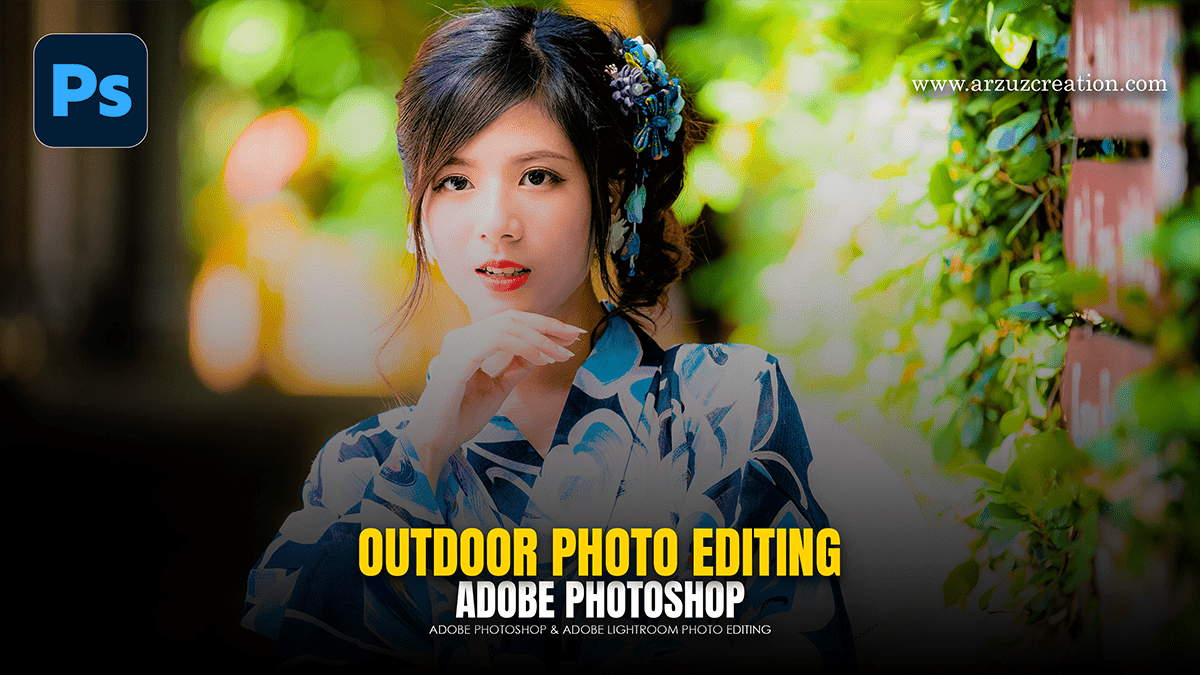
Outdoor Photo Editing Using Photoshop Colour Balance Tool

Therefore, editing outdoor photos using the Color Balance tool in Photoshop is one of the most effective ways to correct lighting inconsistencies or add a creative mood (like a “Golden Hour” glow) to your landscapes and portraits.
Outdoor Photo Editing Using Photoshop Colour Balance Tool
Therefore, unlike global filters, Color Balance allows you to target Shadows, Midtones, and Highlights separately, which is crucial for outdoor shots where the sky (highlights) might be too blue while the ground (shadows) is too dark.
1. How to Access the Color Balance Tool
Therefore, there are two ways to do this, but the Adjustment Layer method is highly recommended because it is non-destructive (it won’t damage your original pixels).
Adjustment Layer (Recommended): Therefore, go to the Layers Panel, click the “Create new fill or adjustment layer” icon (the half-filled circle), and select Color Balance.
Direct Shortcut: In other words, Press Ctrl + B (Windows) or Cmd + B (Mac). Note: This applies the change directly to the layer, making it harder to undo later.
Outdoor Photo Editing Using Photoshop Colour Balance Tool
2. Using the Tool for Outdoor Scenarios
Therefore, in the Properties panel, you will see three sliders: Cyan-Red, Magenta-Green, and Yellow-Blue. Use the “Tone” dropdown to target specific parts of your outdoor scene.
Scenario A: Warming Up a Cold/Cloudy Day
In other words, Outdoor shots taken on overcast days often look blue and “flat.”
In other words, Set Tone to Midtones.
However, move the Yellow-Blue slider toward Yellow (left).
In other words, move the Cyan-Red slider slightly toward Red (right).
However, switch Tone to Highlights and add a tiny bit more Yellow to make the clouds look sun-kissed.
Outdoor Photo Editing Using Photoshop Colour Balance Tool:
Scenario B: Enhancing a Sunset
However, to make a sunset “pop” without making the whole photo look orange:
However, Set Tone to Highlights.
For instance, Push sliders toward Red and Yellow.
However, Set Tone to Shadows.
For instance, push sliders toward Blue or Cyan slightly. This creates “color contrast,” making the warm sky stand out against cooler shadows.
Scenario C: Fixing Green Color Casts (Forest/Grass)
However, in heavy foliage, skin tones often pick up a green tint.
For instance, Set Tone to Midtones.
Above all, move the Magenta-Green slider toward Magenta (left) to neutralize the green.
Outdoor Photo Editing Using Photoshop Colour Balance Tool:
3. Pro Tips for Outdoor Edits:
Keep “Preserve Luminosity” Checked: Above all, this ensures that as you change colors, the brightness of your photo stays consistent.
Use the Layer Mask: For instance, since you used an Adjustment Layer, you have a white mask next to it. If the sky looks great but the person’s face looks too orange, use a Black Brush on the mask to “paint away” the effect from the person.
Toggle Visibility: Frequently click the “eye” icon on the adjustment layer to see the “Before vs. After.” It’s easy to over-edit; seeing the original helps you stay grounded.
Comparison of Color Opposites:
Above all, when using the sliders, remember these pairs. To remove one, move the slider toward its opposite: | To Remove: | Move Slider Toward: | |:— |:— | | Cyan (Cold/Blue-Green) | Red | | Magenta (Purple tint) | Green | | Yellow (Too warm) | Blue |
In conclusion, would you like me to explain how to combine Color Balance with Layer Masks to specifically edit only the sky or the foreground?