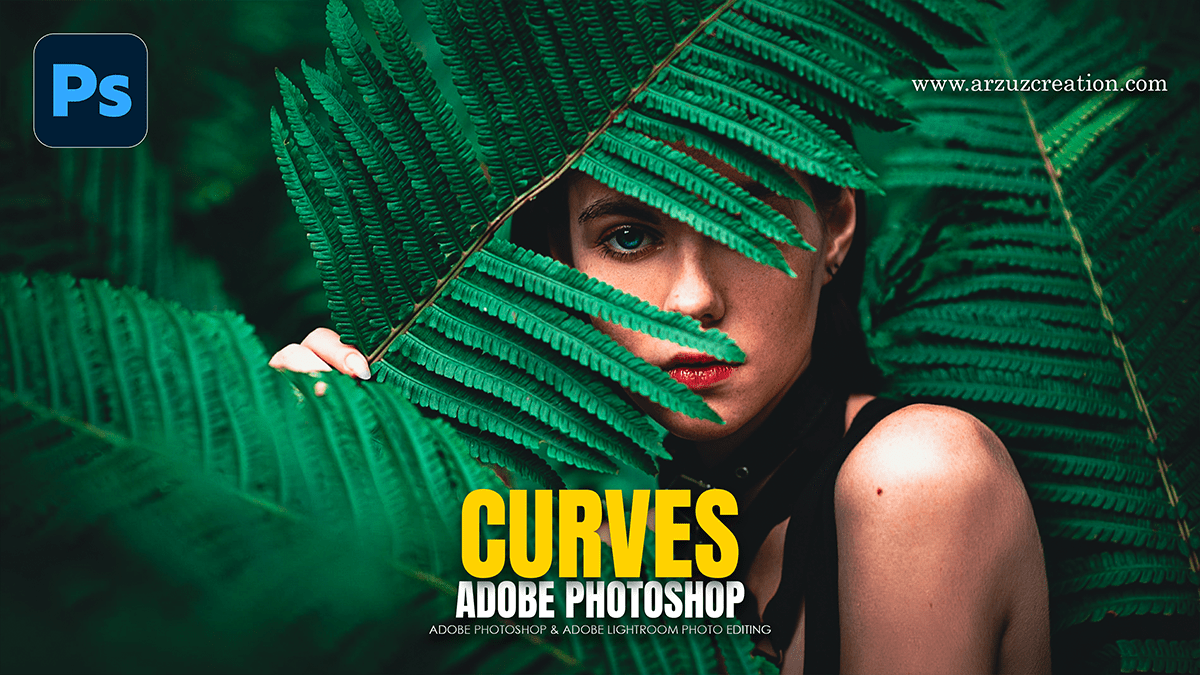
Adobe Photoshop 2026 Curves Using Outdoor Photo Editing

Therefore, in Adobe Photoshop 2026, the Curves tool remains the most powerful way to manipulate light and color in outdoor photography. While the core math of Curves is consistent, the 2026 version benefits from improved UI feedback and better integration with AI-driven masking.
Adobe Photoshop 2026 Curves Using Outdoor Photo Editing
In other words, here is a guide on how to master Curves for your outdoor shots.
1. The Essential “S-Curve” for Contrast
Therefore, Outdoor photos, especially those taken in flat light (overcast days), often lack “punch.” The S-Curve is the standard fix:
The Highlights: Therefore, click on the upper-right section of the line and drag it up to brighten the sky and highlights.
The Shadows: Click on the lower-left section and drag it down to deepen the shadows.
Result: This creates a soft “S” shape, adding depth and making the subject pop against the landscape.
2. Atmospheric Color Grading (RGB Channels)
Therefore, instead of just adjusting “brightness,” you can use Curves to change the mood of your outdoor scene by switching from the RGB dropdown to individual colors:
Warm Golden Hour: Select the Red channel and pull the highlights up slightly. Switch to the Blue channel and pull the highlights down (which adds Yellow).
Cool Forest/Mountain Vibes: Select the Green channel and lift the mid-tones. Pull the Red channel down slightly in the shadows to introduce subtle Cyans.
Adobe Photoshop 2026 Curves Using Outdoor Photo Editing
3. Targeted Outdoor Adjustments
Therefore, Photoshop 2026 makes it easier to apply Curves only where they are needed using the Targeted Adjustment Tool (the little hand icon in the Curves panel):
Therefore, select the Hand icon.
In other words, click and drag directly on the image (e.g., on a dark tree trunk or a bright cloud).
Therefore, dragging up will brighten that specific tonal range; dragging down will darken it. This is far more intuitive for landscapes than guessing where a tone sits on the graph.
4. Pro-Tip: The “Matte” Look for Landscapes
In other words, if you want a trendy, cinematic outdoor look (often seen in travel photography):
In other words, take the very bottom-left point of the Curve (pure black) and drag it straight up.
However, this “washes out” the deepest shadows into a dark gray, giving the photo a soft, film-like quality that works beautifully with natural textures like rock or wood.
Adobe Photoshop 2026 Curves Using Outdoor Photo Editing
5. Using Curves with 2026 AI Masks
In other words, one of the best workflows in the 2026 version is combining Curves with Select Sky or Select Background:
In other words, go to the Adjustments panel and click Curves.
However, use the “Select Subject” or “Sky” AI button to create a mask on that Curves layer.
In other words, now, you can darken a bright sky or brighten a shaded subject without affecting the rest of the landscape.
Note on 2026 Updates: Some users have noted a new gradient background inside the Curves graph in version 26.11. This is designed to help you visualize which colors you are adding as you move the points, though you can still rely on the histogram to avoid “clipping” (losing detail in pure whites or blacks).
Would you like me to create a specific Curves preset recommendation for a certain type of outdoor shot, like a sunset or a snowy landscape?