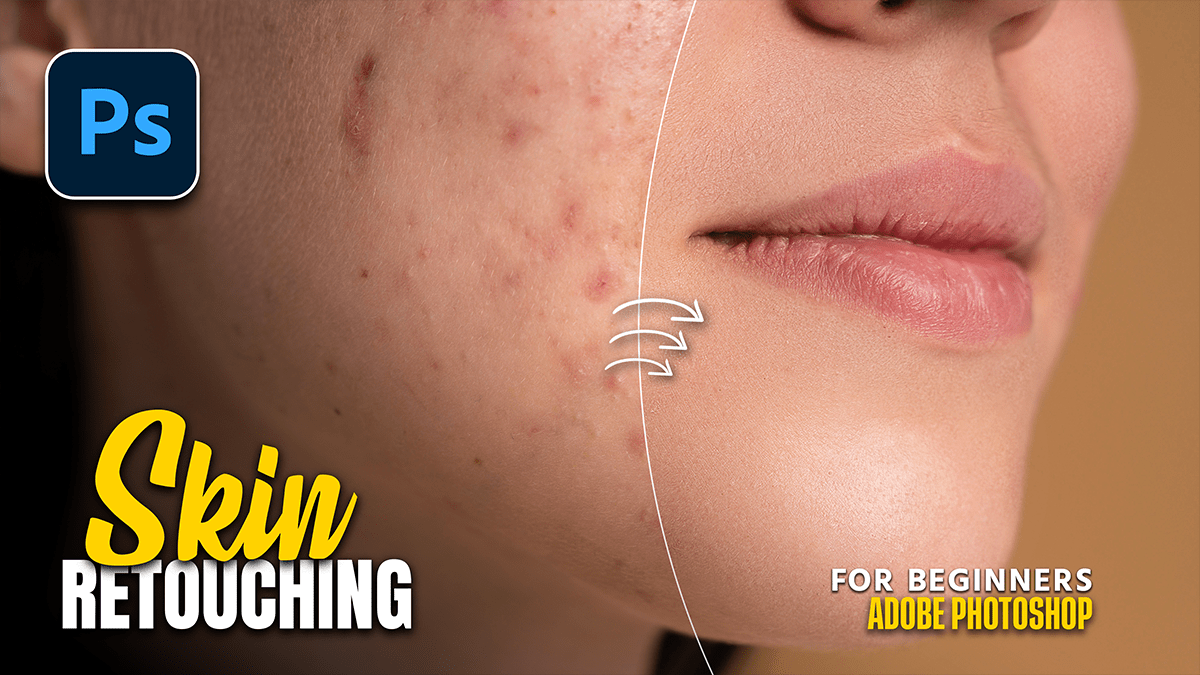
Adobe Photoshop 2026 Beginners: Skin Retouching Tutorial,

Therefore, in Adobe Photoshop 2026, skin retouching has shifted from labor-intensive manual work to a hybrid workflow that combines Generative AI with high-end manual control. The focus this year is on “Texture-First” retouching—ensuring that skin looks realistic and porous rather than “plastic.”
Adobe Photoshop 2026 Beginners: Skin Retouching Tutorial,
In other words, here is a guide to the current best practices and tools for skin retouching in Photoshop 2026.
1. The AI-First Workflow (Speed & Efficiency)
Therefore, for most projects, AI tools can now handle 80–90% of the work in seconds.
- Generative Upscale: Therefore, this is a standout feature for 2026. When you have a low-resolution portrait, using Generative Upscale actually adds realistic skin pores and micro-texture, rather than just blurring the pixels.
- Neural Filters (Skin Smoothing): In other words, now in version 27.x, this filter has been refined to better detect skin beyond just the face (neck, shoulders, and hands).
- Pro Tip: Use the Smoothness slider to adjust tone, and the Blur slider sparingly to maintain the “human” look.
- The Remove Tool: Therefore, powered by a more advanced AI model, this tool is now the gold standard for removing acne, stray hairs, and blemishes. Unlike the old Spot Healing brush, it understands the structure of the face and won’t “smear” texture across edges like the jawline.
Adobe Photoshop 2026 Beginners: Skin Retouching Tutorial,
2. Professional Manual Techniques
Therefore, High-end retouchers still use these manual methods for maximum control, often on top of AI-generated bases.
| Technique | Purpose | 2026 Enhancement |
| Frequency Separation | Separates color/tone from texture. | New Actions and Scripts now automate the setup of these layers in one click. |
| Dodge & Burn | Evens out skin “blotchiness” by lightening dark spots and darkening light spots. | Use the Curves Adjustment Layer with a mask for a non-destructive workflow. |
| Harmonize Filter | Matches skin tones. | If you are compositing a face onto a different body, this filter automatically matches the lighting and skin temperature. |
Adobe Photoshop 2026 Beginners: Skin Retouching Tutorial,
3. Step-by-Step “Natural” Retouching Guide
In other words, if you want a professional result that doesn’t look “AI-generated,” follow this sequence:
- Blemish Removal: Use the Remove Tool or Spot Healing Brush to take out temporary spots (pimples, scratches).
- Skin Smoothing: Go to
Filter > Neural Filters > Skin Smoothing. Turn it on and set the output to “New Layer.” 3. Texture Recovery: Lower the opacity of that new AI layer to about 60-70%. This lets some of the original skin texture “peek” through. - Tone Balancing: Create a Hue/Saturation layer, select the “Reds” or “Yellows,” and use the eyedropper to unify skin redness or discoloration.
- Generative Fill (Optional): If there are complex issues (like a hand covering part of the face or a very messy hairline), use Generative Fill with a prompt like “natural skin texture” or “clean hairline.”
Important Note on Stability
In other words, some users in early 2026 reported that Neural Filters occasionally show a “Temporarily Disabled” error. If this happens, ensure you have updated to version 27.2 or higher, as Adobe released a patch specifically to fix AI filter connectivity.
Would you like me to walk you through the specific settings for a Frequency Separation action, or perhaps help you write a prompt for Generative Fill retouching?