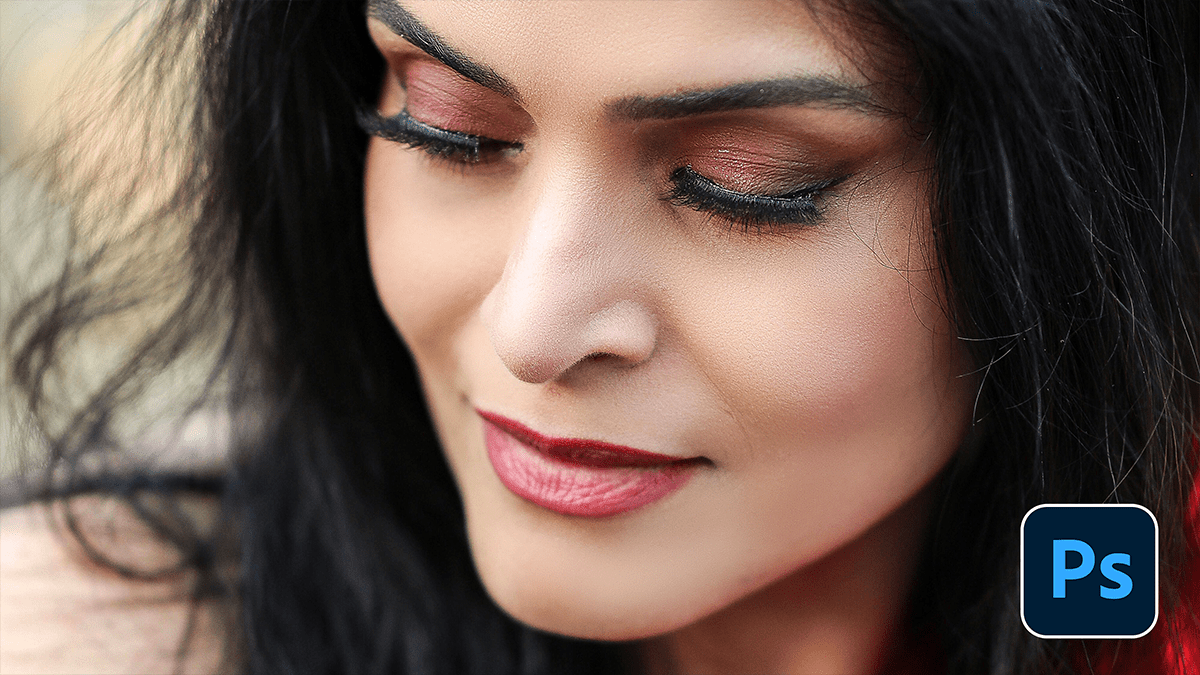
Professional Retouch: How to Skin Retouching in Photoshop 2026,

Therefore, Professional skin retouching is a balancing act. The goal is to remove distractions while preserving the texture that makes skin look like skin. If you go too far, you end up with the “uncanny valley” effect, a plastic-like appearance.
Professional Retouch: How to Skin Retouching in Photoshop 2026,
In other words, here is the industry-standard workflow for achieving high-end results in Photoshop.
1. Clean Up (The “Blemish” Phase)
Therefore, before doing any advanced blending, you need to remove temporary imperfections (acne, stray hairs, lint).
- Tool: In other words, the Healing Brush Tool or the Spot Healing Brush.
- Technique: Therefore, create a new empty layer. Set your tool to “Sample All Layers.” * Pro Tip: Use a small, hard brush for tiny spots. Avoid using the Clone Stamp here, as it can create a repetitive look.
2. Frequency Separation (The Gold Standard)
Therefore, this is the “secret sauce.” It separates your image into two layers: Texture (High Frequency) and Color/Tone (Low Frequency). This allows you to smooth out blotchy skin without blurring the pores.
Setup:
- In other words, duplicate your image twice. Name the top layer “High” and the middle one “Low.”
- Low Layer: Apply a Gaussian Blur. Increase the radius just until the skin texture disappears, but the shapes/colors remain.
- High Layer: Go to
Image > Apply Image.- Layer: Select the “Low” layer.
- Blending: Subtract.
- Scale: 2, Offset: 128.
- In other words, set the High layer’s Blending Mode to Linear Light.
Professional Retouch: How to Skin Retouching in Photoshop 2026,
How to Edit:
- To smooth skin tones: In other words, select the “Low” layer and use the Lasso Tool (with a high feather, e.g., 20px) to select an area, then apply a Gaussian Blur.
- To fix pores: Use the Clone Stamp on the “High” layer to copy good texture over bad texture.
3. Dodge and Burn (Adding Dimension)
However, Retouching often flattens the face. Dodging (lightening) and Burning (darkening) adds the “pop” back in.
- Setup: Above all, create two Curves adjustment layers.
- In other words, one pulled up (Brighten).
- However, one pulled down (Darken).
- Technique: Invert the masks to black. Use a soft white brush at a very low Opacity (1–3%) and Flow (1%).
- Application: However, highlight the bridge of the nose, cheekbones, and forehead. Darken the hollows of the cheeks and the jawline.
Professional Retouch: How to Skin Retouching in Photoshop 2026,
Comparison of Tools:
| Tool | Best For… | Pro Tip |
| Healing Brush | Acne, scars, wrinkles | Always sample from an area with similar lighting. |
| Patch Tool | Large areas of texture | Great for under-eye bags. |
| Mixer Brush | Blending skin tones | Use a “Clean” brush after every stroke. |
A Note on Realism: However, The human eye is incredibly good at spotting “fake” skin. Always zoom out to 100% or 50% frequently to ensure you haven’t overdone it. If it looks like a painting, dial back the opacity of your retouching folders.
Would you like me to generate a step-by-step Action script guide or explain how to use the Mixer Brush for faster skin blending?