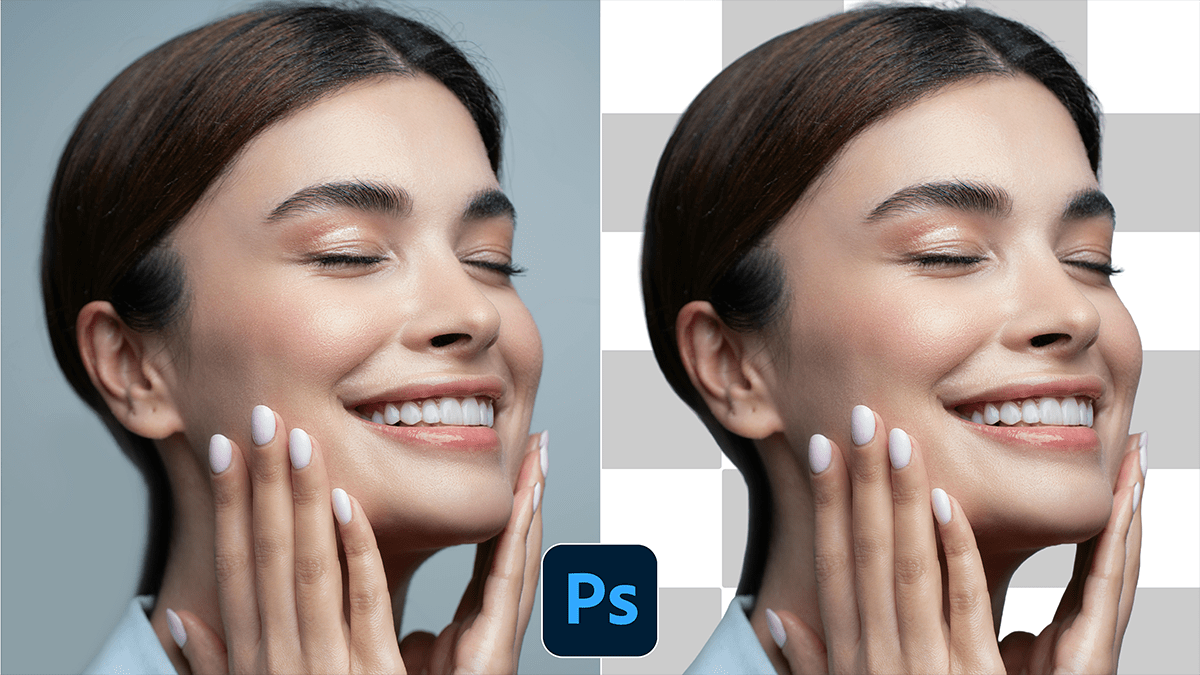
Remove Photo Background Using Adobe Photoshop AI,

Therefore, using Adobe Photoshop’s AI-powered tools makes background removal a “one-click” task compared to the tedious manual masking of the past. Photoshop primarily uses Adobe Sensei AI to identify subjects and refine edges.
Remove Photo Background Using Adobe Photoshop AI,
In other words, here is the quickest and most effective way to do it:
1. The “One-Click” Method (Quick Actions)
Therefore, this is the fastest route and works surprisingly well for most photos with a clear subject.
Open your image in Photoshop.
Unlock the Layer: Therefore, in the Layers panel, click the lock icon on your background layer to turn it into “Layer 0.”
Open the Properties Panel: Go to Window > Properties if it isn’t already visible.
Remove Background: Under the Quick Actions section, click the Remove Background button.
Therefore, Photoshop will automatically create a Layer Mask, hiding the background while keeping your original pixels intact.
Remove Photo Background Using Adobe Photoshop AI,
2. Using the “Select Subject” AI
In other words, if you want more control before the background disappears, use this method:
However, select any selection tool (like the Quick Selection Tool or Lasso).
However, in the top options bar, click Select Subject. The AI will wrap a “marching ants” selection around your subject.
Once selected, click the Add Layer Mask icon at the bottom of the Layers panel.
3. Refining Difficult Areas (Hair and Fur)
In other words, even AI struggles with frizzy hair or transparent objects. To fix these:
With your mask selected, click Select and Mask in the top options bar.
In other words, use the Refine Edge Brush Tool (the second brush from the top) to paint over the messy edges of hair.
However, check the Decontaminate Colors box in the Output Settings to remove any lingering background “halos.”
Remove Photo Background Using Adobe Photoshop AI,
4. Generative Fill (For Complex Edges)
However, if the AI cut off something it shouldn’t have, or if you want to replace the background entirely:
For instance, use the Lasso Tool to roughly select the area you want to change.
However, on the Contextual Task Bar (the floating bar), click Generative Fill.
For instance, leave the prompt empty to let the AI intelligently fill in the gaps based on the surrounding pixels, or type a description (e.g., “sunny park background”) to create something new.
Pro Tip: Always use Layer Masks rather than the Eraser tool. Masks allow you to “paint” back any details you accidentally lost by using a white brush on the mask.
Would you like me to walk you through how to use Generative Fill to replace the background with a specific scene once you’ve removed the old one?