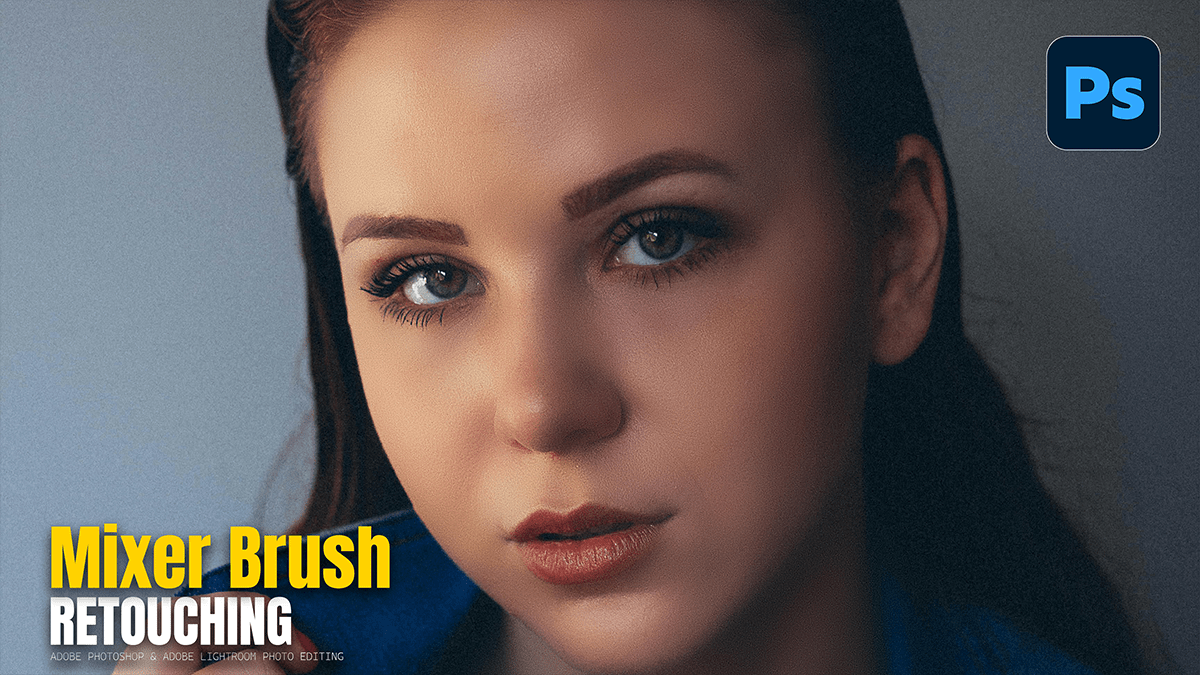
Mixer Brush on the Low Frequency Layer in Adobe Photoshop,

Therefore, the Mixer Brush is the “secret weapon” for professionals because it allows you to literally paint skin tones into a smooth gradient, much like an oil painter would blend colors on a canvas.
Mixer Brush on the Low Frequency Layer in Adobe Photoshop
In other words, when used on the Low Frequency (Color) layer, it smoothens transitions between shadows and highlights without touching the skin’s texture.
1. The Perfect Mixer Brush Settings:
Therefore, to avoid making the skin look “muddy” or artificial, your settings must be very specific. Select the Mixer Brush Tool (hidden under the standard Brush tool) and configure the top options bar:
Clean the brush after every stroke: In other words, ensure the “Clean Brush” icon is selected (the one with the brush and a red line). You do not want to carry old color into a new area.
Current Layer Only: Therefore, Uncheck “Sample All Layers.” You only want to mix the colors on the Low Frequency layer.
The “Dry” Formula: * Wet: 10% (Keeps the paint from spreading too far)
Load: 75%
Mix: 90%
Flow: 100%
Mixer Brush on the Low Frequency Layer in Adobe Photoshop
2. The Technique: “Painting with the Light.”
In other words, once your brush is set, follow these steps to blend the skin:
Select the Low Frequency Layer: However, ensure the High Frequency (Texture) layer is visible so you can see the final result, but make sure your active selection is the Color layer.
Follow the Contour: Move your brush in the direction of the bone structure. For example, on the cheekbones, use curved strokes; on the bridge of the nose, use vertical strokes.
Stay in Your Zone: However, do not drag a highlight into a shadow. If you are blending the forehead, stay within the highlight area to smooth out the transitions. If you cross into a shadow, you will flatten the face and lose the 3D “pop.”
Short Strokes: Use short, repetitive strokes to “nudge” the colors together.
3. Common Beginner Mistakes to Avoid:
Over-blending: However, if you blend too much, the face will look flat and lose its natural shape. Always toggle the “Retouch” group visibility on and off to make sure you haven’t changed the person’s actual face shape.
Blending the Edges: Above all, avoid using the Mixer Brush near the edges of the face (where the skin meets the hair or the background). This can cause a “halo” effect where the background color bleeds into the skin.
Wrong Brush Size: In addition, your brush should be roughly the same size as the area of color you are trying to blend. If it’s too large, you’ll blur highlights into shadows.
Mixer Brush on the Low Frequency Layer in Adobe Photoshop,
Summary of Workflow:
| Step | Action | Result |
| Step 1 | In addition, Clean-up (Remove Tool) | Removes acne/hairs |
| Step 2 | Setup Frequency Separation | Splits Color from Texture |
| Step 3 | Mixer Brush (Low Freq) | Smooths out blotchy skin tones |
| Step 4 | Texture Polish (High Freq) | Fixes bumps using Clone Stamp |
Pro Tip for 2026: Photoshop now has a “Live Brush Preview“ for the Mixer Brush. You can see a small thumbnail of what colors are currently “on” your brush tip before you click, helping you ensure you aren’t about to paint a dark shadow onto a bright highlight.
In conclusion, would you like to know how to finish the look with Global Dodge and Burn to give the portrait that extra “3D” professional glow?