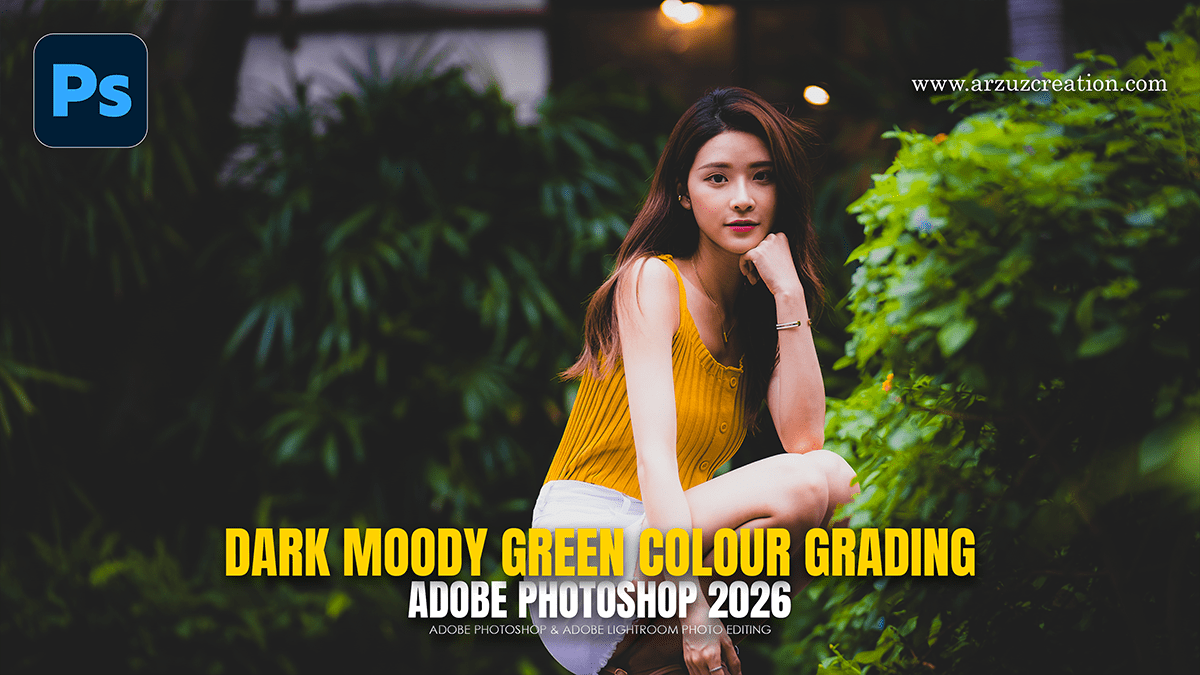
Dark Moody Colour Grading: Adobe Photoshop Camera Raw Filter,

Therefore, to achieve a dark, moody green aesthetic in Photoshop using the Camera Raw Filter, the goal is to shift the color science away from “natural” greens toward deeper, forest-like tones while crushing the blacks for a cinematic feel.
Dark Moody Colour Grading: Adobe Photoshop Camera Raw Filter,
1. The Basic Adjustments:
Therefore, start by underexposing the image and pulling back on the highlights to create that “moody” base.
Exposure: -0.50 to -1.00
Contrast: +20 (to add punch)
Highlights: -40 (to recover detail in bright areas)
Shadows: -15 (to deepen the darks)
Blacks: -20 (to “crunch” the darkest points)
Texture/Clarity: +10 (adds grit)
2. The “Green” Shift (Color Mixer)
Therefore, this is where the magic happens. You want to strip away the “yellow” tones that make grass look bright and sunny.
Dark Moody Colour Grading: Adobe Photoshop Camera Raw Filter,
| Slider | Adjustments |
| Hue | Yellows: -50 (shifts them toward green) Greens: +20 to +40 (shifts them toward emerald/cyan) |
| Saturation | Yellows: -30 Greens: -20 (avoids neon colors) Oranges: +10 (keeps skin tones alive) |
| Luminance | Greens: -40 (this creates the “dark” foliage effect) |
3. Color Grading (The “Teal & Forest” Look)
In other words, open the Color Grading tab. Adding a cool tone to the shadows and a warm/neutral tone to the highlights creates a professional color separation.
Shadows: In other words, set the Hue to a deep Blue/Teal (around 210°) and increase Saturation to 10–15%.
Midtones: However, set the Hue to a Desaturated Green (around 140°).
Highlights: However, set the Hue to a Warm Gold (around 45°) with very low Saturation (5%) to keep skin and light sources looking natural.
Dark Moody Colour Grading: Adobe Photoshop Camera Raw Filter,
4. Tone Curve:
However, create a slight “S-Curve” in the Point Curve, but lift the bottom-left point slightly off the axis. This “fades” the blacks, giving it a matte, moody finish.
5. Final Atmospheric Touches:
Calibration (Bottom Tab): For instance, boost the Green Primary Saturation and shift the Blue Primary Hue slightly to the left. This provides a deep, rich color depth that sliders alone can’t reach.
Vignette: For instance, go to the Effects tab and apply a Post-Crop Vignette (-20) to draw the eye to the center of the frame.
Pro Tip: Above all, If the green feels too “minty,” go back to the Color Mixer and drop the Green Saturation even further. Moody looks thrive on low saturation and high contrast.
In conclusion, would you like me to walk you through how to save these settings as a Preset so you can apply them to other photos instantly?
