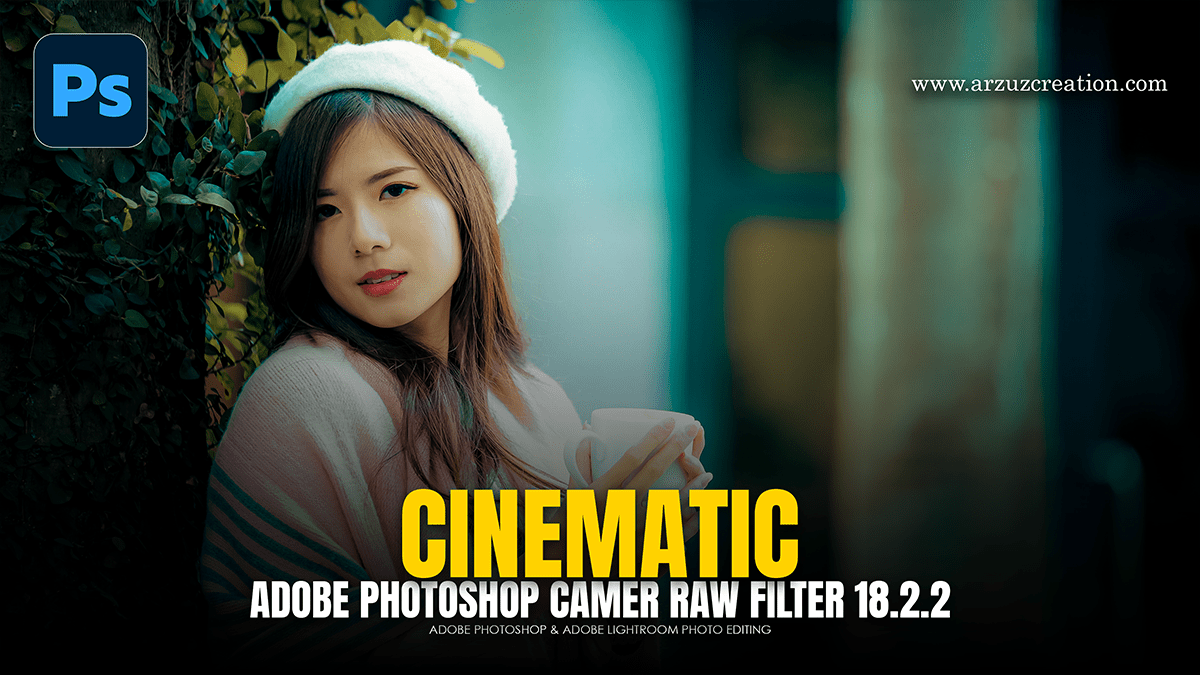
Photoshop Cinematic Look Basic to Advanced Editing Tutorial,

Therefore, achieving a cinematic look in Photoshop involves more than just slapping on a filter; it’s about controlling light, color harmony, and texture to mimic the characteristics of high-end film.
In other words, here is a roadmap from basic adjustments to advanced color grading techniques.
Photoshop Cinematic Look Basic to Advanced Editing Tutorial,
1. Basic: Establishing the Foundation:
Therefore, before diving into “the look,” you need a clean, high-dynamic-range canvas.
Camera Raw Filter: In other words, start here (Ctrl/Cmd + Shift + A). Lower the Highlights and lift the Shadows to recover detail, creating a flatter, film-like starting point.
Aspect Ratio: Therefore, crop your image to a wide cinematic ratio like 2.35:1 or 2.39:1. Adding “black bars” (letterboxing) is a classic, though purely aesthetic, shortcut to that movie feel.
Deep Blacks: However, use Levels or Curves to slightly lift the black point (the bottom-left node in Curves). This “fades” the shadows, a hallmark of many cinematic styles.
2. Intermediate: Color Grading & Contrast:
Therefore, this is where the mood is created. Cinema often relies on Complementary Colors (colors opposite each other on the wheel).
Photoshop Cinematic Look Basic to Advanced Editing Tutorial,
The “Teal and Orange” Technique:
Color Balance: Add a Color Balance adjustment layer.
Shadows: In other words, push the sliders toward Cyan and Blue.
Highlights: Push the sliders toward Yellow and Red.
Result: In other words, this creates skin tones that pop against a moody, cool background.
Selective Color:
In other words, use the Selective Color adjustment layer to fine-tune specific hues.
However, Target Neutrals adds a subtle tint to the overall mid-tones.
In other words, Target Blacks to add a hint of navy or dark green to the darkest areas of the frame.
3. Advanced: Depth and Texture:
However, Professional editors use these steps to add “atmosphere” and guide the viewer’s eye.
Photoshop Cinematic Look Basic to Advanced Editing Tutorial,
Frequency Separation for Skin
Above all, instead of blurring skin, use frequency separation to move texture and color to different layers. This allows you to even out skin tones (the “color” layer) without losing the realistic pore detail (the “texture” layer), keeping the actors looking natural yet polished.
Global Lighting (Dodge and Burn)
However, create a new layer filled with 50% Gray set to Overlay or Soft Light blend mode.
Above all, use a low-opacity white brush to Dodge (brighten) the subjects and a black brush to Burn (darken) the edges.
However, this creates a “vignette” that feels intentional and theatrical rather than accidental.
Photoshop Cinematic Look Basic to Advanced Editing Tutorial,
Film Grain and Bloom:
Grain: Create a new layer, fill with gray, and go to Filter > Noise > Add Noise, and set the blend mode to Overlay at a low opacity (3–8%).
Bloom: Duplicate your highlights, apply a Gaussian Blur, and set the layer to Screen. This mimics the “glow” seen in vintage lenses or anamorphic glass.
Professional Workflow Tip: LUTs:
Above all, if you want a fast starting point, use Color Lookup Tables (LUTs).
In addition, add a Color Lookup adjustment layer.
After that, choose from the “3DLUT File” dropdown (e.g., Crisp_Warm.look or Moonlight. 3dl).
alwaysition, Always lower the Opacity to around 30–50% to keep the effect subtle and professional.
