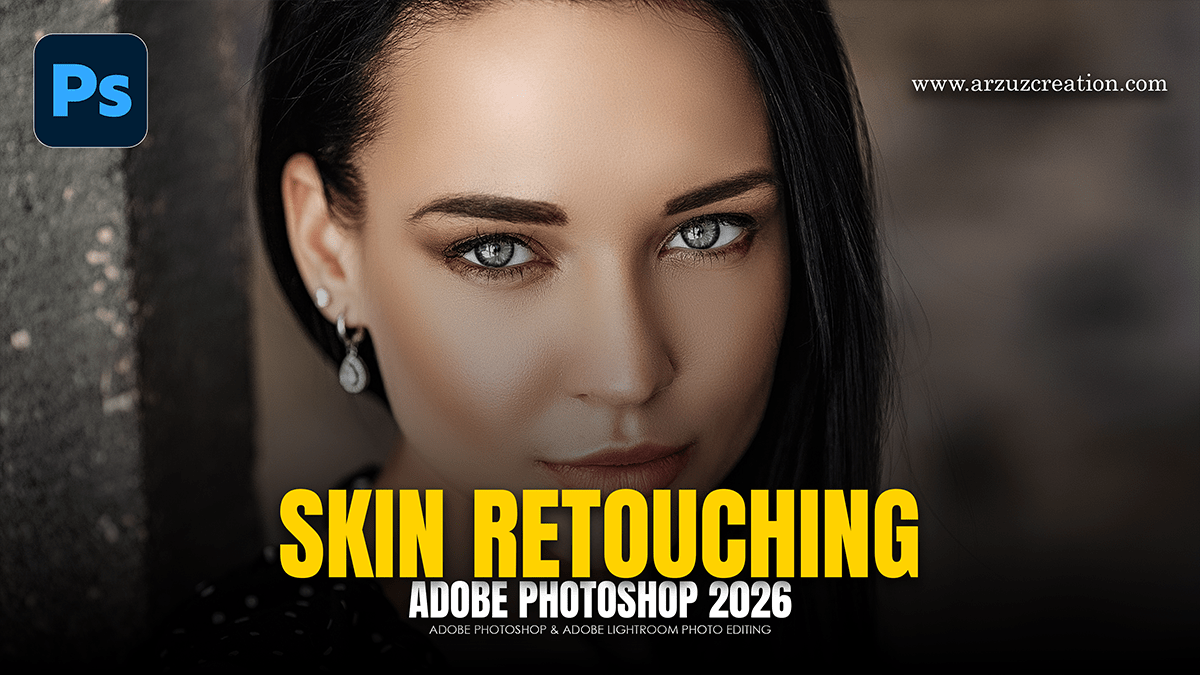
Photoshop Skin Retouching Tutorial: Learn Basic and Advanced

Therefore, High-end skin retouching is about maintaining the natural texture of the skin while removing distractions and balancing tones. In other words, the industry standard involves a combination of Frequency Separation for texture/color control and Dodge & Burn for micro-contouring.
In other words, here is a step-by-step workflow for achieving professional results in Photoshop.
Photoshop Skin Retouching Tutorial: Learn Basic and Advanced
Phase 1: Cleanup (The Foundation)
Therefore, before using advanced techniques, you must clean up obvious blemishes.
In other words, create a New Blank Layer above your background.
Therefore, select the Healing Brush Tool (not the Spot Healing Brush for more control.
In other words, set “Sample” to Current & Below.
Therefore, remove temporary distractions: acne, stray hairs, and lint. Leave permanent features like moles or unique freckles unless specifically asked to remove them.
Phase 2: Frequency Separation:
Therefore, this technique splits the image into two layers: High Frequency (Texture) and Low Frequency (Color/Tones).
1. Setup:
However, create two copies of your cleaned layer.
Therefore, name the top one “Texture” and the bottom one “Color.”
However, Group them.
Photoshop Skin Retouching Tutorial: Learn Basic and Advanced
2. The Color Layer:
However, turn off the “Texture” layer. Select the “Color” layer.
Therefore, Go to Filter > Blur > Gaussian Blur.
However, increase the radius until the skin texture disappears, but the shapes and colors remain. Usually, a radius between 4.0 and 8.0 works for portraits. Click OK.
3. The Texture Layer:
Above all, turn on the “Texture” layer and select it.
In addition, go to Image > Apply Image. Use these exact settings:
Layer: Color
Blending: Subtract
Scale: 2
Offset: 128
Above all, the image will turn grey. Click OK.
In addition, change the Blending Mode of the Texture layer to Linear Light. The image should now look identical to the original.
4. Refining Tones:
In addition, select the “Color” layer.
Above all, Use the Lasso Tool with a Feather of 20-30px.
After that, select a “patchy” area of skin (like the forehead).
Similarly, apply a Gaussian Blur again to that selection. This smooths out transitions in skin tone without affecting the pores.
Photoshop Skin Retouching Tutorial: Learn Basic and Advanced
Phase 3: Global Dodge & Burn:
After that, this adds dimension and fixes “blotchy” skin transitions that Frequency Separation might miss.
Similarly, create a Curves adjustment layer and pull the middle of the curve up (Brighten). Invert the mask (Ctrl/Cmd + I). Label it “Dodge.”
Similarly, create a second Curves layer and pull the middle down (Darken). Invert the mask. Label it “Burn.”
After that, use a very soft Brush (0% Hardness) with a Flow of 1% or 2%.
Dodge: Paint over the highlights of the face (cheekbones, bridge of the nose) to enhance the glow.
Burn: Paint over the shadows (under the jawline, sides of the nose) to add depth.
Phase 4: Final Polishing:
Color Grading: Use a Selective Color or Color Balance layer to remove excess redness (Cyan/Red slider) or yellowness in the skin.
Sharpening: If the eyes or lips need more “pop,” create a stamped layer (Shift + Ctrl + Alt + E), go to Filter > Other > High Pass (radius 1.5), and set the layer to Overlay. Mask it so it only affects the eyes and jewelry.
Photoshop Skin Retouching Tutorial: Learn Basic and Advanced
Pro Tips for Realism:
Zoom Out: Periodically zoom out to 25% or 50%. If you only retouch at 200%, you’ll lose the “big picture” and the skin may end up looking plastic.
The “Check” Layer: Add a Black & White adjustment layer temporarily. It is much easier to see tonal inconsistencies (blotchiness) in grayscale than in color.
