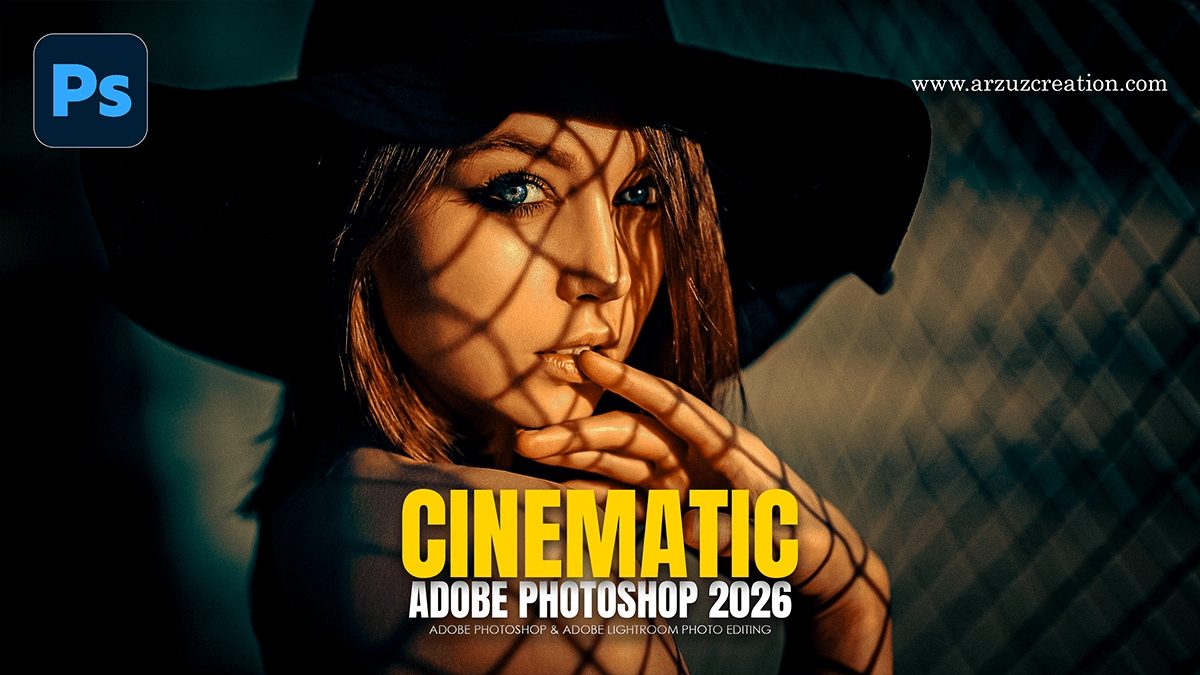
Photoshop Camera Raw Cinematic Effects Presets Free Download

Therefore, Using Curves within the Camera Raw Filter (CRF) is one of the most powerful ways to achieve a cinematic look. It allows for precise control over the “luminance” and “chromatic” balance of your image, moving beyond simple brightness and contrast.
In other words, here is how to master Curves for a cinematic aesthetic.
Photoshop Camera Raw Cinematic Effects Presets Free Download
1. The “Matte” Shadow (The Cinematic Fade)
Therefore, Most cinematic styles avoid “true black” (0,0,0). Instead, they feature slightly lifted, “milky” shadows that mimic film stock.
How to do it: 1. In other words, Open Camera Raw Filter (Ctrl/Cmd + Shift + A).2. Go to the Curves tab and ensure you are on the Point Curve (the white icon).3. Click the bottom-left point of the diagonal line and drag it vertically upward. 4. This compresses the blacks into a dark grey, instantly creating a film-like fade.
2. The “S-Curve” for Contrast:
Therefore, Cinematic images often have high local contrast while retaining detail.
How to do it:
In other words, create a point in the middle (Midtones) to anchor the curve.
However, click the upper-right quadrant (Highlights) and drag it up.
Photoshop Camera Raw Cinematic Effects Presets Free Download
However, click the lower-left quadrant (Shadows) and drag it down.
Above all, this creates a subtle “S” shape, making the highlights pop and the shadows recede, adding depth to the frame.
3. Cinematic Color Grading (RGB Curves)
However, this is where the “look” is created (e.g., the Teal and Orange aesthetic). Instead of using the white Point Curve, switch to the individual Red, Green, and Blue channels.
The Teal and Orange Look:
| Channel | Action | Result |
| Red | Drag the bottom-left (shadows) slightly down. | Adds Cyan to the shadows. |
| Blue | Above all, Drag the bottom-left (shadows) slightly up. | Adds Blue to the shadows. |
| Blue | Drag the top-right (highlights) slightly down. | Above all, Adds Yellow/Orange to the highlights. |
Photoshop Camera Raw Cinematic Effects Presets Free Download
4. Balancing with the Parametric Curve:
Above all, if the Point Curve feels too aggressive, use the Parametric Curve (the first icon in the Curves tab).
In addition, this tool divides the curve into four distinct zones: Highlights, Lights, Darks, and Shadows. Use the sliders below the graph to adjust these regions. This is safer for preserving skin tones because it prevents the colors from “breaking” or pixelating as easily as manual points might.
Pro Tips for the Cinematic Look:
Split Toning: In addition, use the Color Grading panel after your Curve adjustments to fine-tune the hue of your shadows and highlights.
Add Grain: A cinematic look is rarely “clean.” Go to the Effects tab and add a small amount of Grain (Size: 25, Roughness: 50) to simulate film texture.
Aspect Ratio: Crop your image to 2.35:1 (Anamorphic) to immediately signal a “movie” feel to the viewer.
